Fall Decor with Leaves Made from Book Pages
Decorate your whole house with beautiful leaves this autumn!
I had two goals for creating my fall decor this year: celebrate our family’s love of books and use things I already had. So, one of the projects I undertook was to make these fall leaves which I used in several ways around our home. I am delighted with how they turned out! Our home is cozy, festive, and nothing is overwhelming because the pages are light and airy — with just a hint of color on the edges.
All of the decorations I made came from the same idea: leaf shapes cut from the pages of books. Then I used them to create a wreath, a garland for the mantle, accents around the house, and, of course, hanging from our dining room chandelier.
This tutorial teaches you how to make the leaves and then walks you through several different ways to use them. Enjoy!
Making Leaves from Book Pages
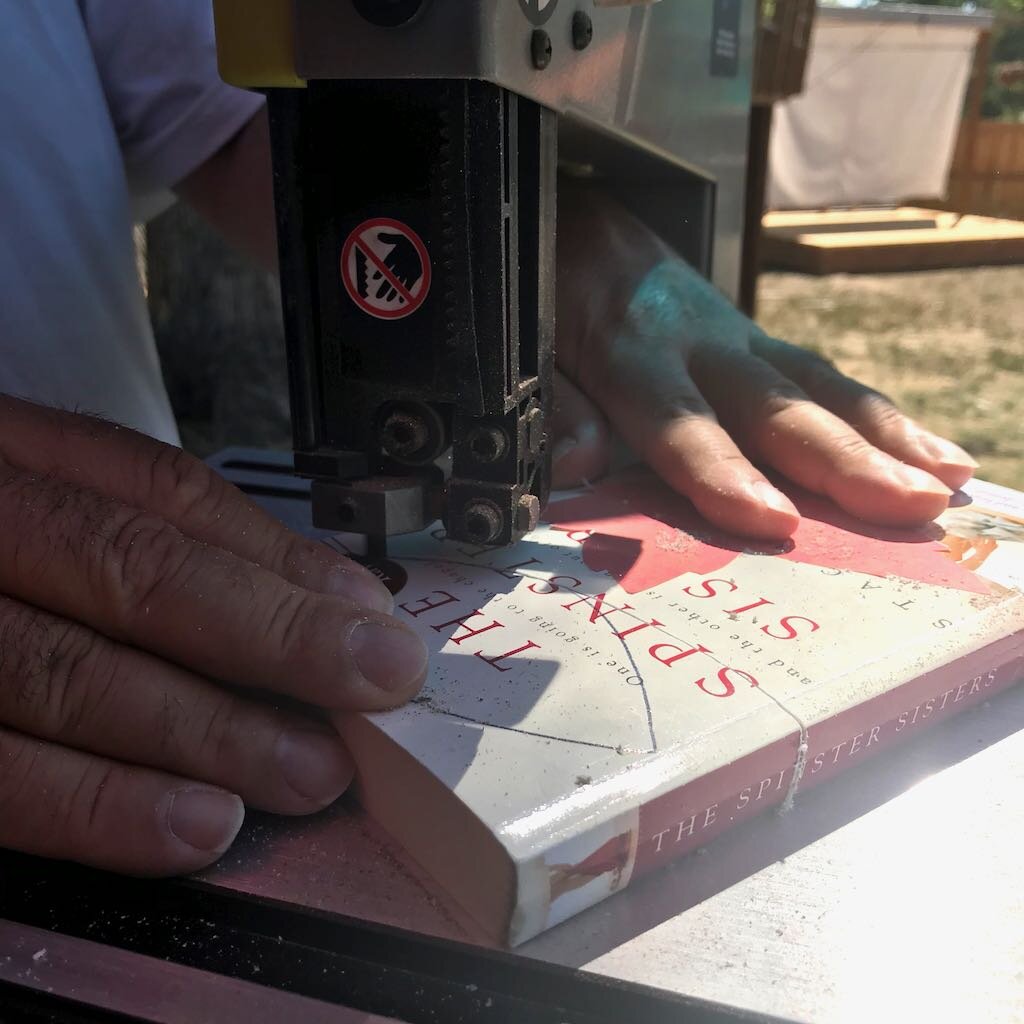
I made a short video below to show the process, but this is a relatively simple project. If you don’t have a scroll saw or a jig saw, you could also cut leaves using a Cricut — or by hand with scissors! The advantage to using the scroll saw is in the number of leaves you can cut at once — as many as there are pages in the book you use!
Materials
Old book — paperback is just fine!
Leaf templates (free download from my Library)
Glue
Scroll saw or jig saw
Optional: drill with very fine bit
Masking tape
Optional: water colors
Note: this isn’t the time to pull out an actual vintage or valuable book. A paperback works very well! Apologies to the authors whose books I destroyed. I know that pain!
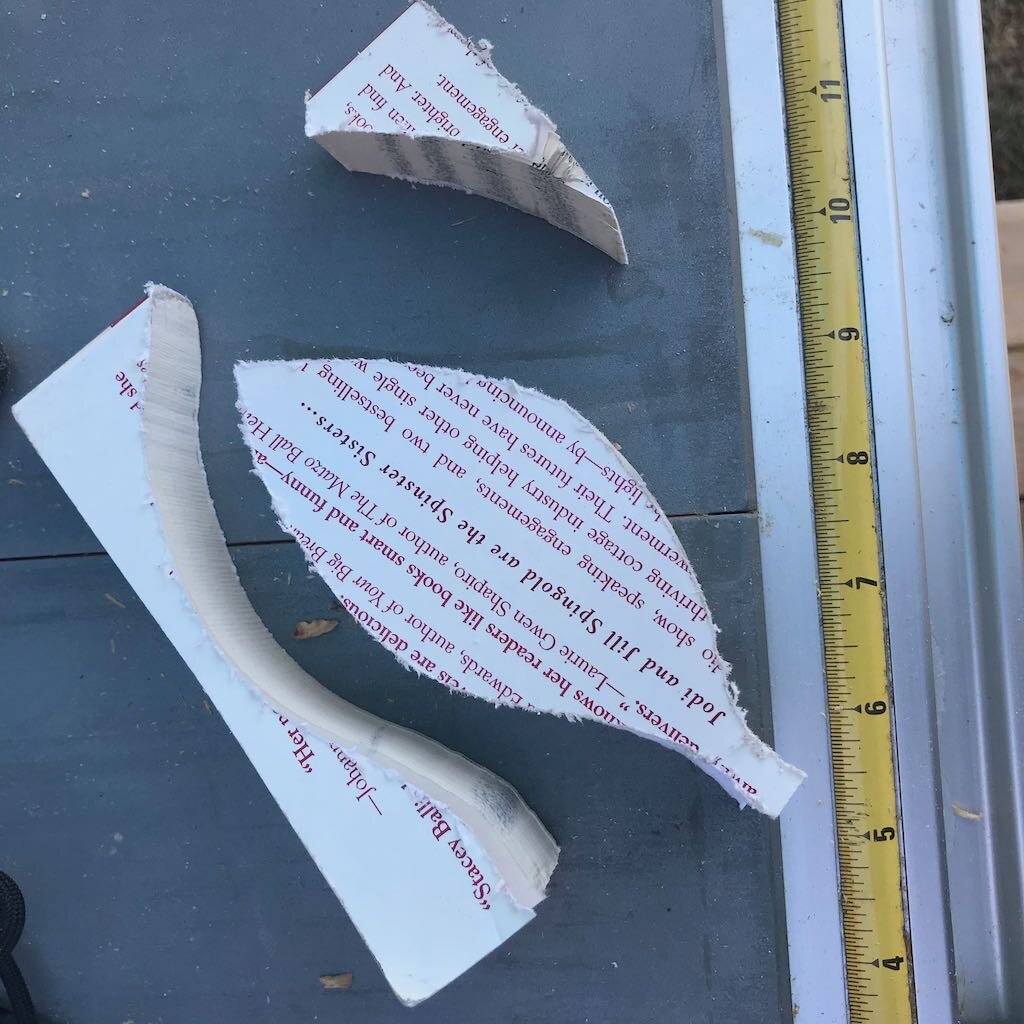
Cut out the Template
Download the leaf templates from my Library. Print them, and then cut out the leaves you want to use for your projects. You may need to resize them to fit your books — depending on the books you choose.
Glue templates to Covers
Glue the template to the book cover. Also we found that taping the pages shut on the open side of the book helped with the cutting. If you do smaller leaves, you may be able to get two sets from one book.
Cut on Scroll Saw
Be sure to wear a mask while cutting. Starting on the open side of the book makes the whole thing easier.
Drill Holes
If you are thinking of hanging your leaves, use a drill and a very small bit to put a hole through a stack of leaves. This is easier than punching holes later!
Watercolor the Edges
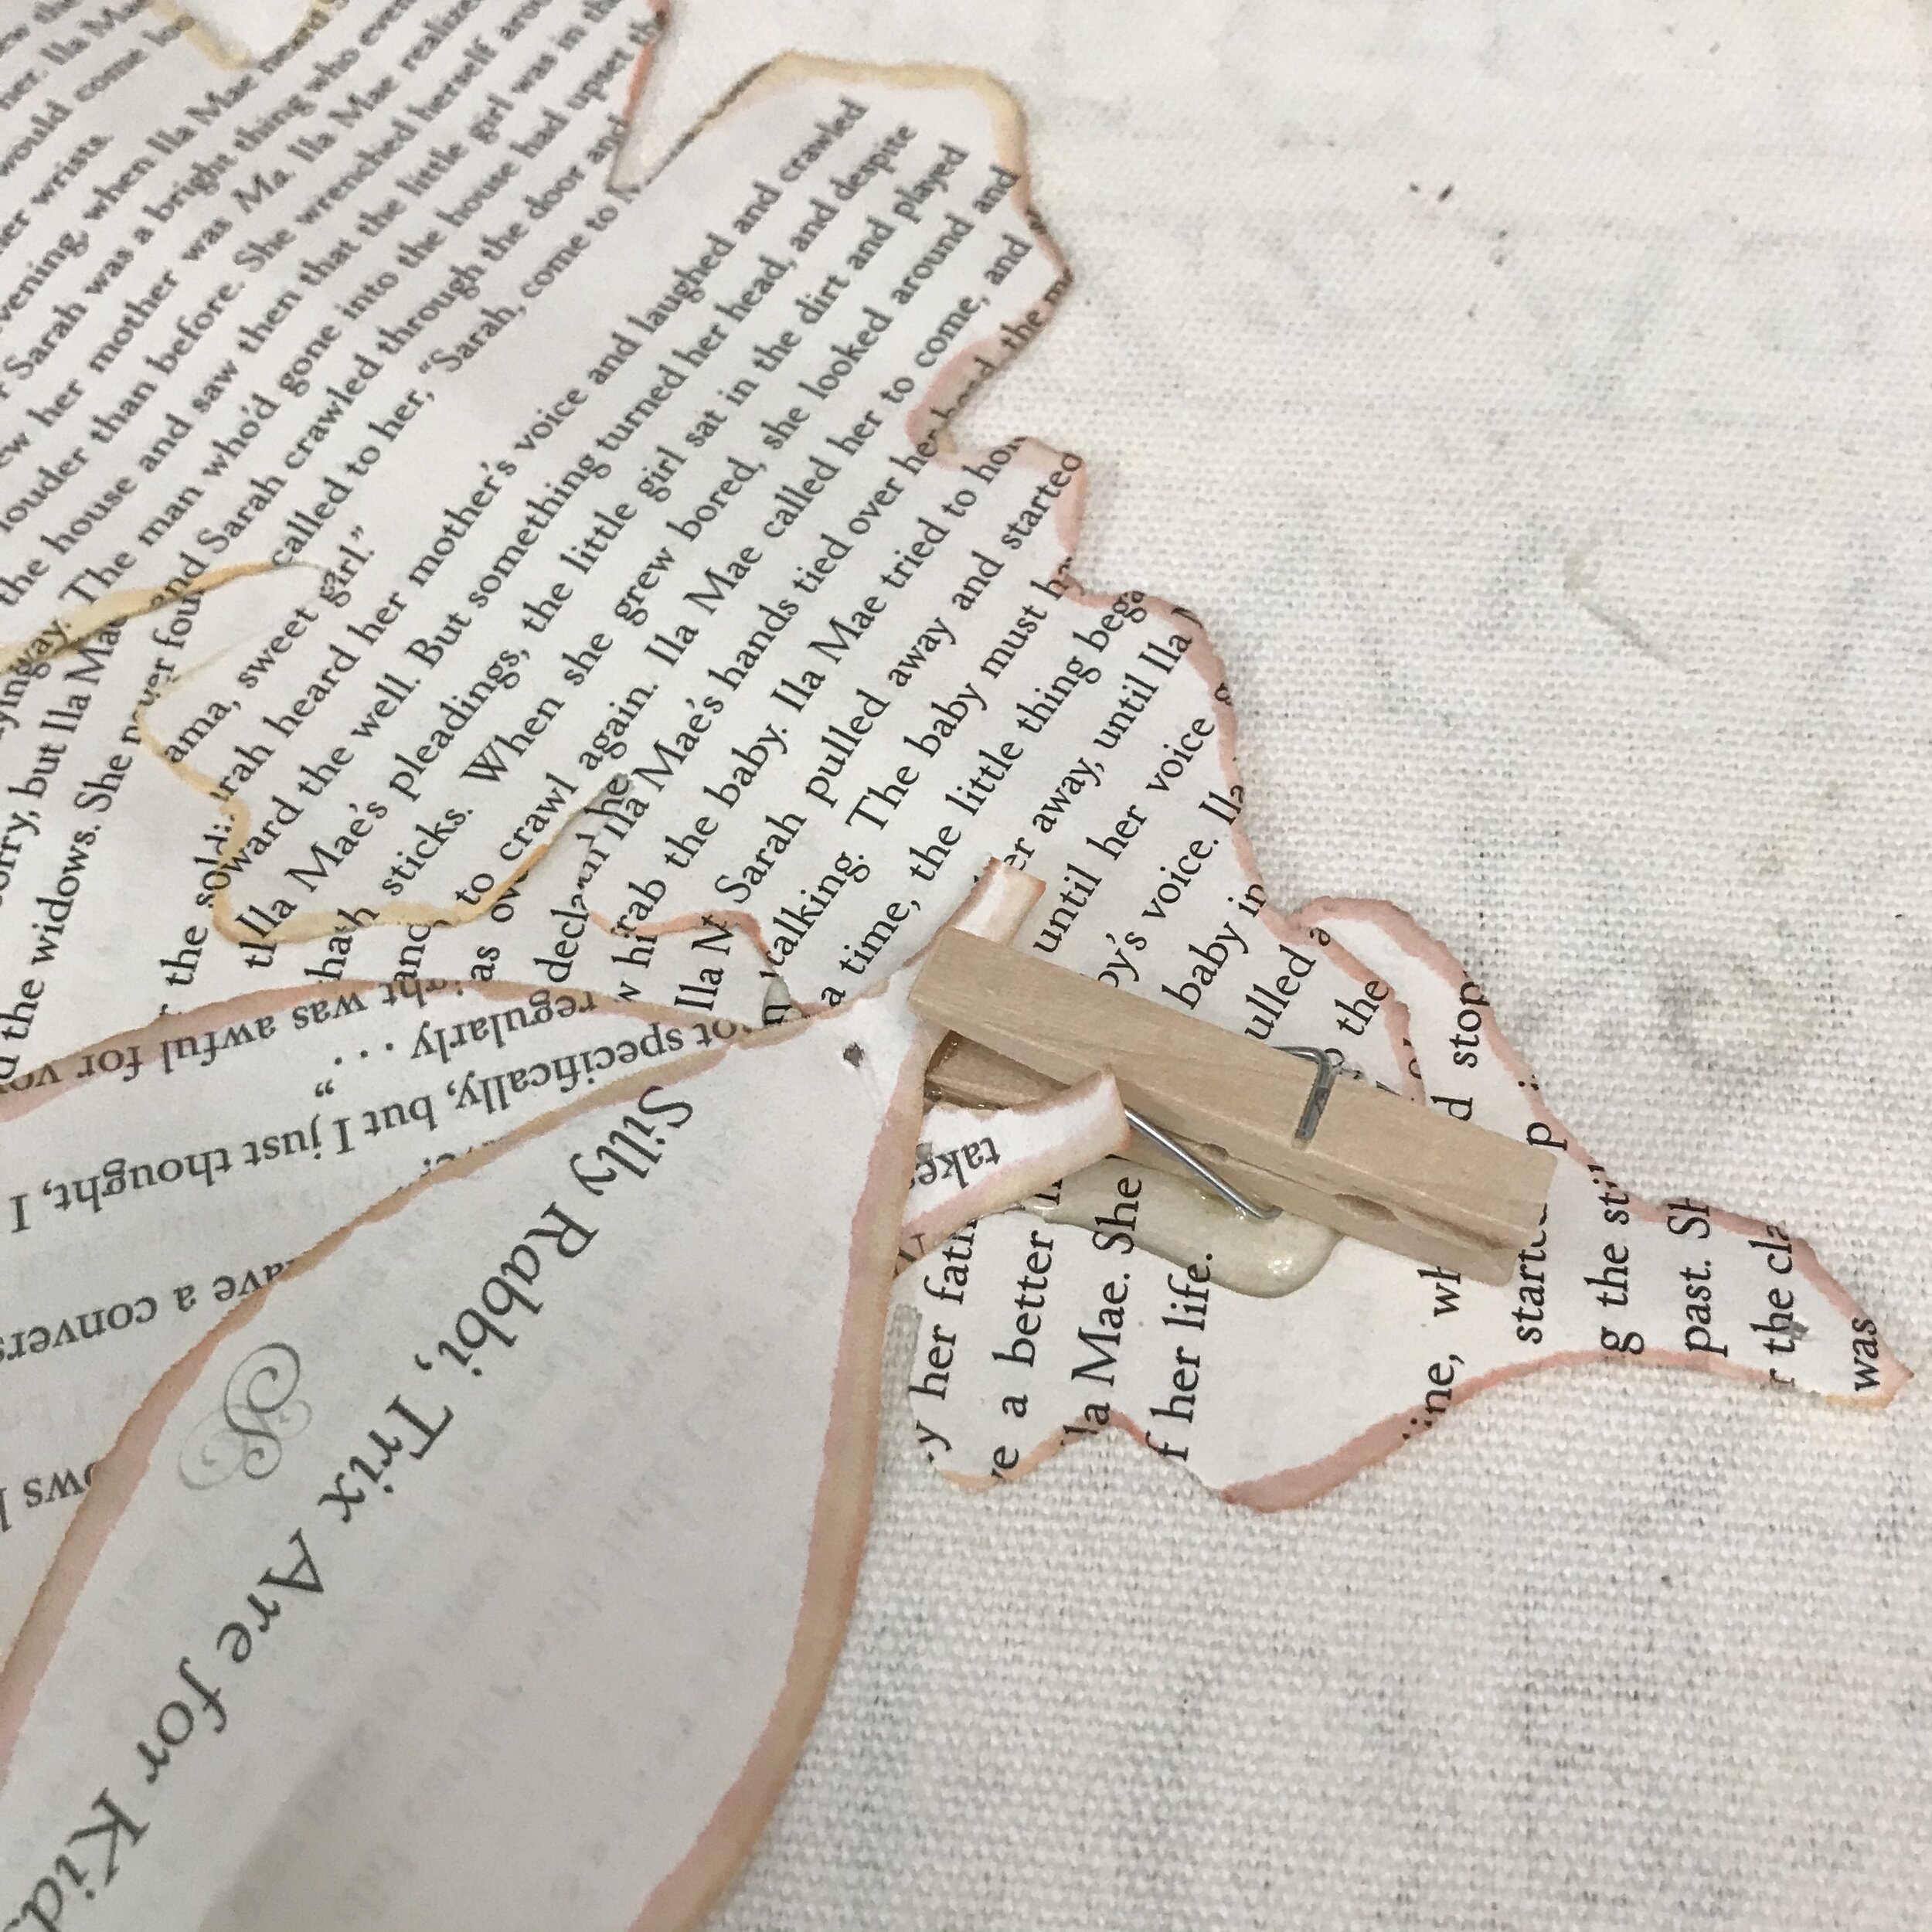
This step is optional, but I watercolored the edges of each stack using fall colors. Not only does this give them a little color, but it also wrinkled the paper a bit which gave them a nice texture.
Dry & Fold
Allow the stacks of leaves to dry. Then fold them to create dimension and the illusion of vein lines.
How to Make Bunches of Leaves
The foundation of almost all of these decorating projects is the same — bunches of leaves! You can use them so many ways. Make big ones and small ones. Then string them together to make a garland. Clip them to make a wreath. Add them to photo frames or lamp shades. The uses are endless!
I’ve walked you through how to make them here, but the first part of the garland video also shows how to make the bunches, so watch it if you need a little more visualization.
Materials
Leaves
Clothespins or florist’s wire
Hot glue gun
Hot glue
Optional: paper glue (like Coccoina)
Clothes pins or Wire?
Use what you have! I have created bunches both ways. The clothes pins have more weight. Wires are a bit more flimsy. Both work — depending on what you intend to do with the bunches. Experiment!
Cut your Wires
If you are using wire, cut pieces that are about 4 inches long. I used an old garland which I snipped into pieces and repurposed.
Glue from the Back First
Start with 2 larger leaves. Use a generous dollop of glue and stick them together with the clothespin or wire. Allow the glue to cool.
Add Leaves to the Front
Once the glue is cool enough, add leaves to the front. You can switch to paper glue for this part — less plastic! Or continue using hot glue. Whatever works for you.
Work the folds
Once you are happy with your bunch, go back and rework the folds in each leaf — giving it more dimension and presence.
Make Different Sizes
Be sure to vary the sizes of your bunches. Some can be very large — particularly if you are using a clothespin. Others should be smaller. This will add life to whatever you do with the bunches next!
How to Make a Fall Garland
Once you have made a bunch of bunches, you can turn them into an easy garland for your mantle or any other part of your home.
Measure & Cut Twine
Measure the area where you intend to use your garland. My rule of thumb is to make a garland at least 1.5 times the length of a mantle, for example. Cut your twine accordingly.
Clip to the Twine
Clip your bunches to the twine. Or, if you used wire, twist the wire ends around the twine tightly.
Adjust Spacing
If you don’t want to see the twine, place the bunches closer together. If you want a looser, more organic look, space them apart.
Keep Adding to Length
When you reach the middle of the twine, you can change the direction of the leaves — so each end runs toward the middle. Or your leaves can all run the same direction. Fill in the twine, and your garland is done!
Other Decorating Ideas
As I said before, these leaf bunches can be used in a variety of ways. Make a few dozen, and then look for places to use them. Clip them to your cabinet pulls. Add them to curtain tiebacks — or the tops of curtains. Clip them to the edges of picture frames. There are so many options! Here are a few ideas:
Minimalist Wreath
Clip a bunch of leaves to an embroidery hoop for a minimalist fall wreath for any door.
Clip to Other Objects
I clipped a bunch to the neck of this vintage jar to bring a little fall into my Workroom.
Use as Highlights
The paper leaves add a little highlight against the dark wood of this buffet and bring the paper detail down to the buffet from the light fixture.
Hang from Light Fixtures
Over our dining room table we have a chandelier made from a branch and some fairy lights — the perfect place for some fall leaves! I just used thread to hang individual leaves. They flutter in even the slightest breeze and make for a lovely fall look.
Our branch chandelier hangs over the dining room table. We decorate it differently for each season which is a great family activity!
Our dining room table with a runner made from paper grocery bags! Check out the tutorial here.
The DIY book leaf garland spills across our mantle.
Our cozy dining room ready to welcome fall


