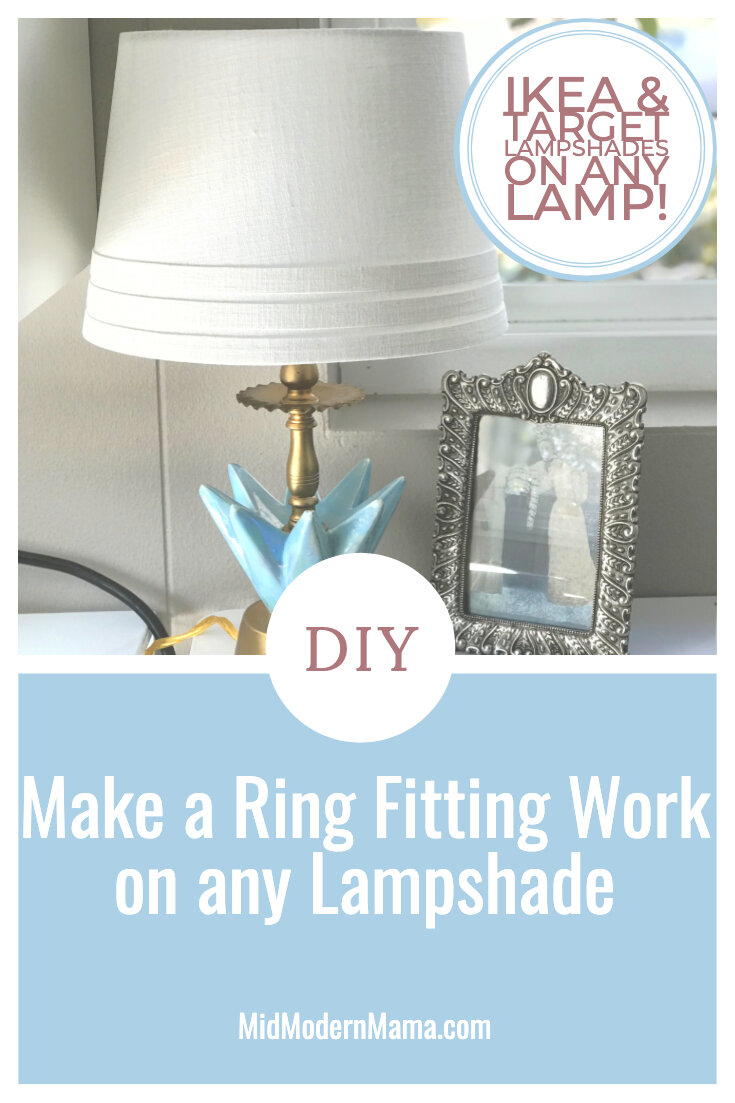
How to Make a Lamp Shade Ring Fit
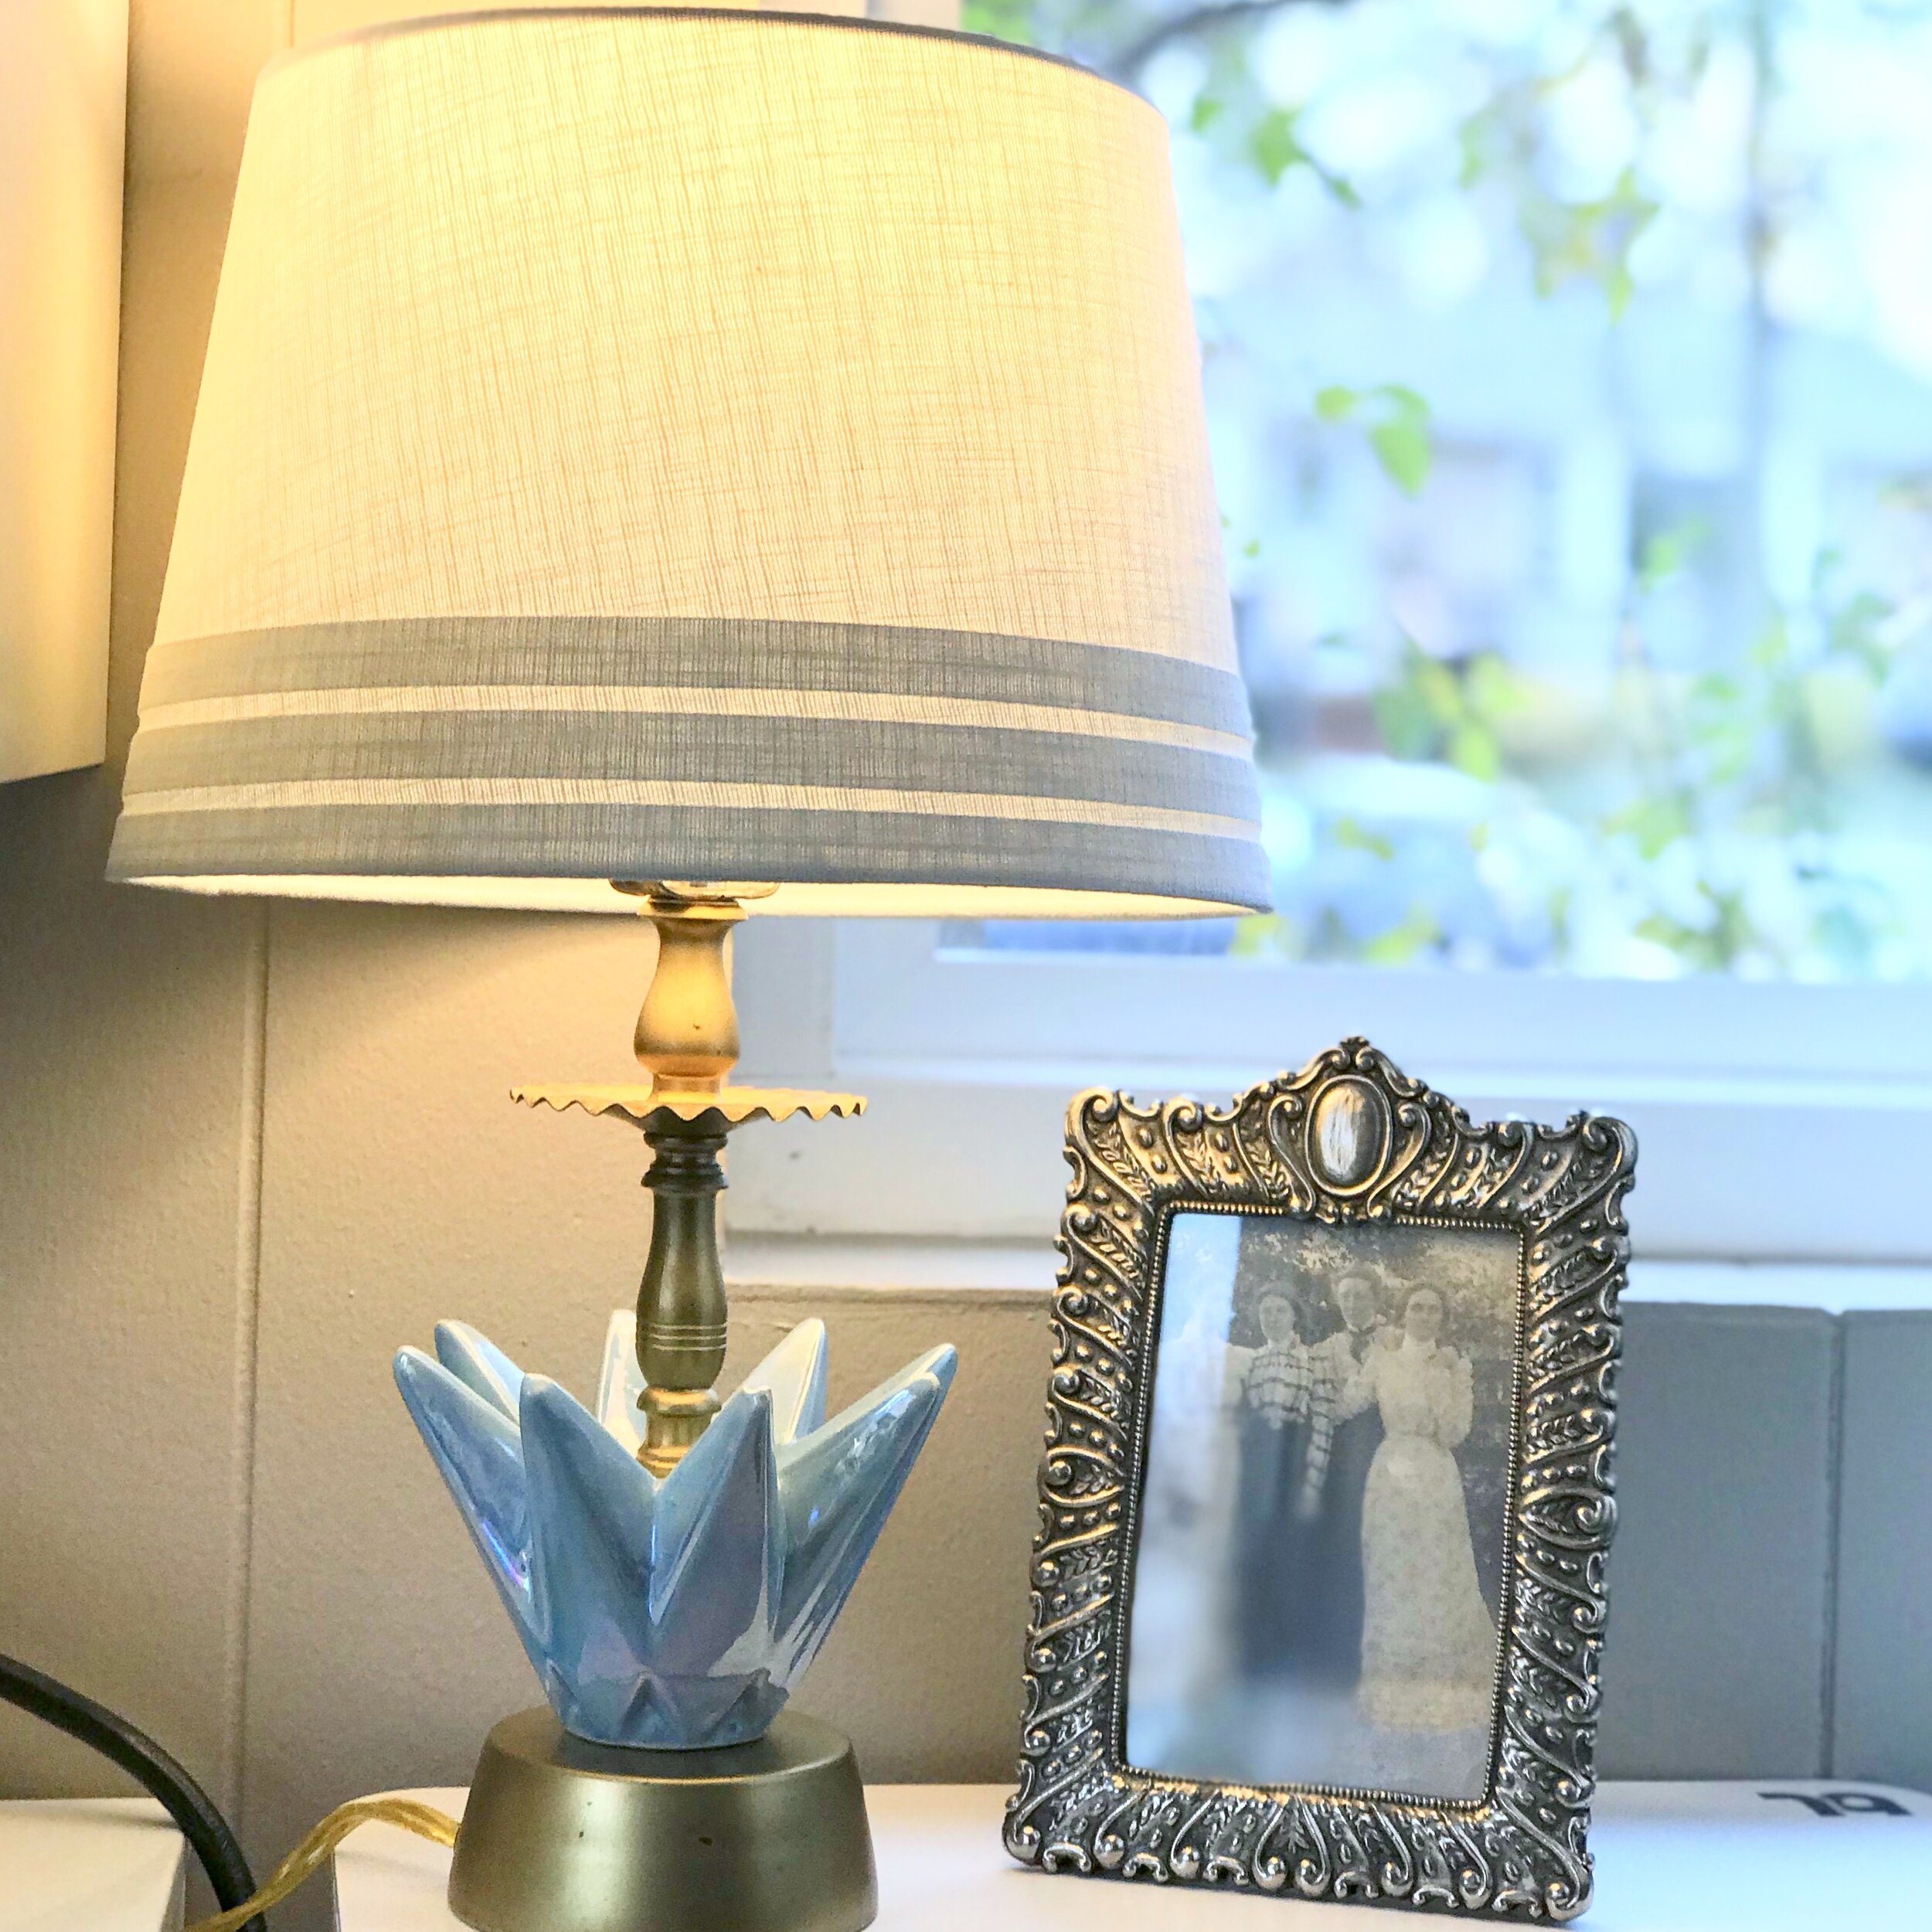
For the Workroom Makeover (Fall 2019 One Room Challenge), I had a terrible time finding lampshades that fit my vintage 1950s Atomic Ranch-style lamps. I finally found some lampshades that were the right size at Target, but Target’s lampshades almost all use ring fittings. I had rewired this lamp, so it has a new socket, but it is not a UNO fitting (sometimes known as a Nardi fitting). As a result, the lampshade was wonky on the lamp.
But there’s a simple solution!
Materials
Electrical tape
Scissors
Note
Use electrical tape ONLY for this project. Electrical tape is flame retardant, and since you are installing this in a place where heat could be an issue (especially if something goes awry), any other type of tape or paper could be a hazard. I have seen other people suggesting cardboard and other flammable materials as a solution to this problem. I would be very wary of such suggestions.
Step 1: Cut a small piece of tape
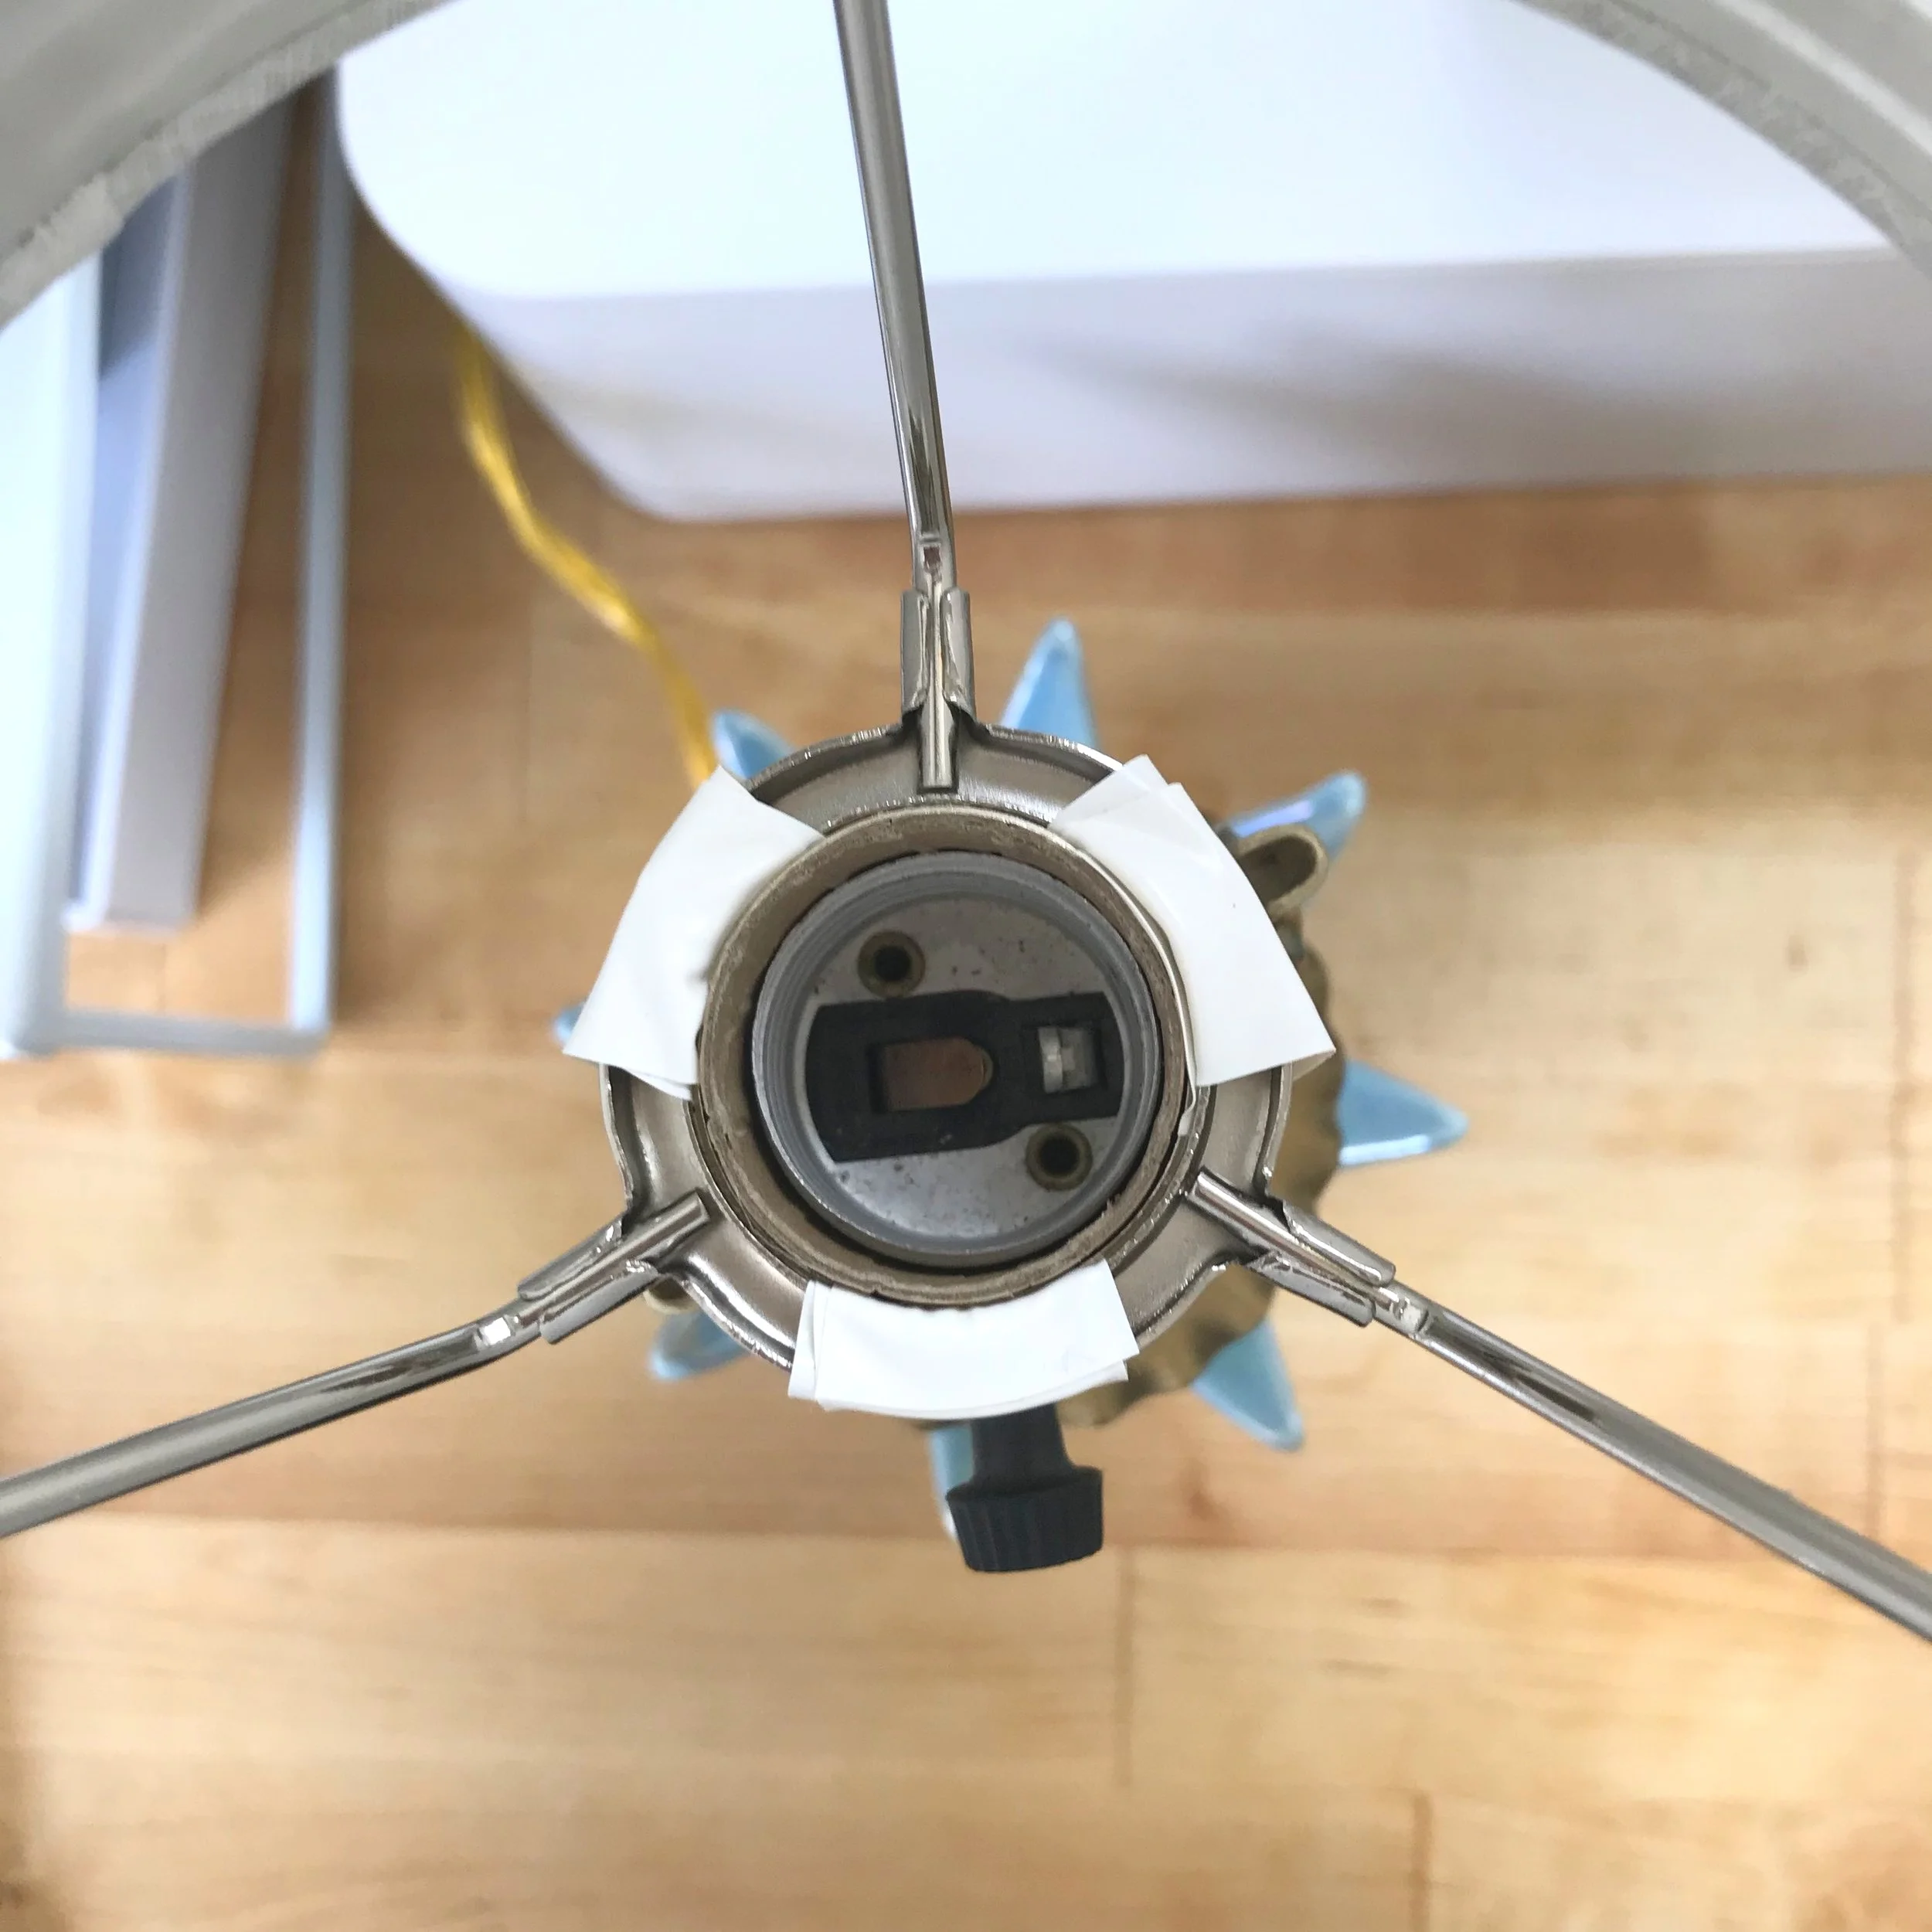
Cut a small piece of electrical tape and wrap it around one segment of the ring.
Remember: you can always add more. Removing it can be more difficult.
Step 2: apply tape on all sides
Repeat at each segment of the ring. If you only do one side, the lampshade will be crooked.
Step 3: Test Ring around Socket
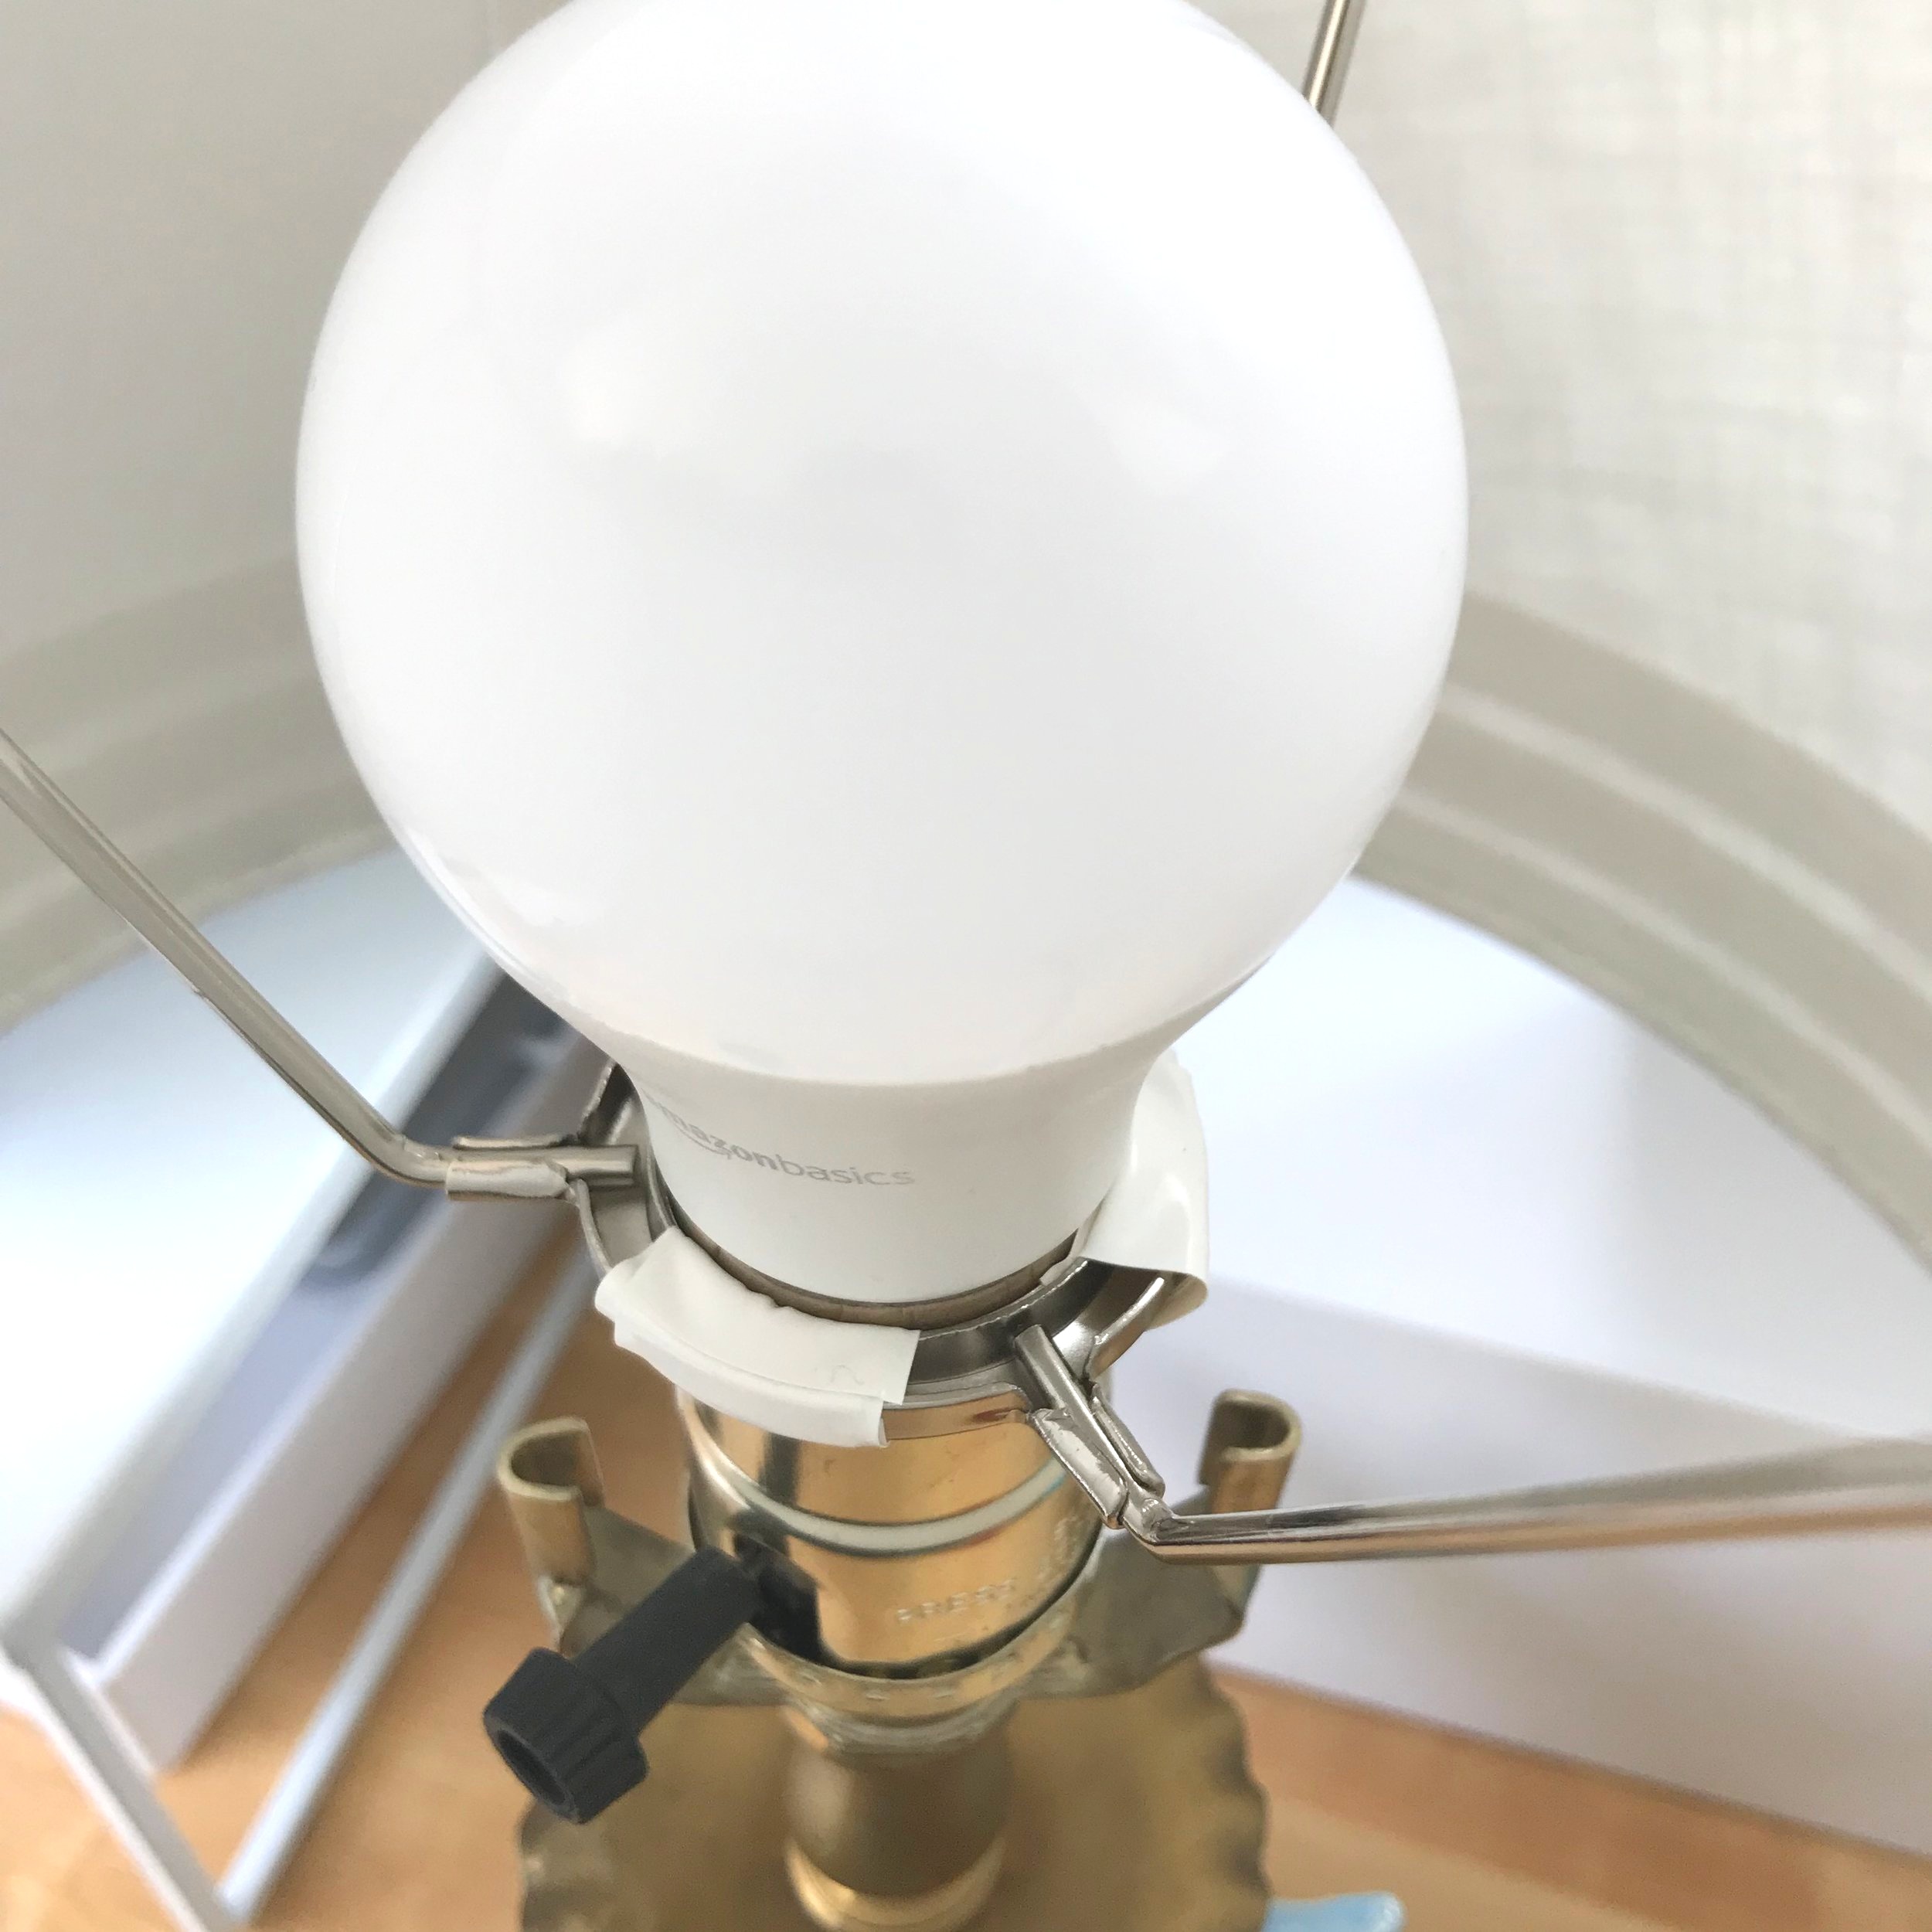
Slide the ring back on the socket. If needed add more tape until it is snug — or remove some from each side if it is too tight.
Step 4: Replace Bulb
Use an LED bulb to save energy!
Enjoy!
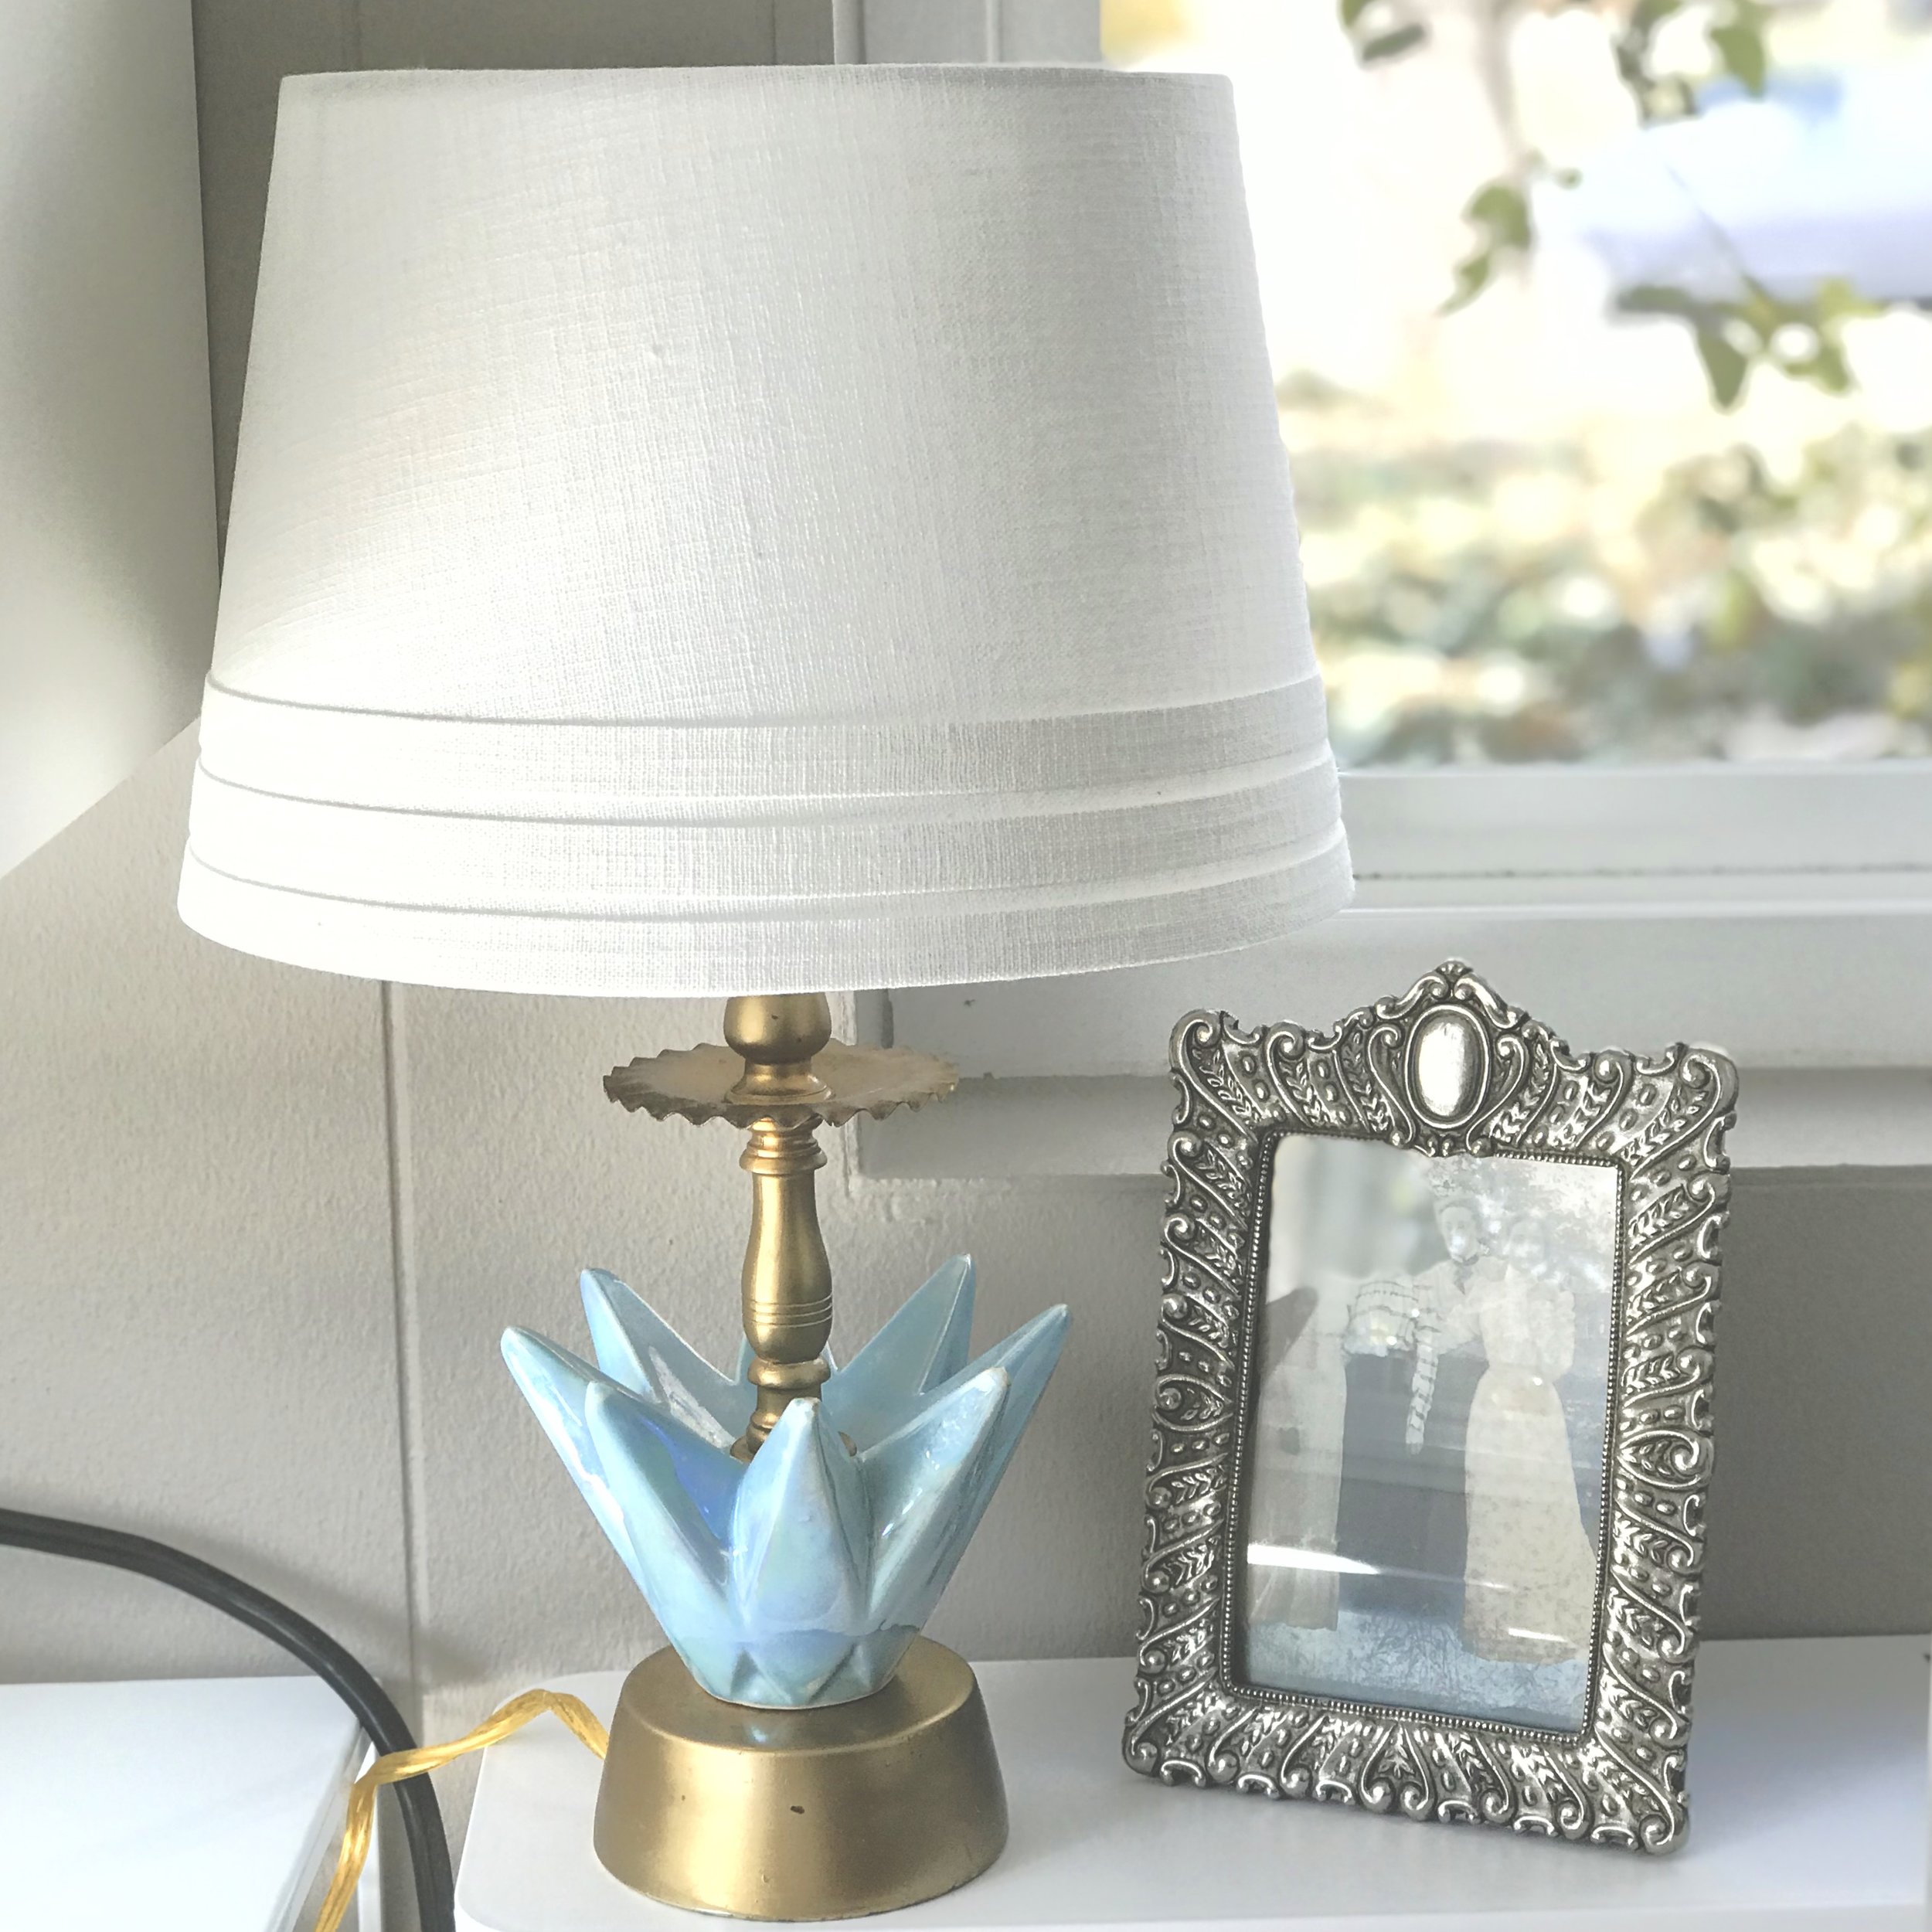
Your lampshade should fit securely, and should stay straight from now on!
This is part of a project series for the One Room Challenge. For more projects and ideas, check out the DIY Workroom Makeover and our other renovation projects.

