Curtains from Vintage Linens
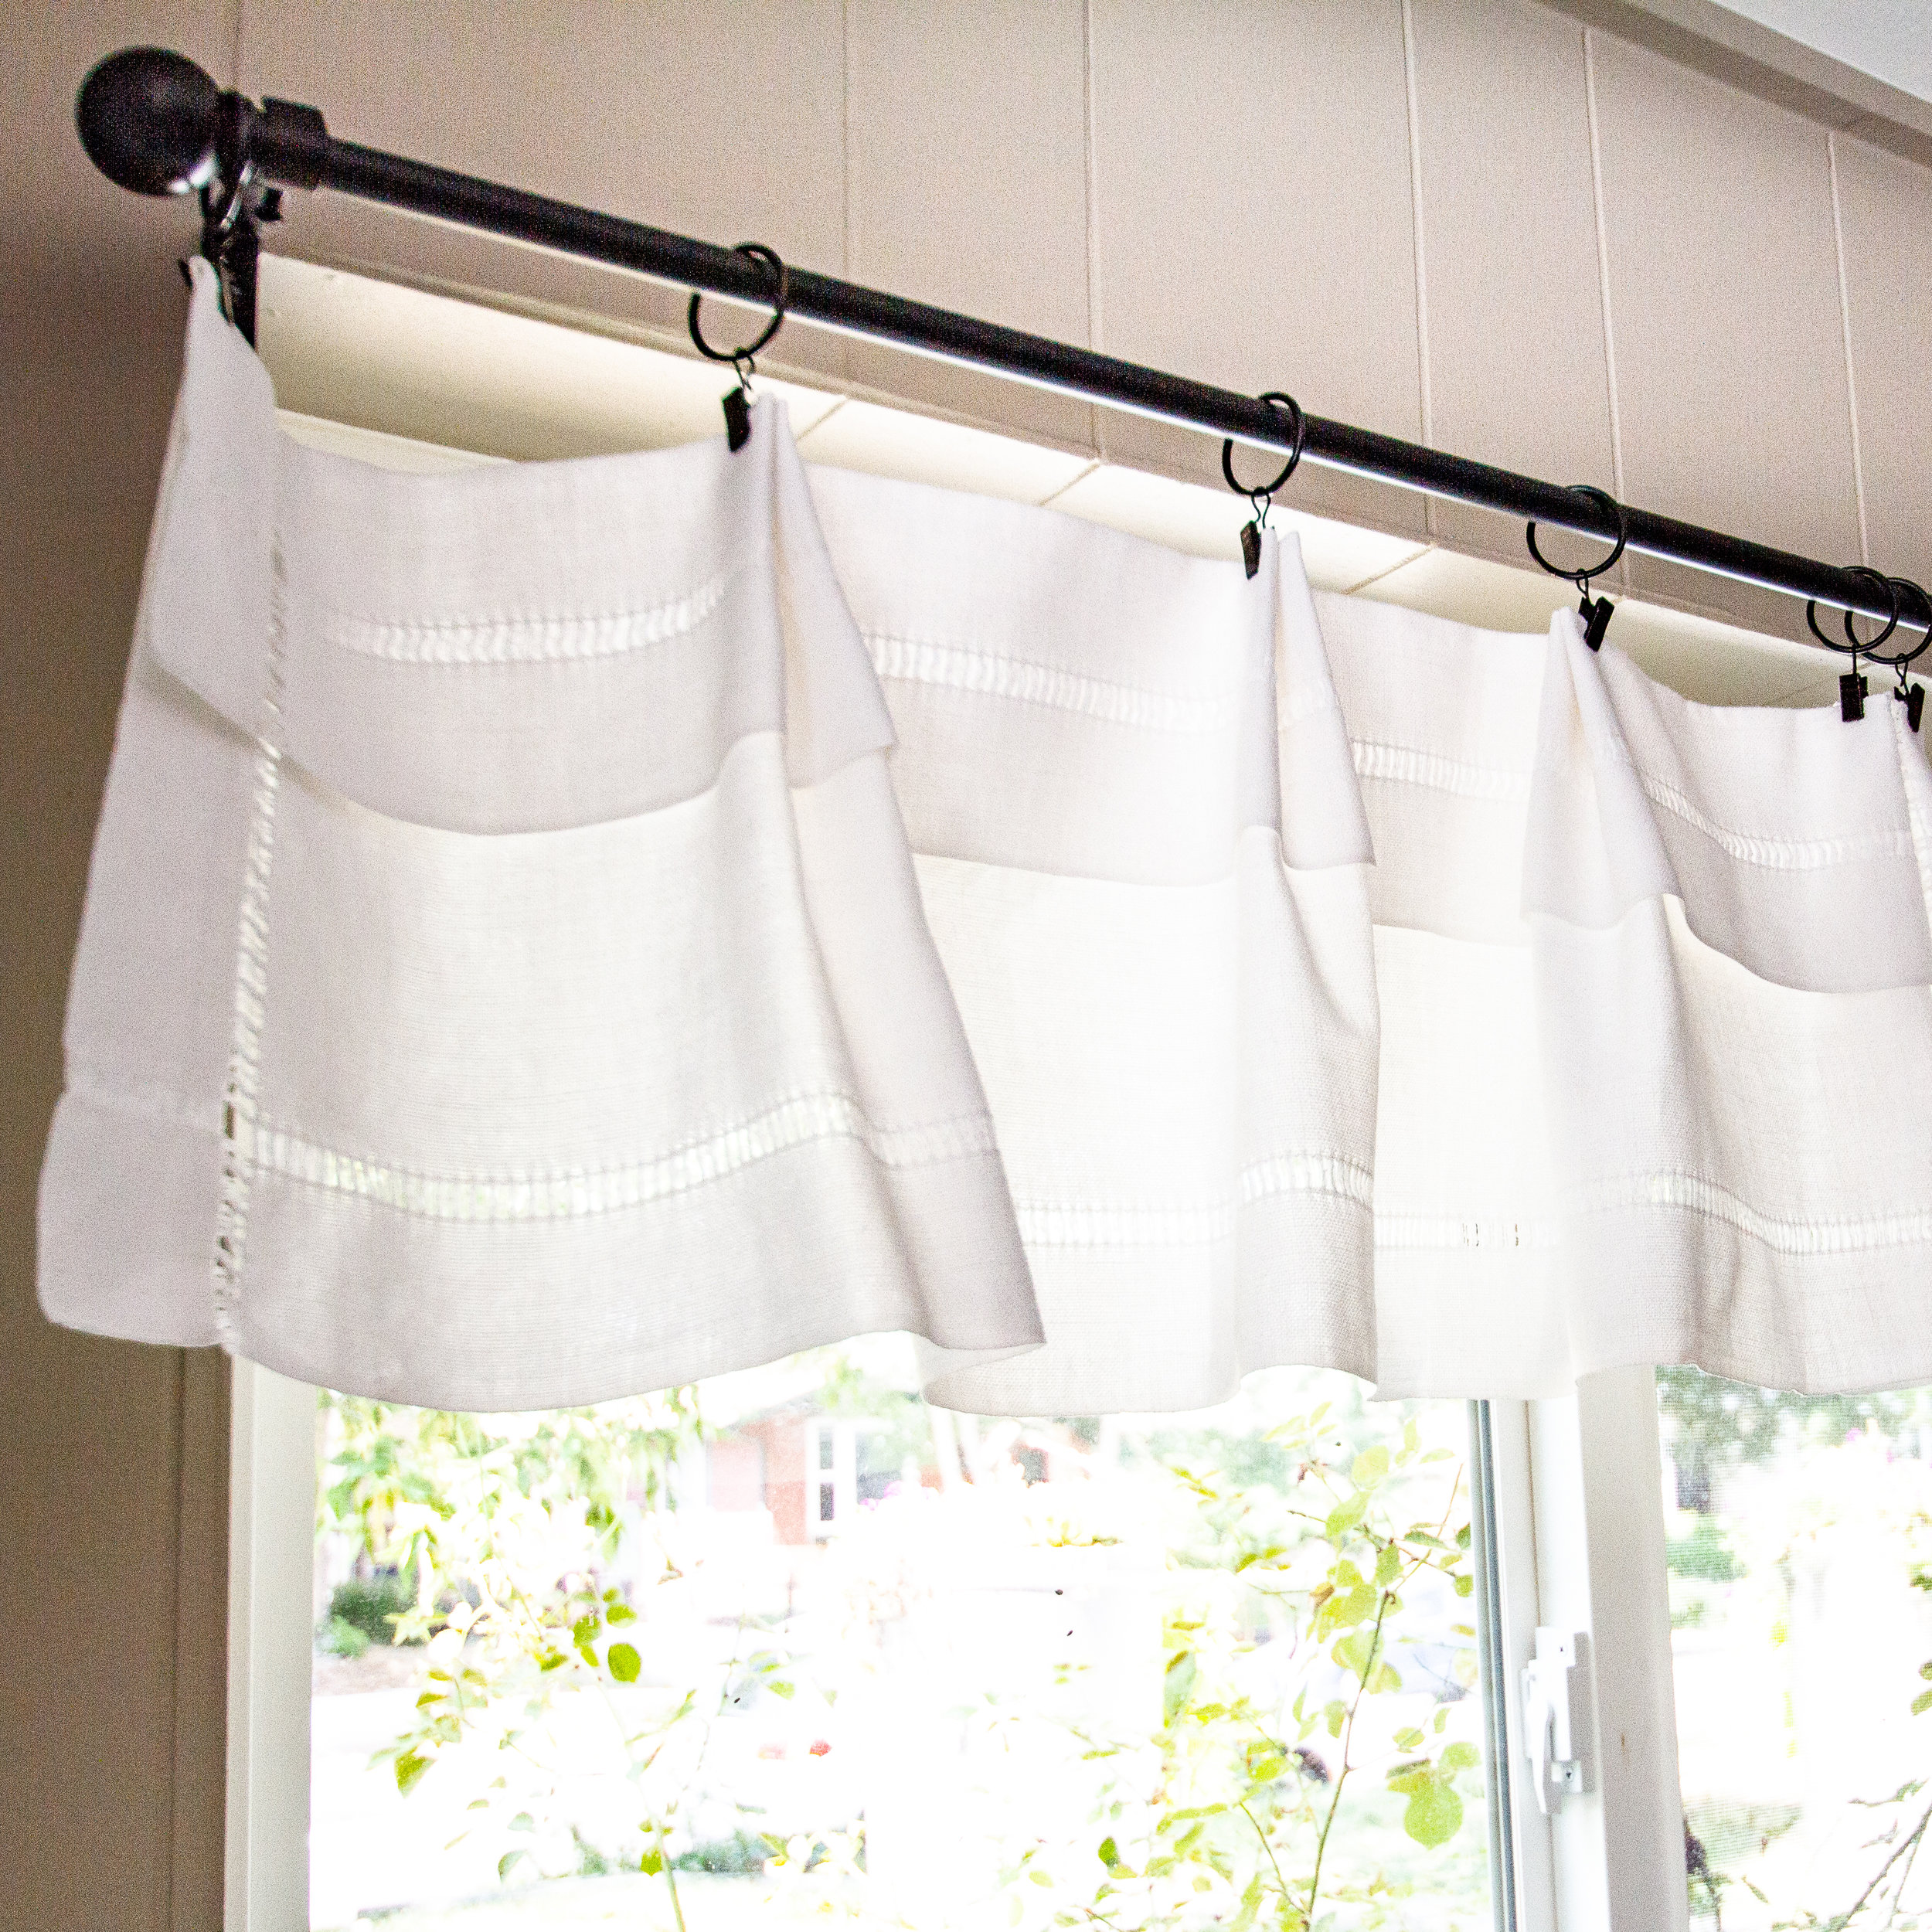
The finished valance in my office made from two vintage table runners.
My grandmother passed away this summer. She was a remarkable woman, and when we gathered for her memorial service, we all had an opportunity to go through her home taking keepsakes and bits of their family life with us. My grandparents bought their home in 1947. They raised their family there and never left -- so there were generations of memories in that little house.
I was particularly drawn to her collection of vintage linens -- aprons, table linens, sheets, and towels. I chose some lovely pieces to bring home, but many of them were discolored and stained -- as is the case with many vintage linens that are stored away for long periods of time. I have ideas for many of the pieces -- projects that I will tackle bit by bit. But I was immediately drawn to two sheets and two table runners -- and I knew just what I wanted to do with them: turn them into window treatments for my office.
When we moved in a little over a year ago, I bought some cute curtains for my office, but over the year I realized they were a mistake. They simply made my little room too dark. I'd been waiting for just the right solution, and these sheets trimmed with handmade lace were exactly what I'd been looking for!
Materials
- 2 vintage sheets: full/queen size
- 2 vintage matching table runners (or one table runner which is at least 1.5 times the width of the window)
- 2 curtain rods
- 36 curtain rings with clips
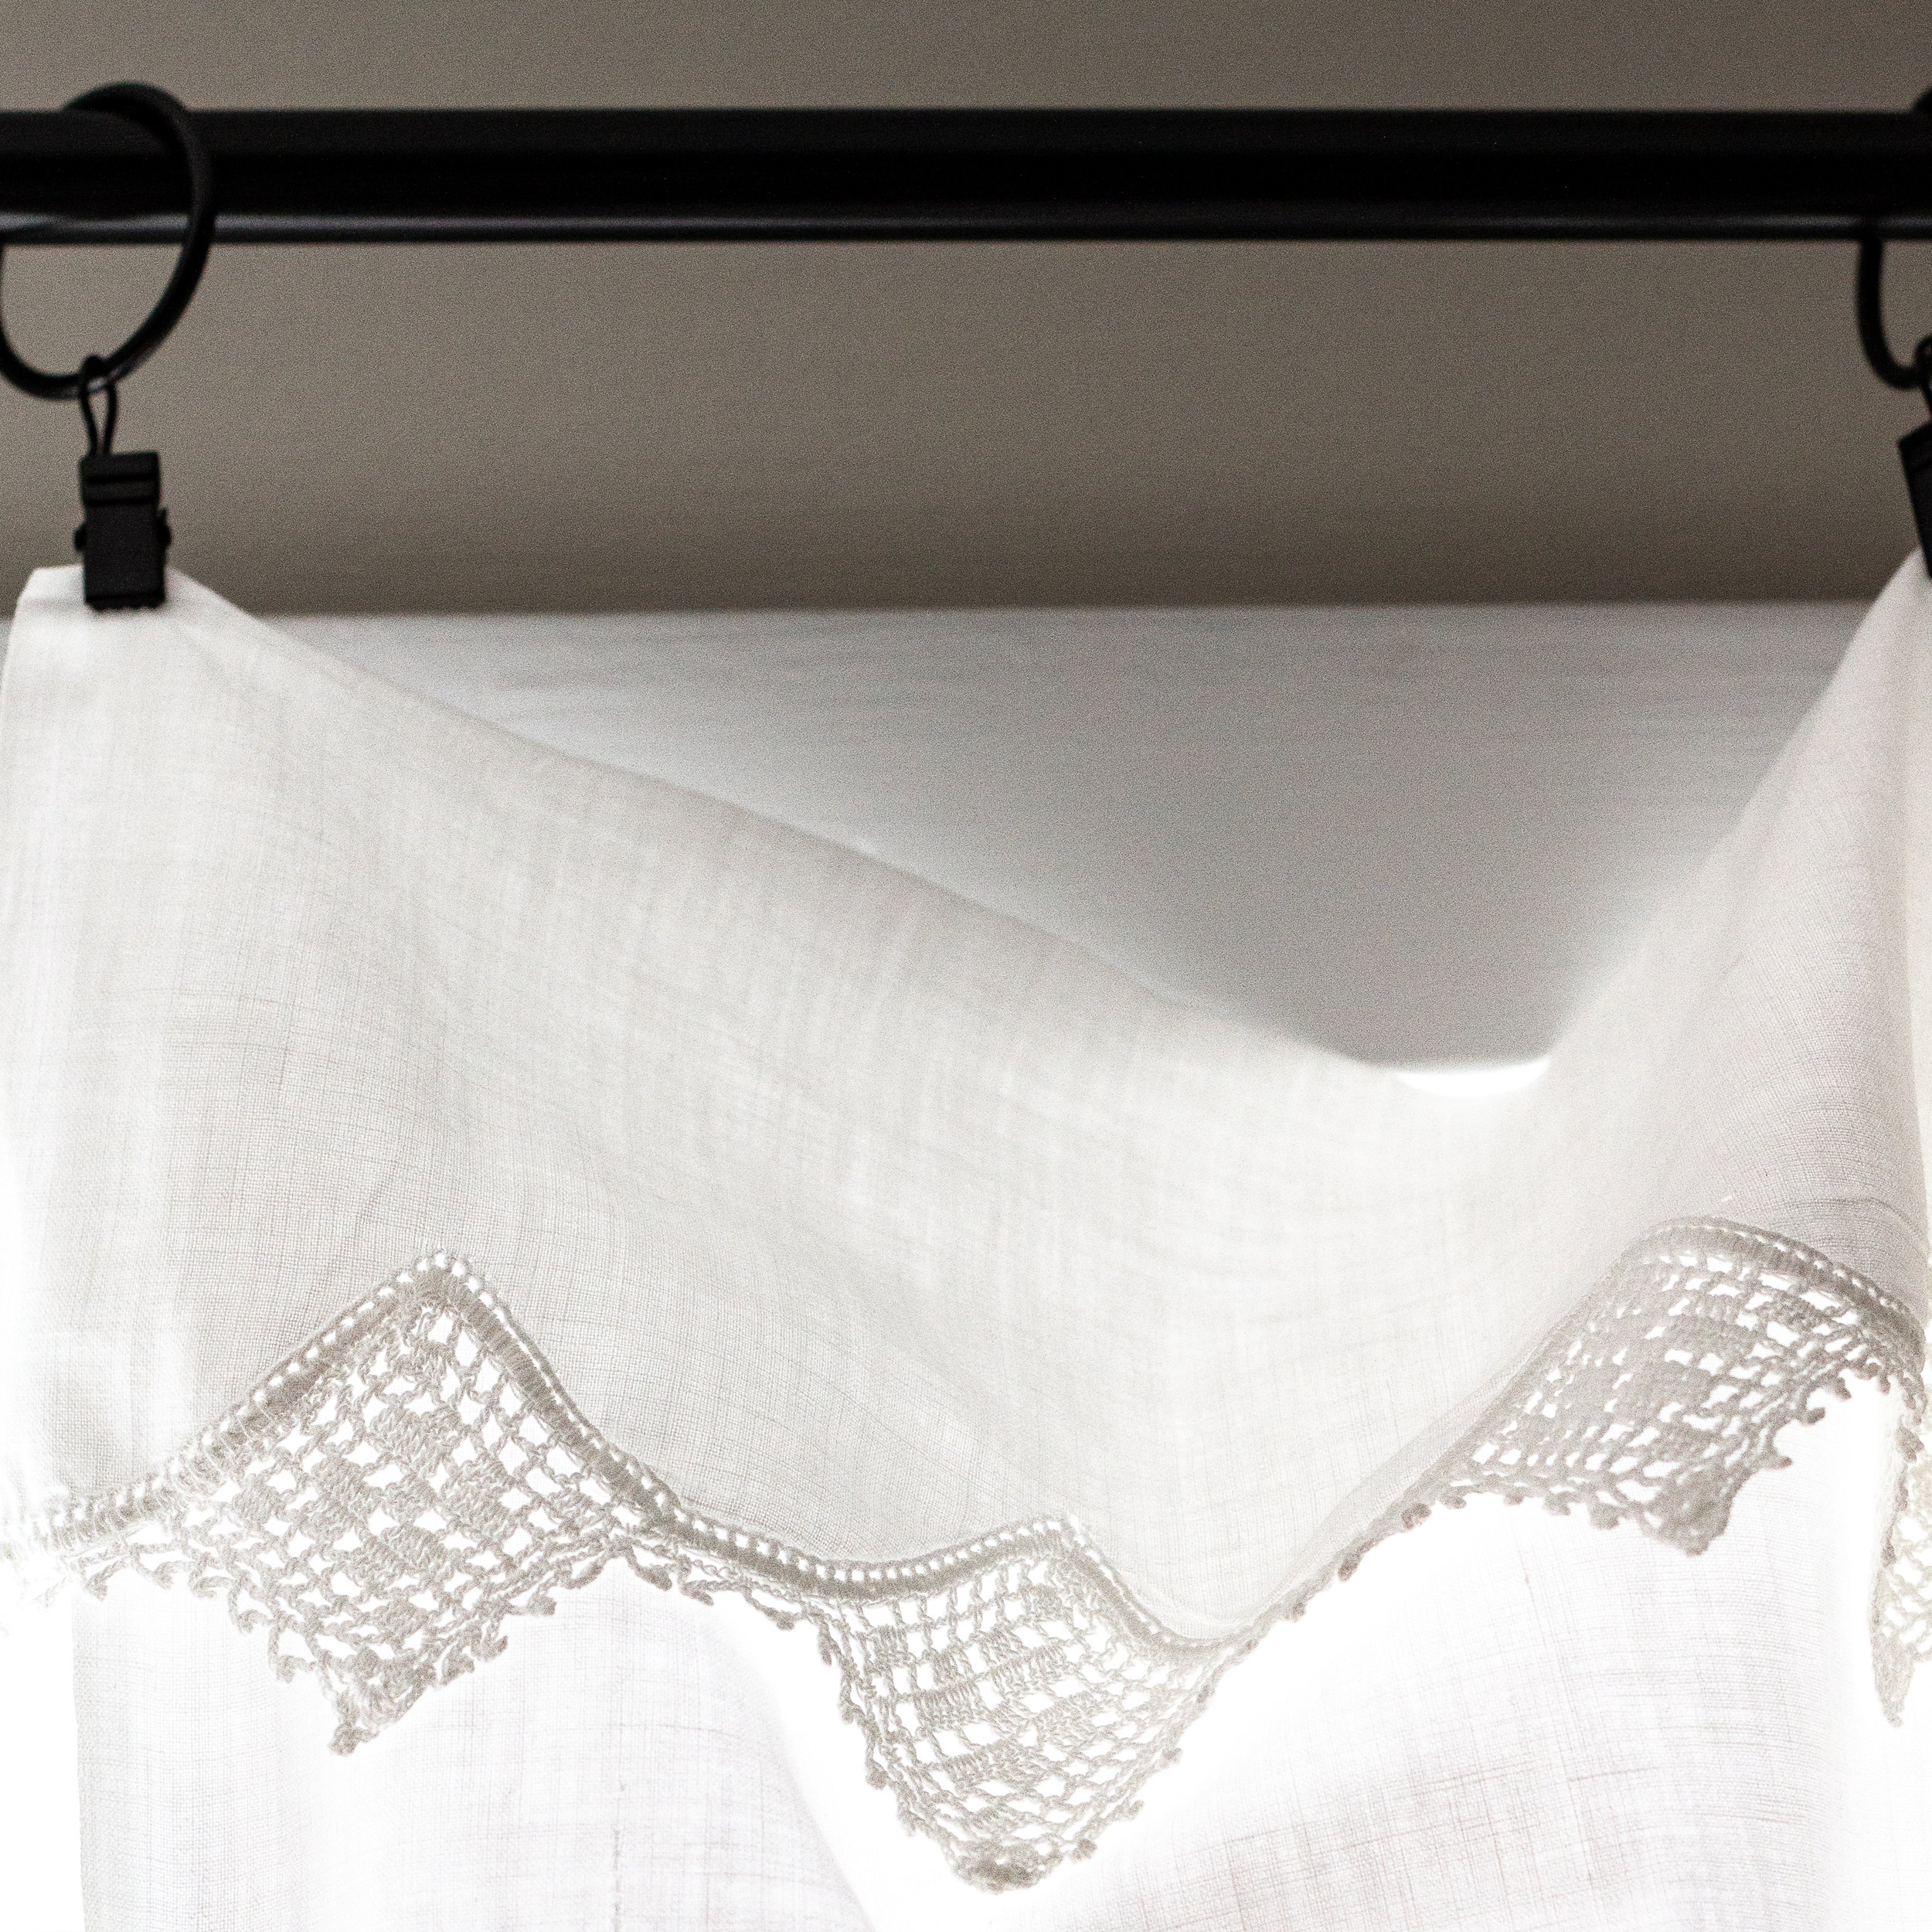
This sheet has two rows of hand-made lace -- one row inset into the sheet. The sheet had obviously been remade at one point -- perhaps the lace parts had been removed from one sheet and hand-stitched to this one.
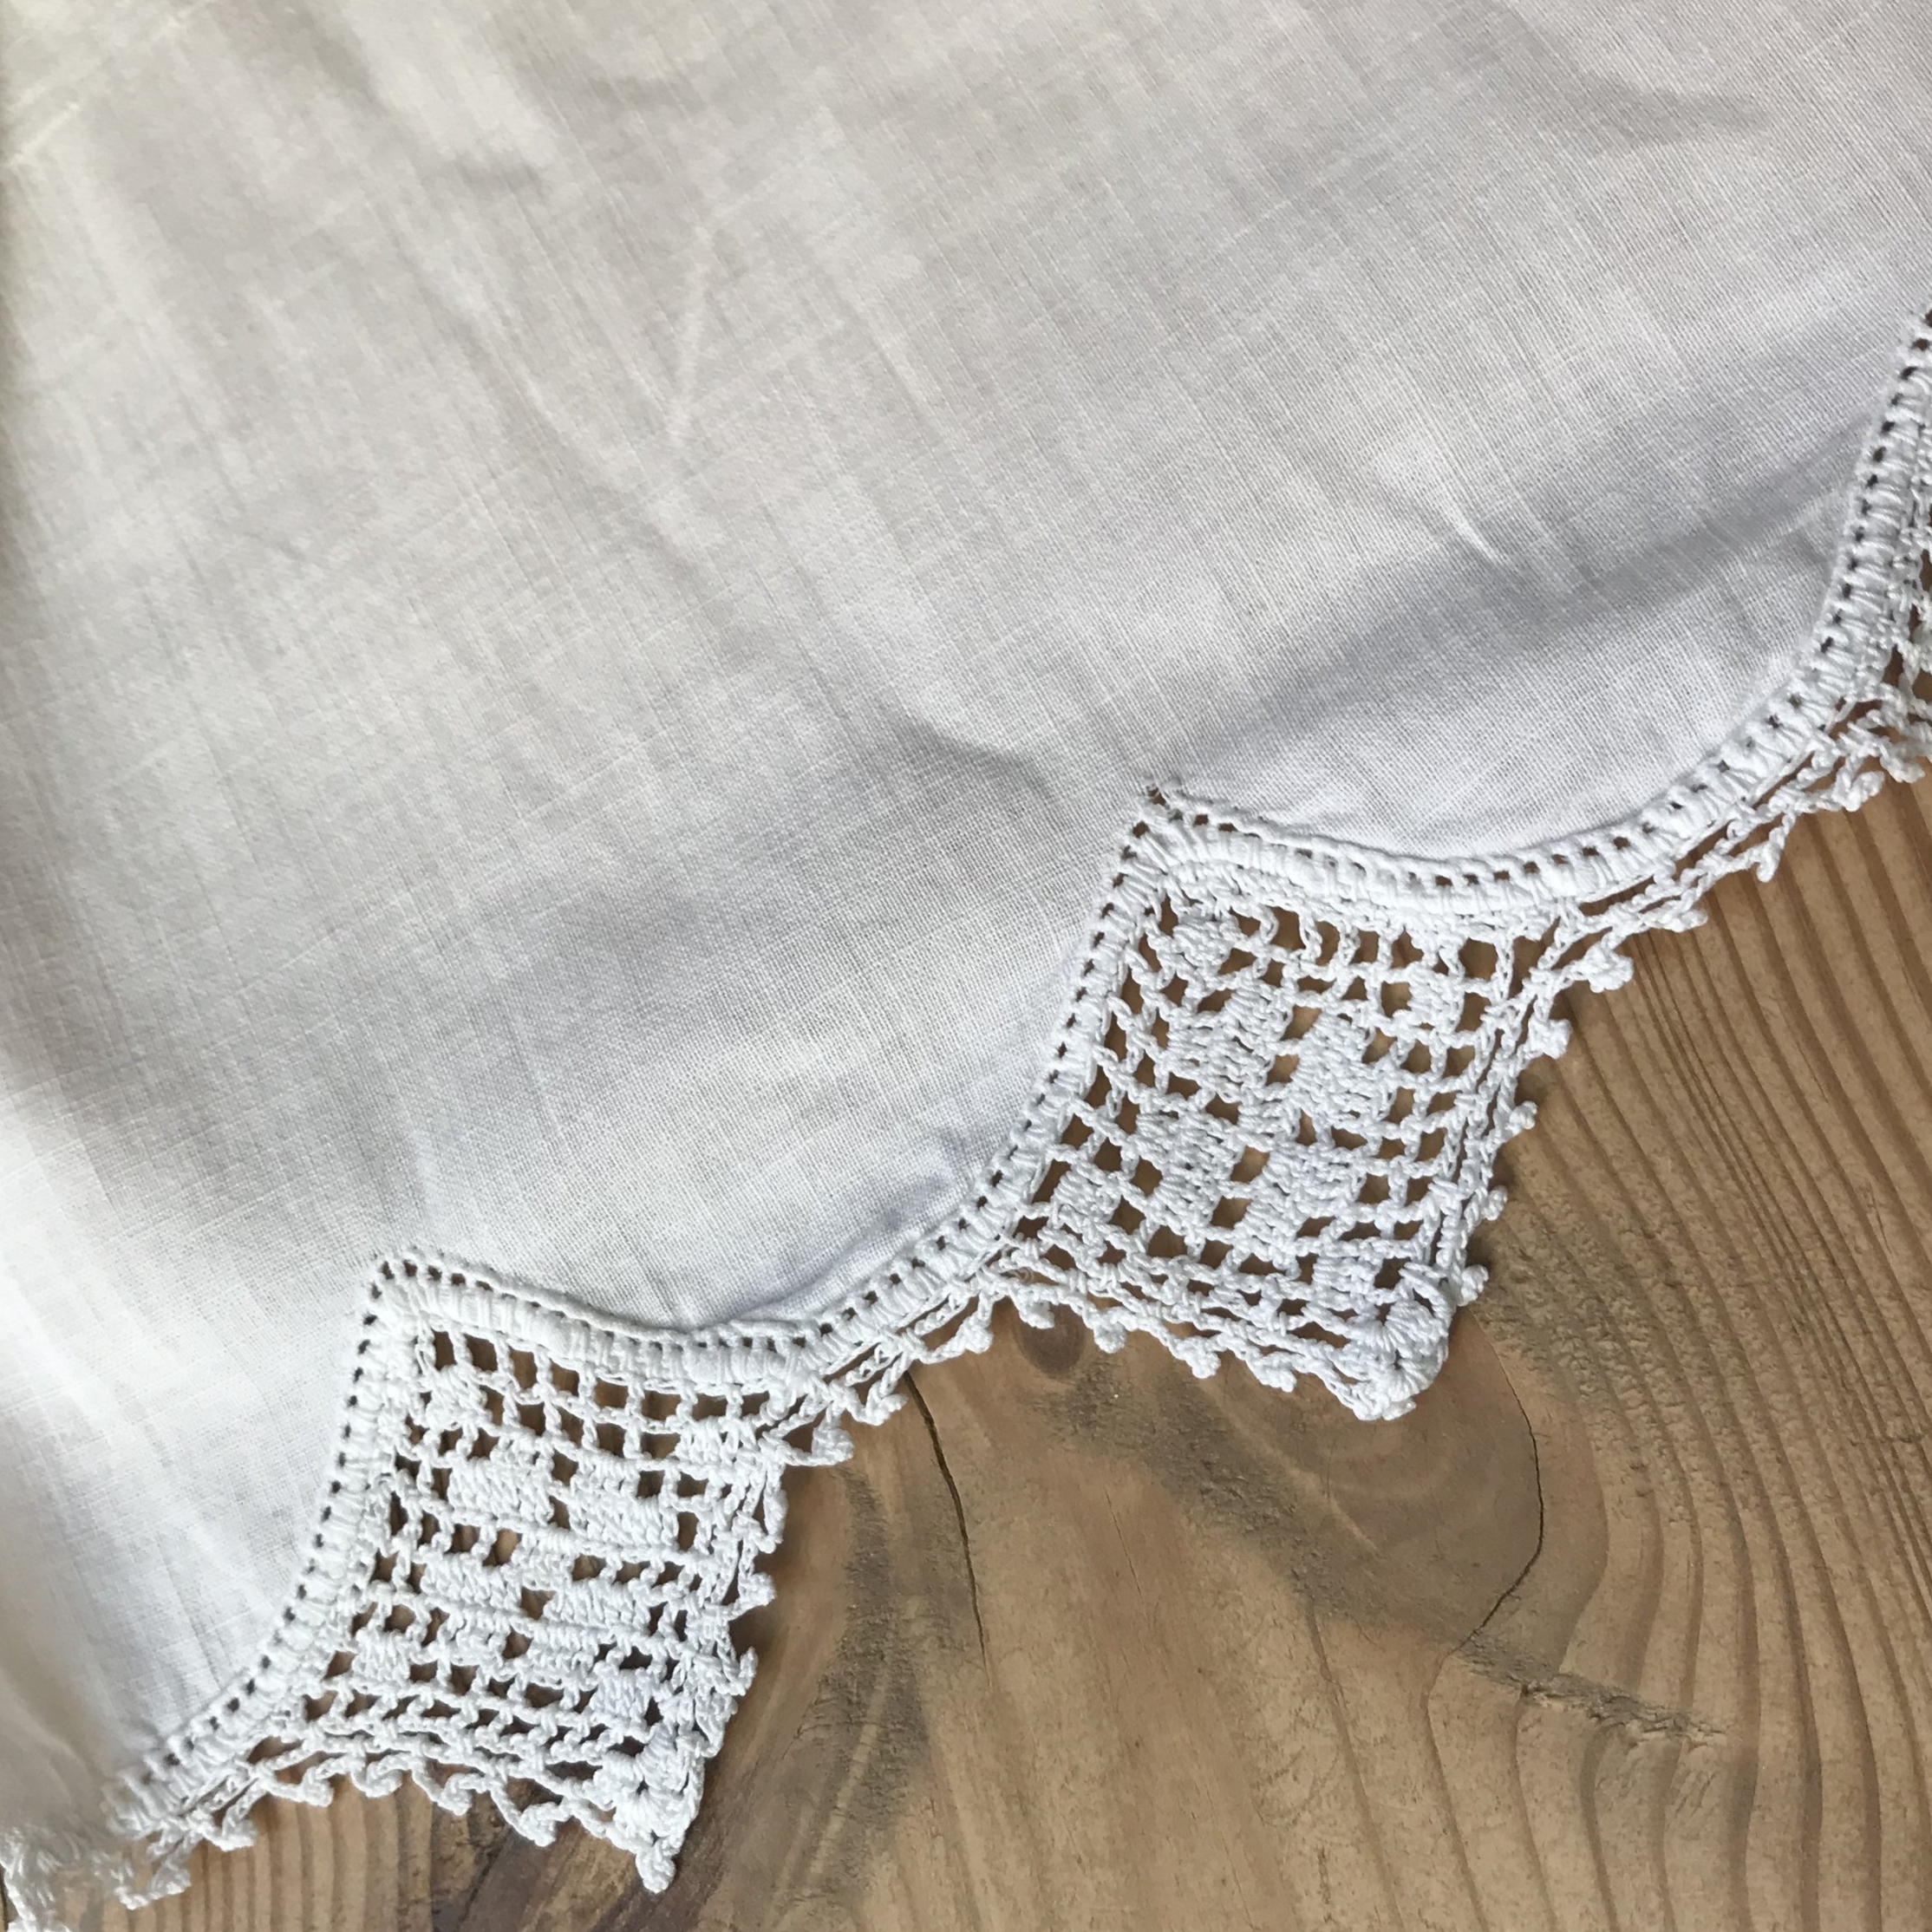
The other sheet has a scalloped edge with handmade lace. It was sheet was so yellow that I thought it was ecru until I laundered it.
One of the table runners with a pulled thread border. Both table runners are the same, but their dimensions are slightly different -- a reflection of their hand-made nature, I am sure.
Step 1: Launder the Linens
Yellowed and stained, I wasn't sure the sheets and table runners would come clean enough to use, but I went slowly, soaking and rinsing and soaking again. In all it took three days, but the stains all came out, the sheets turned snowy white, and they were ready to hang! I write about this process in detail here: Laundering Vintage Linens.
Click Here!
To read about my experience washing the linens for this project, click below!
I measured carefully across the length of the runners to create an even fold that matches on both runners.
I did the same for both sheets adjusting the width of the folded section to make the length of both sheets match.
Step 2: Ironing
After laundering I hung everything up to dry. Once dry, I ironed with a lot of steam -- smoothing and restoring the lace to its proper shape.
Valance: Once it was all pressed I started with the table runners. I needed both to cover the full width of my window. They were a bit too wide to make a nice valance, so I decided to iron in a fold which would make a border at the top. I measured carefully and pressed with a hot iron to make a nice, crisp fold.
Curtains: I laid both sheets out to compare their lengths. There is a 5 inch difference between the two, but that was easily accommodated since I wanted to fold over the lacy edge on both in much the same way as I did for the valance. I measured carefully and determined how deep the fold needed to be for each sheet so that they would end up being the same length. Then I folded over the top and ironed it making sure I ended up with the right side of each facing out.
With rings attached
Adding pleating took out some of the fullness and made the valance a bit more tailored which better suits my office.
Step 3: Add the Rings & Hang
For both the valance and the curtains, I chose a simple black rod with a round finial -- very inexpensive. I also purchased a package of black drapery rings with clips.
Valance: I used 5 rings per runner. With both runners and no pleats, the fabric was just too full and looked a bit floppy, so I created 2 accordion pleats at each clip. The pleats are about 2 inches long. That took much of the volume out of the fabric and gave the valance a little more tailored look. This is just something you'll have to play with depending on the dimensions of your window and the volume of your fabrics.
Curtains: I used 9 rings per curtain. Using an odd number places one in the center and makes the measuring very easy.
Then I put the rings on the rods, and hung them. A little fussing here and there -- and I had great curtains. The effect in my office is both feminine and clean -- exactly what I'd hoped for. And while it isn't exactly Mid Modern, I think of them as my 1950s clothesline -- linens from my trousseau, drying in the sunshine, just like my grandmother's clothesline in the garden of her home.
The finished curtains on the large window in my office.
The finished valance over the smaller window.
Pin This!
Pin this!
Share on Instagram!


