Handprint Sunprints
DIY Cyanotype Sunprints on Fabric Using Kids Handprints
an easy project tutorial perfect for creating fabulous gifts
When I was a little girl my mother made each of my grandmother’s an apron appliqued with the handprints of each grandchild. She embroidered each name on the apron, too. My grandmothers wore those aprons all the time. I remember each of them vividly. In fact, when my grandmother died a few years ago, her apron made its way into my collection.
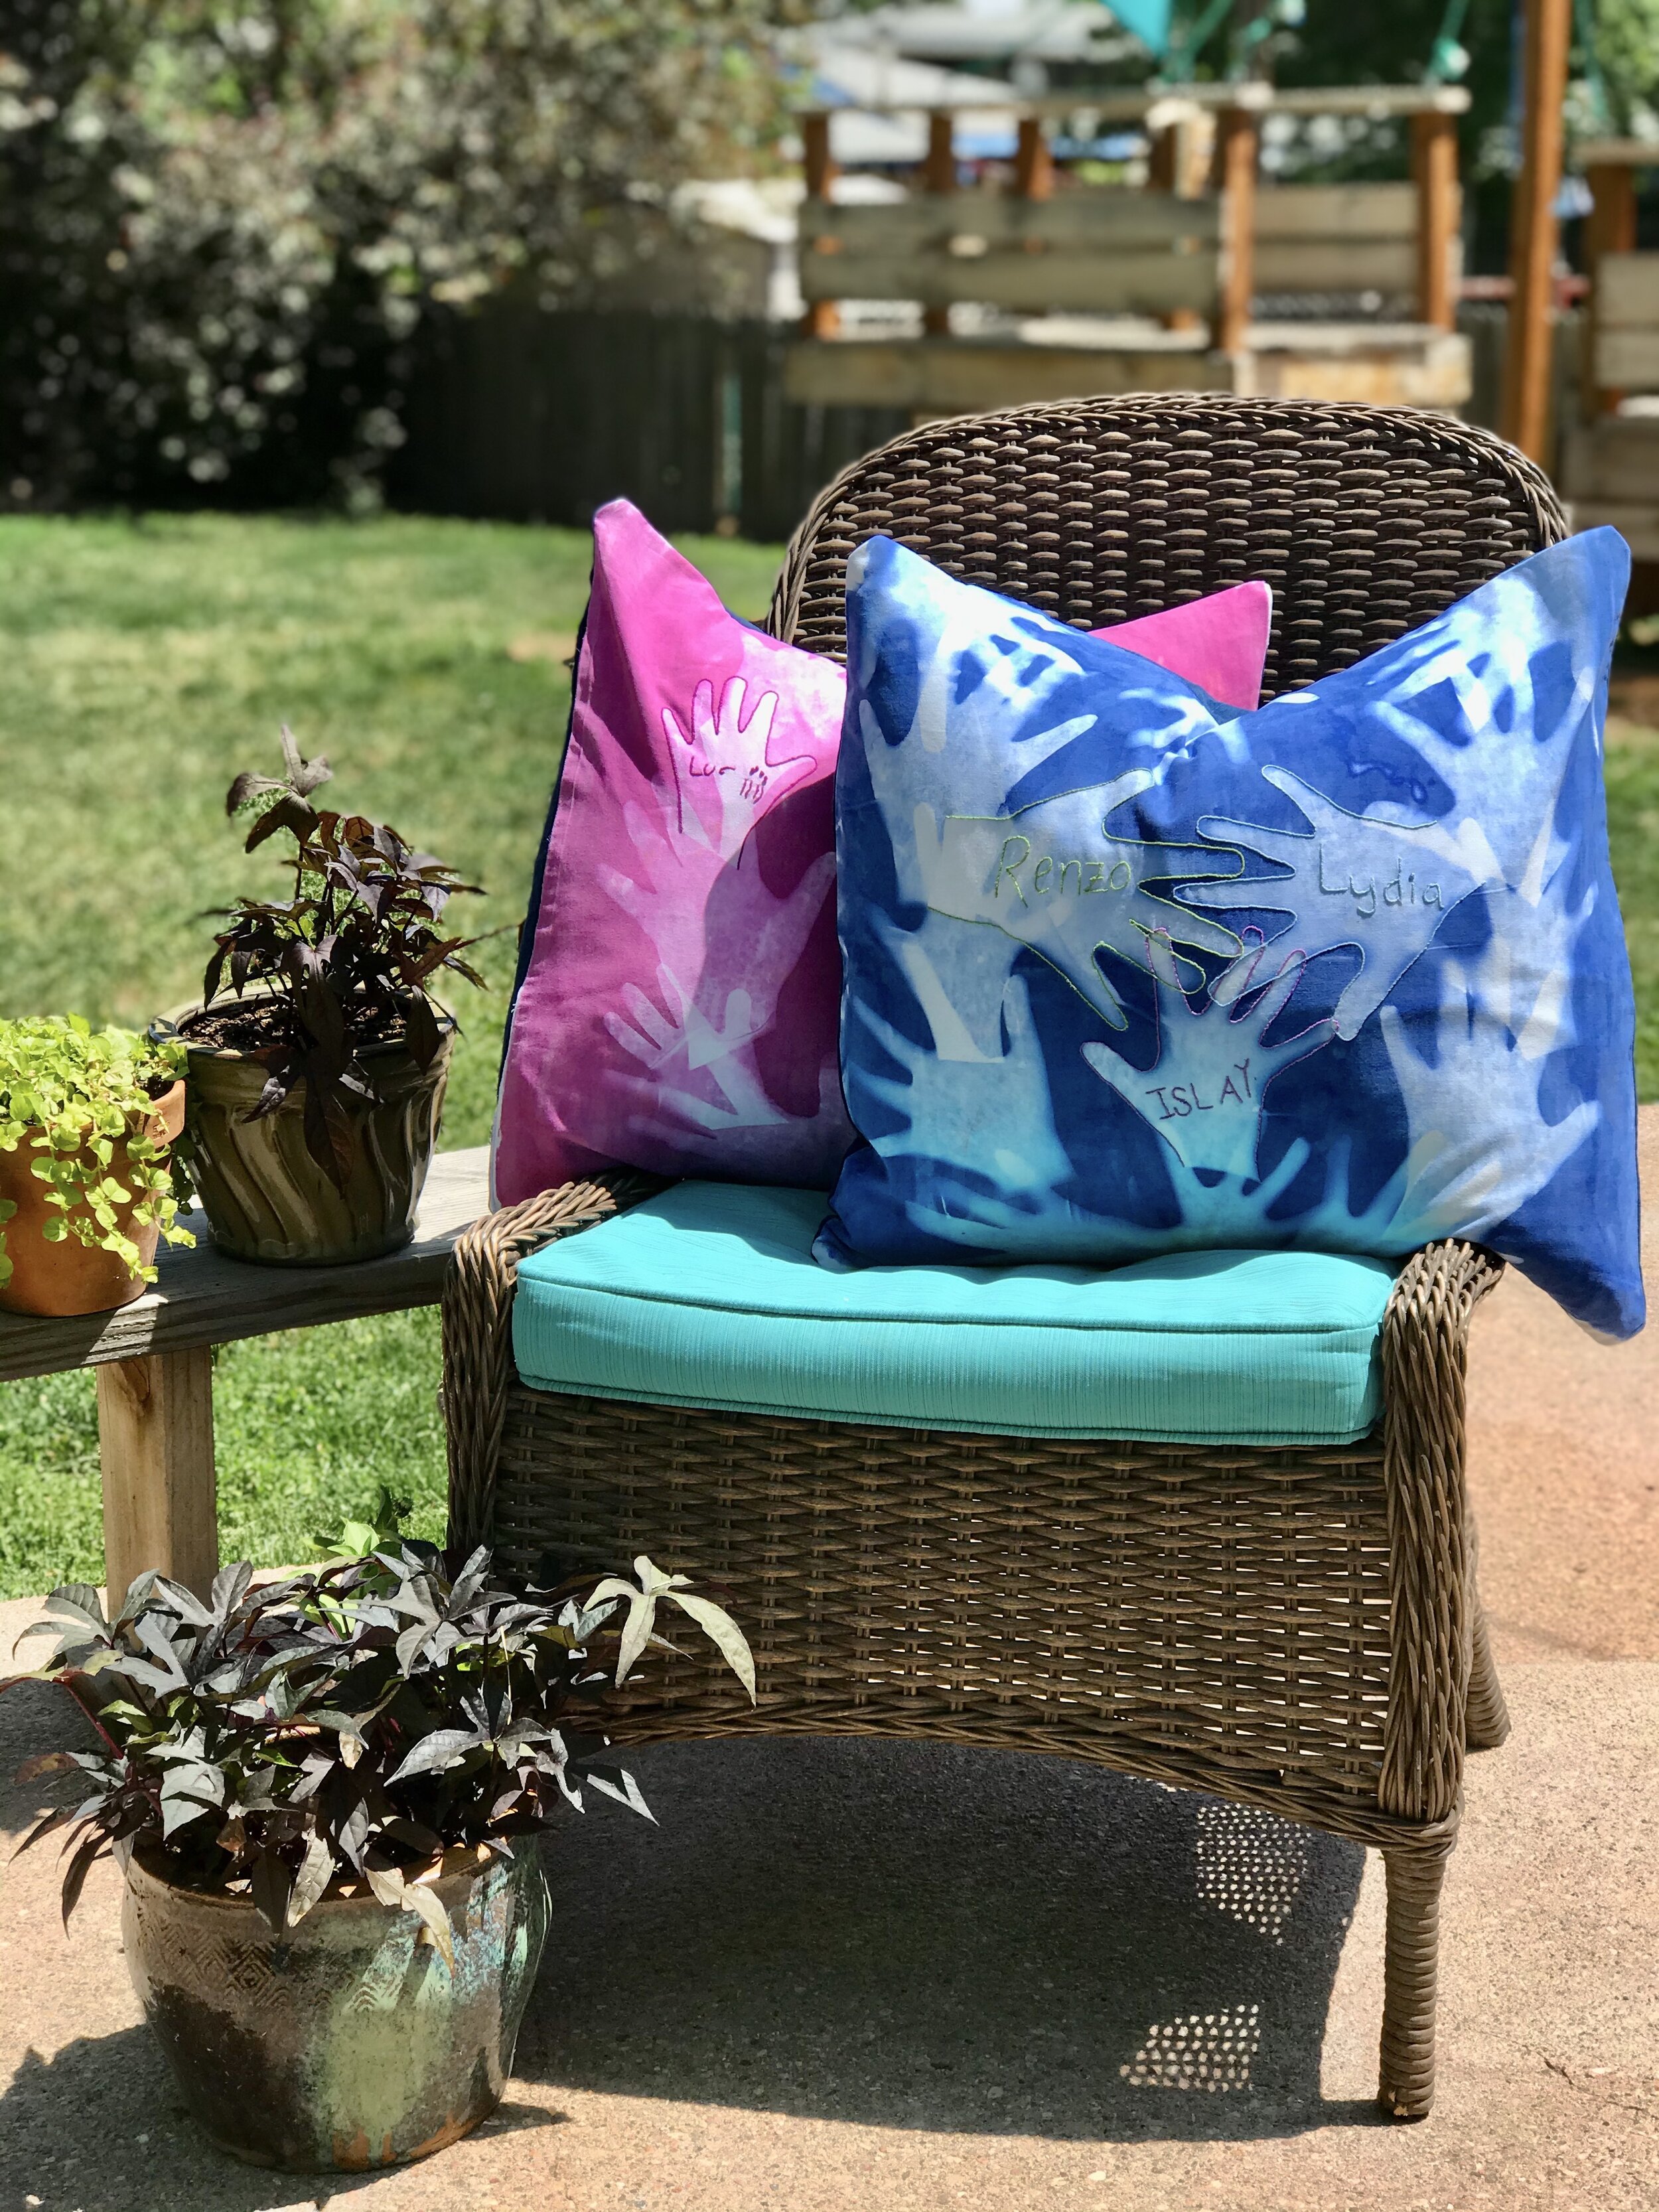
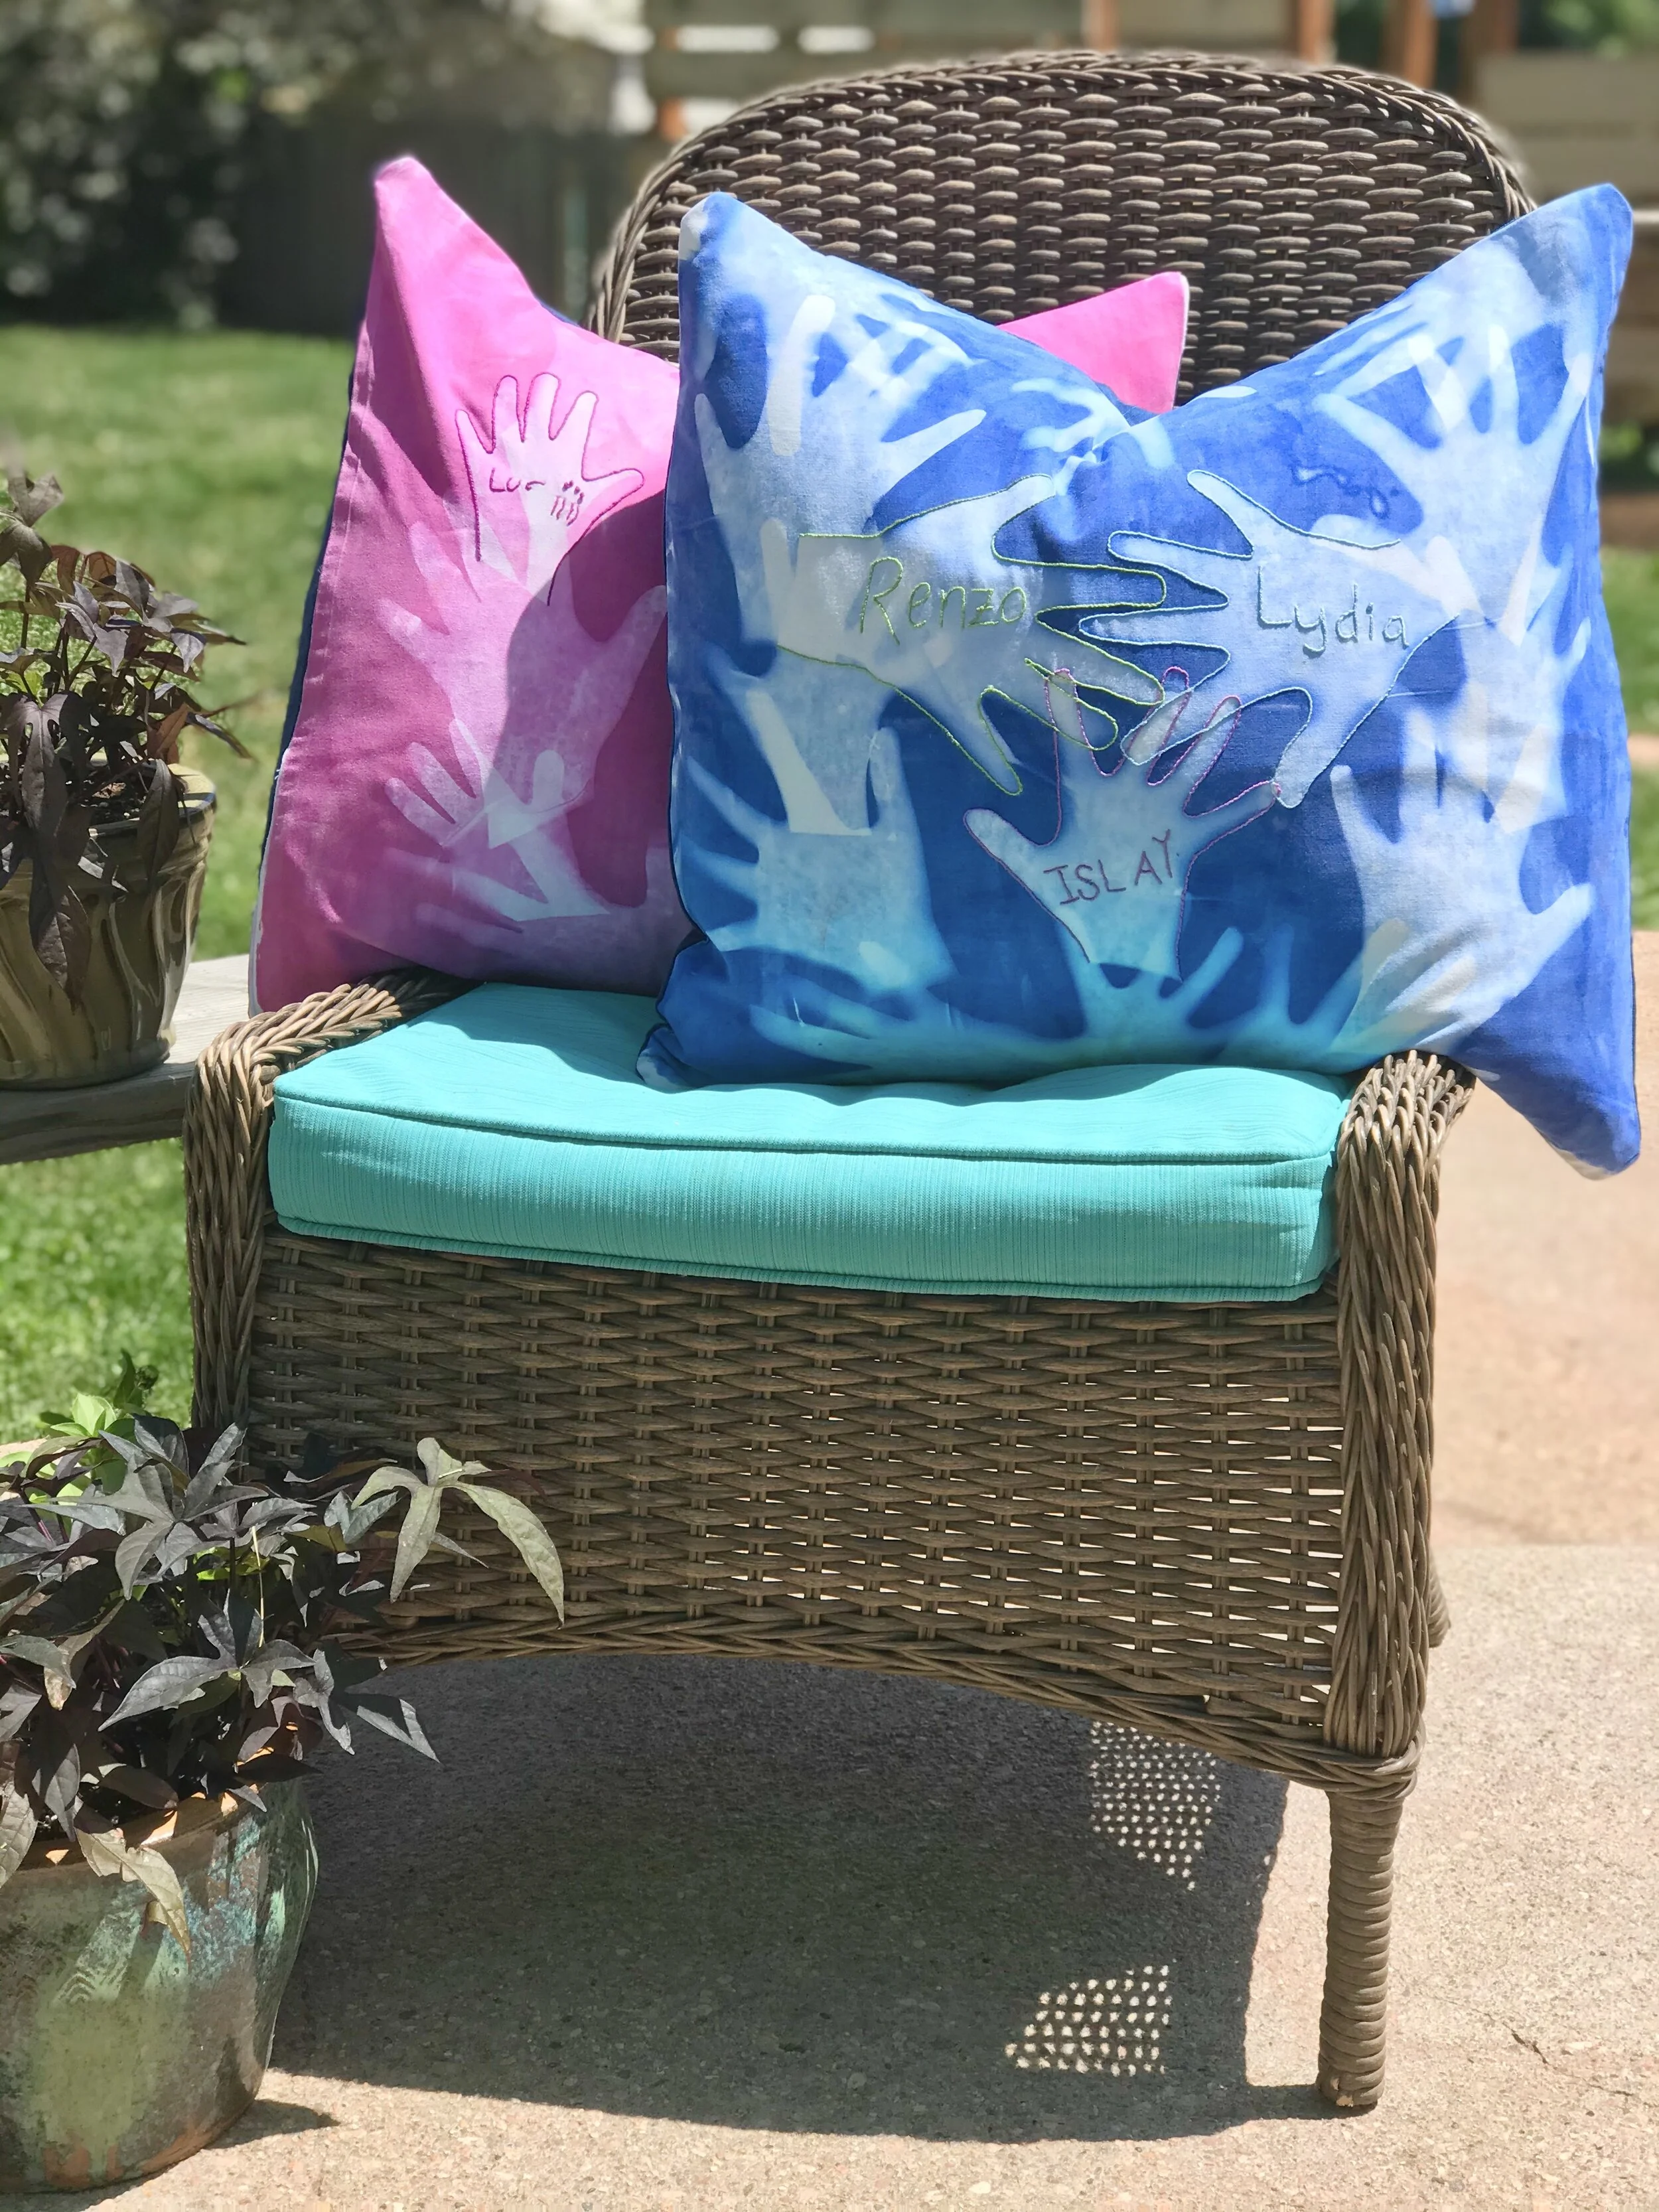
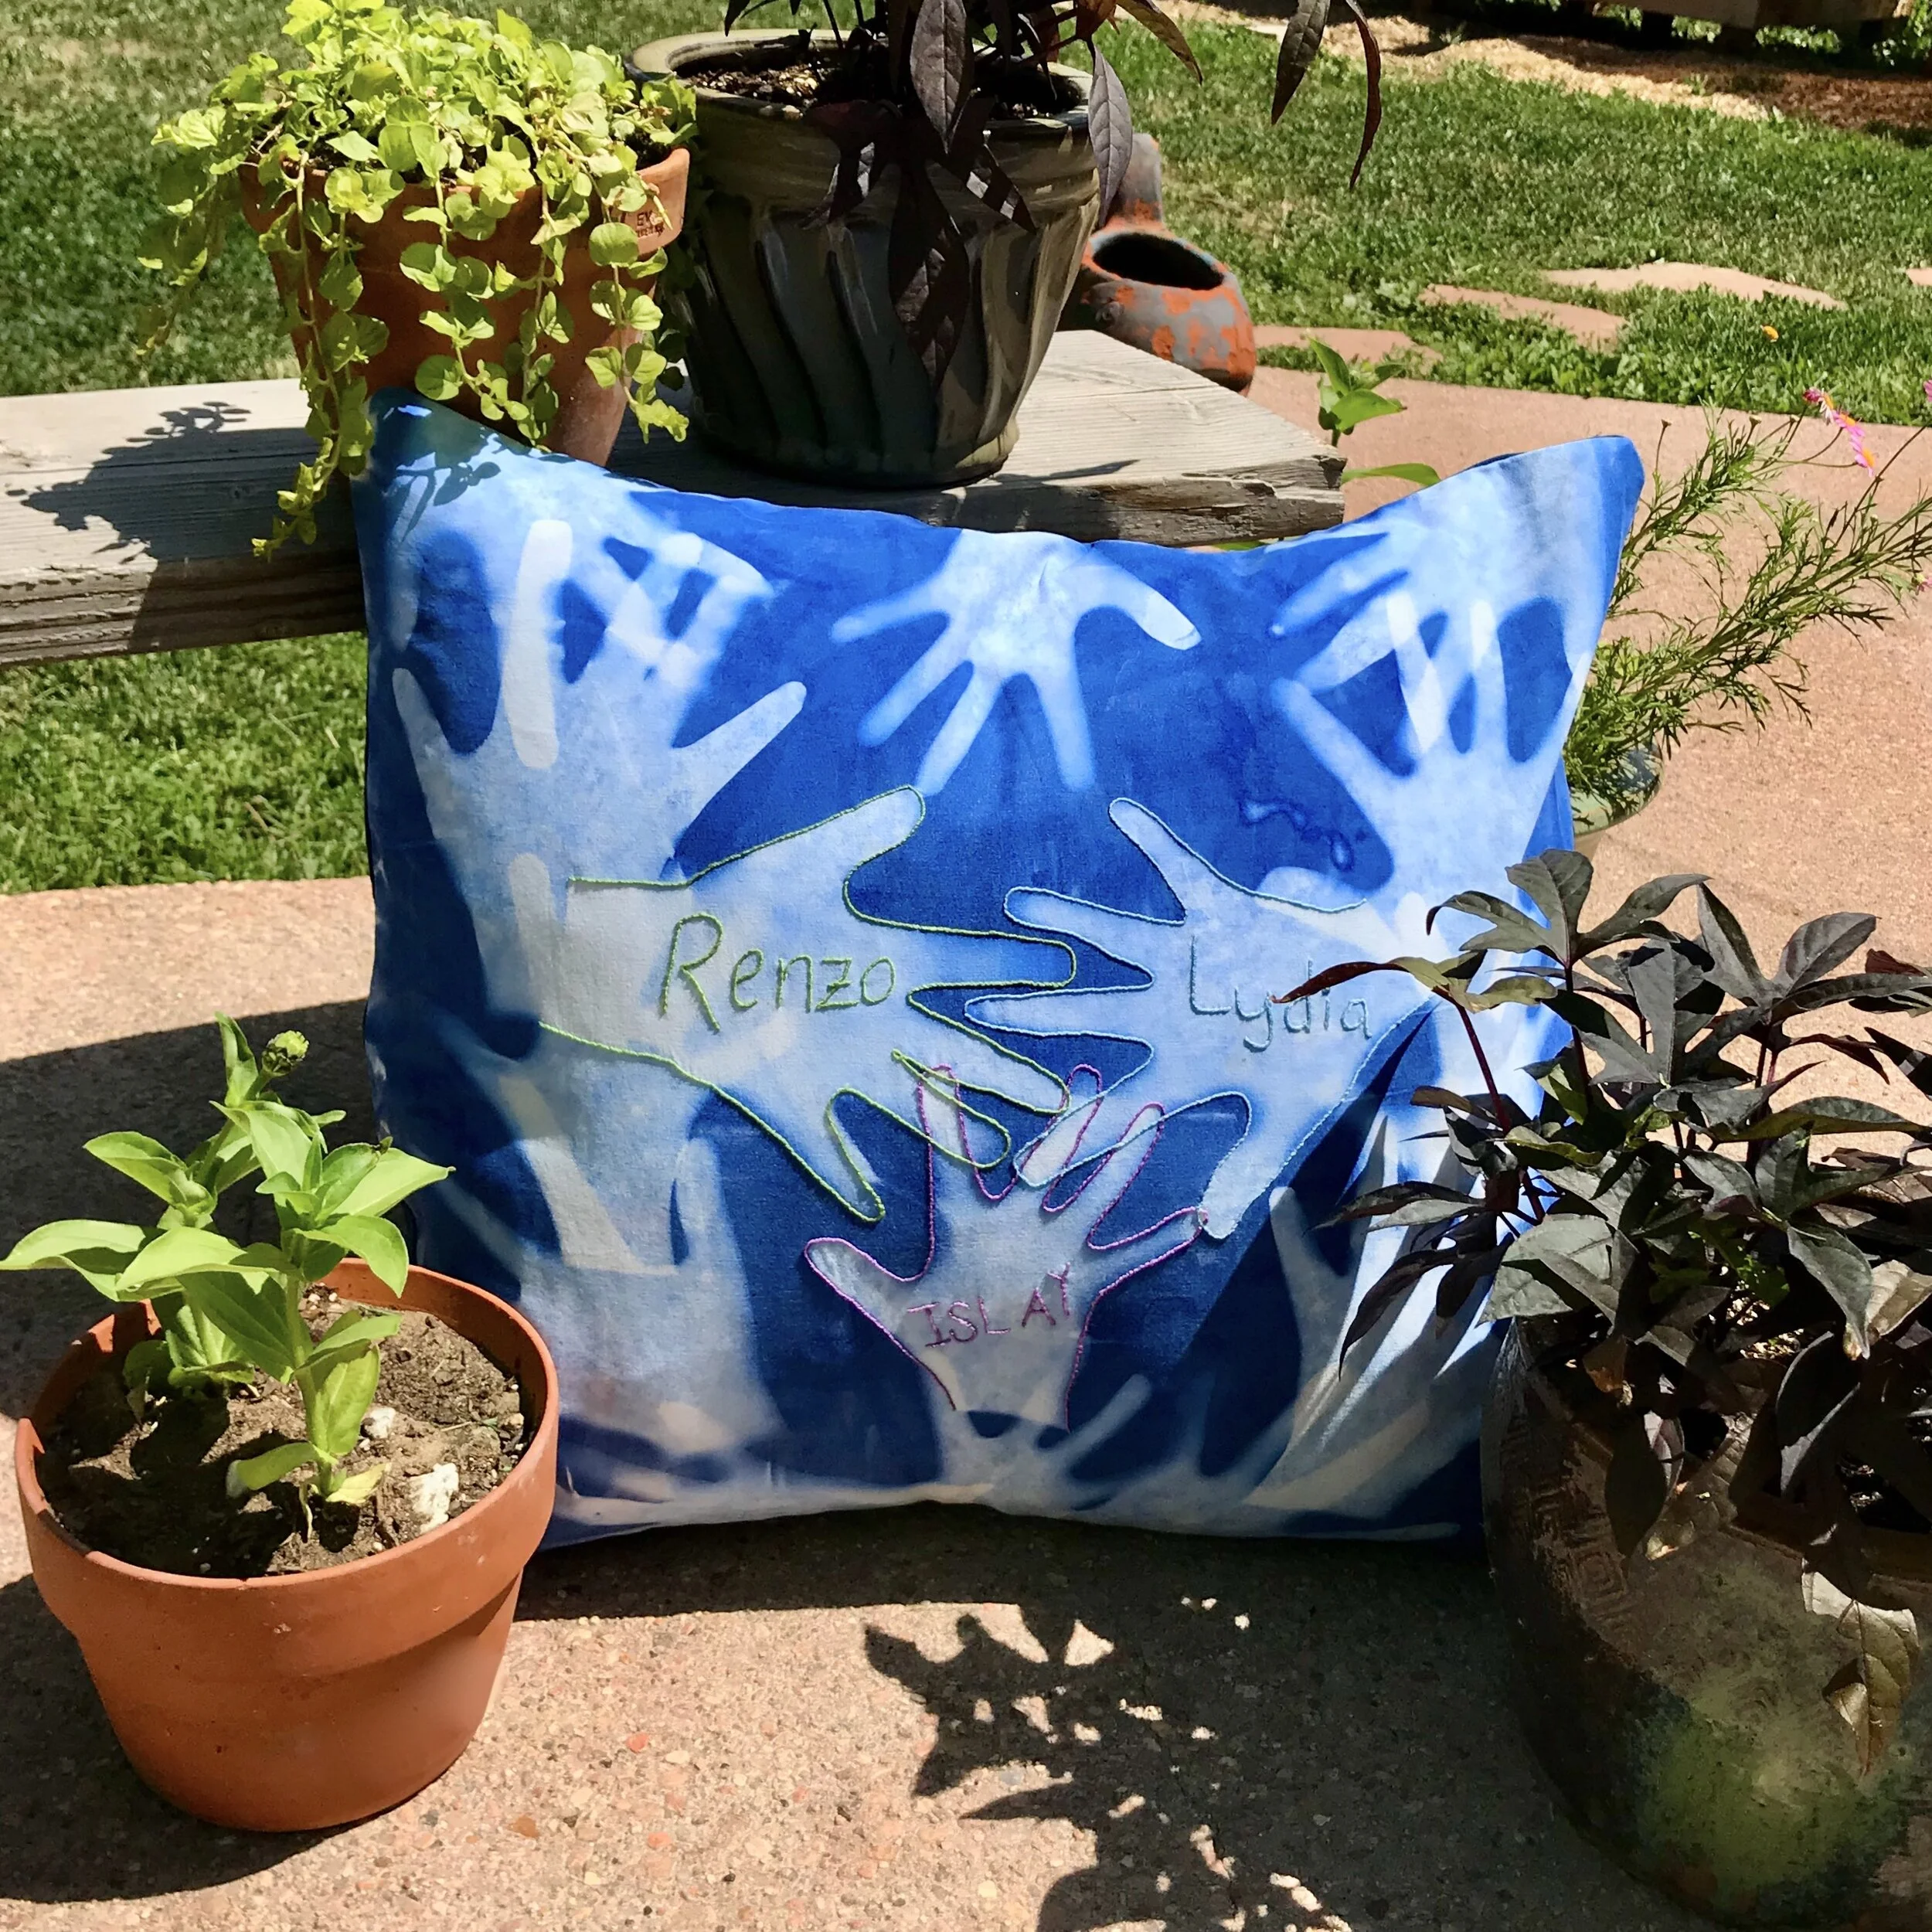
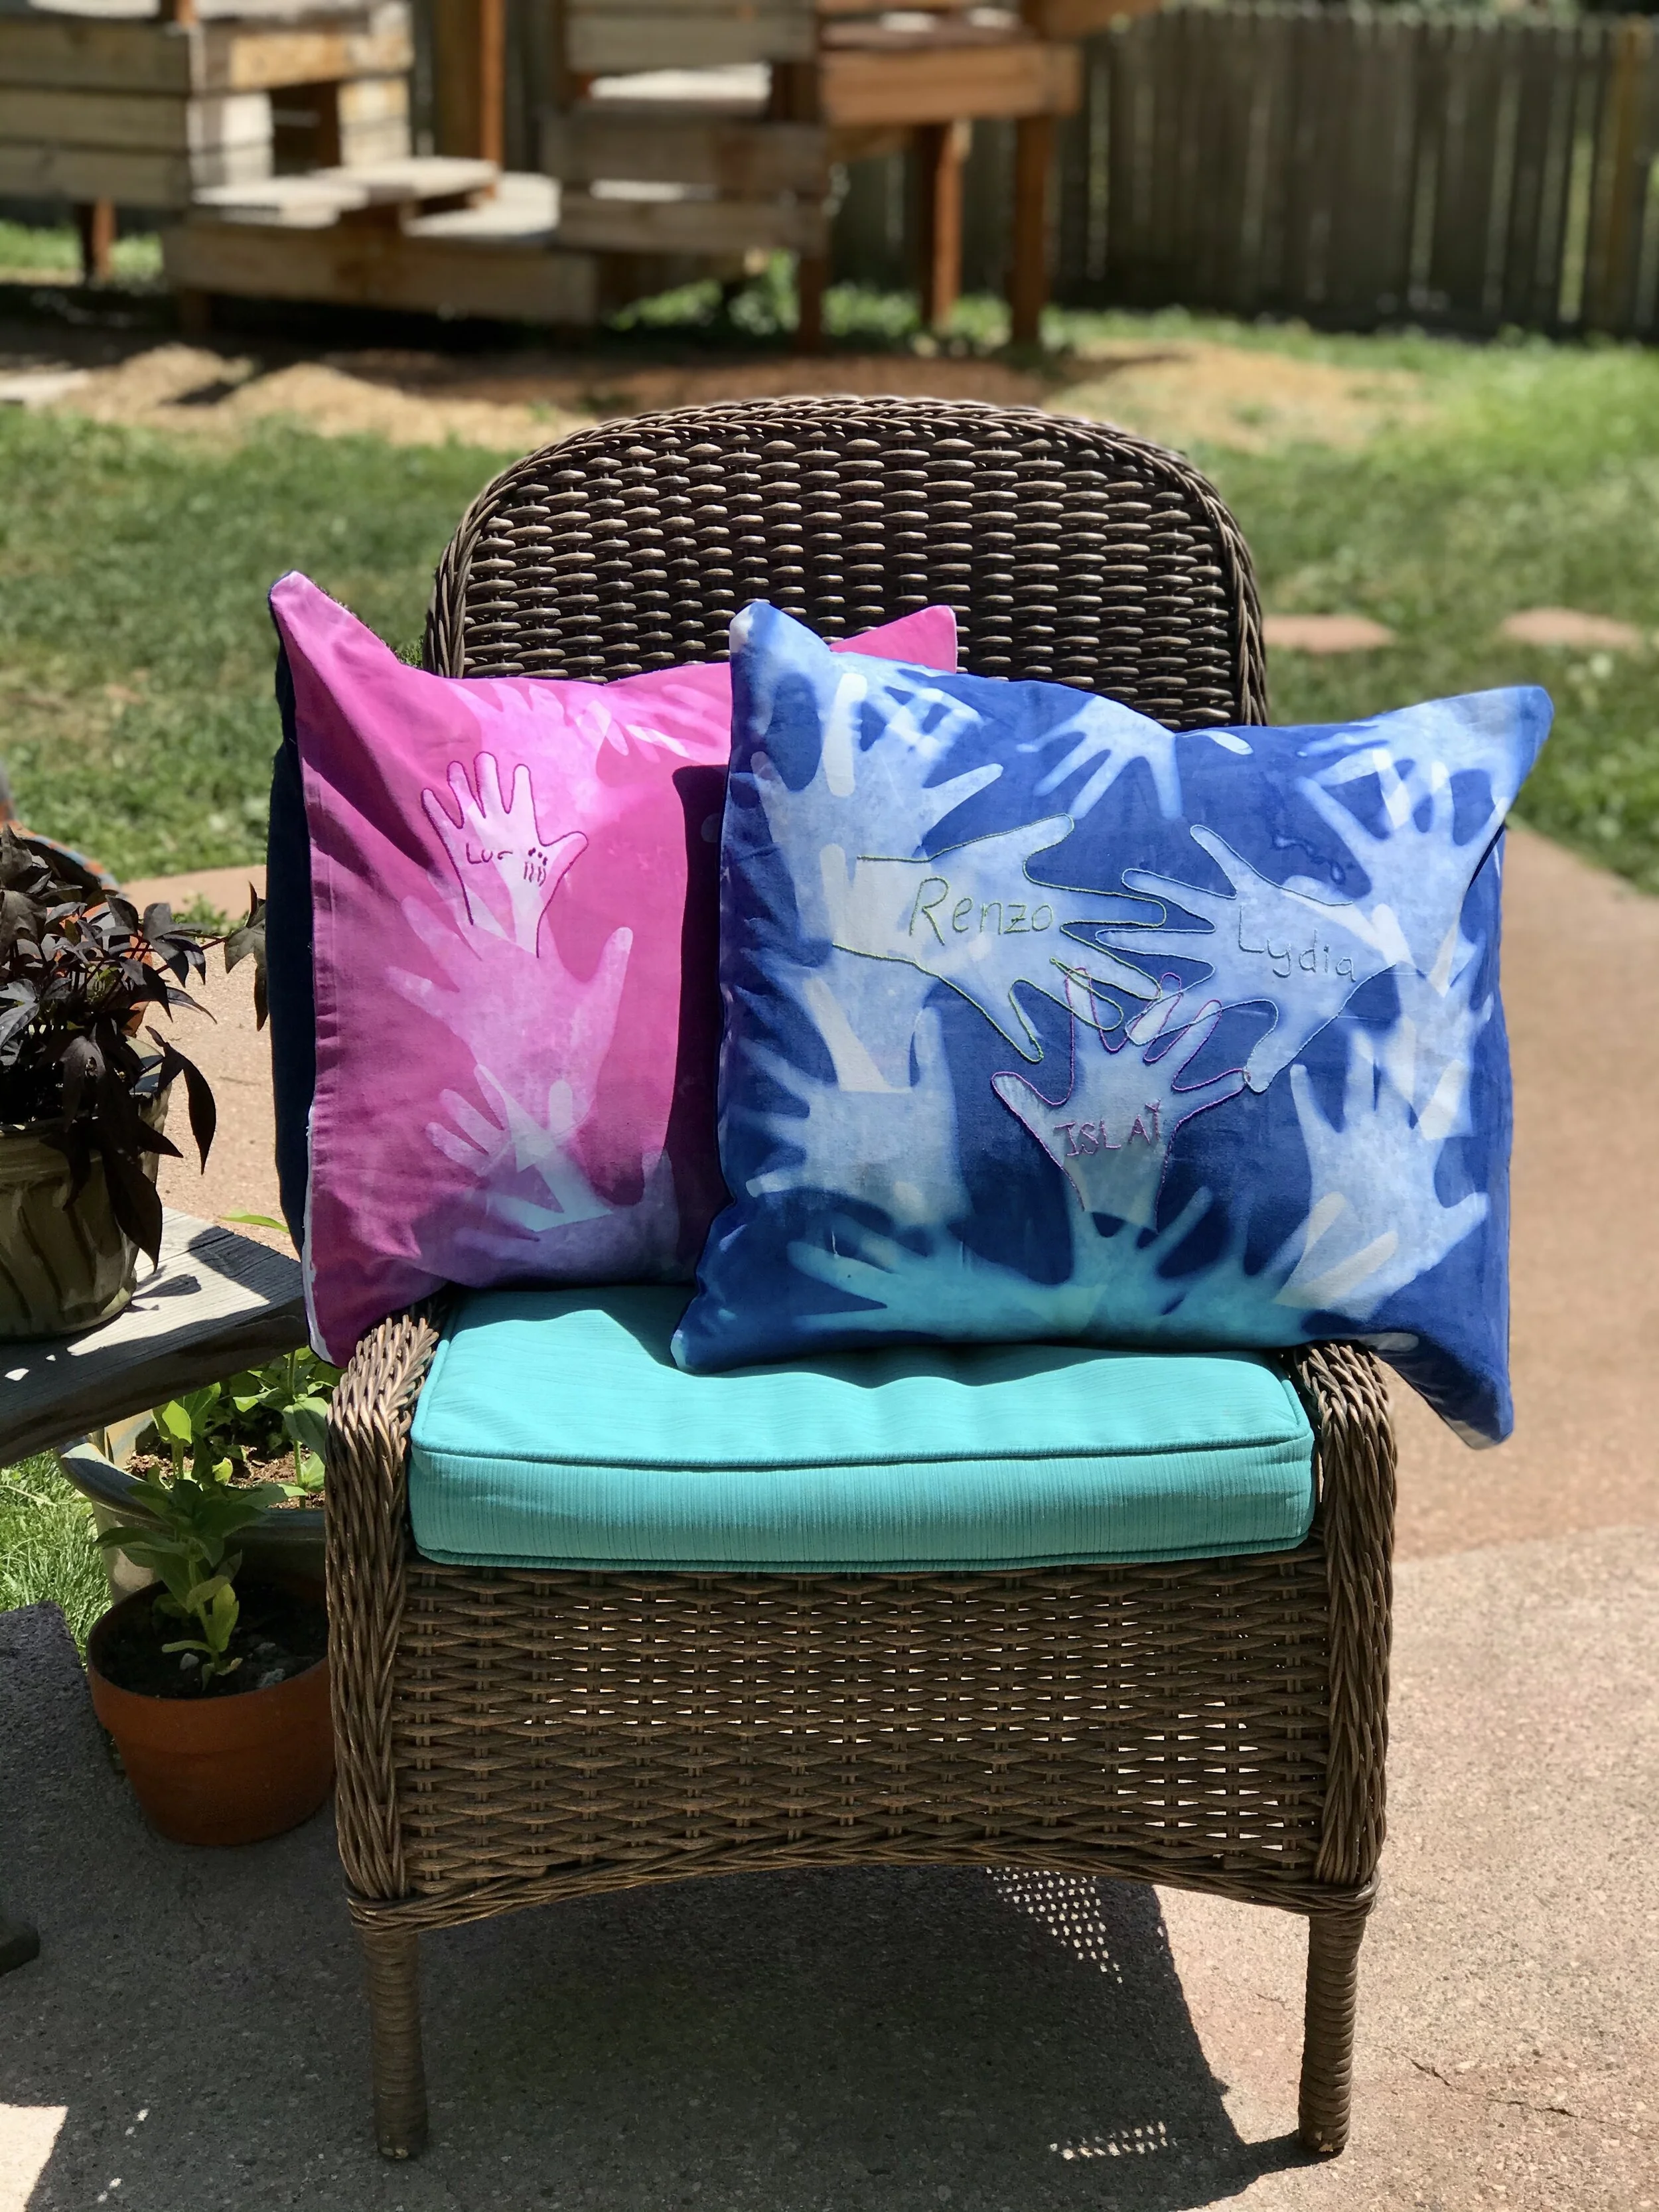
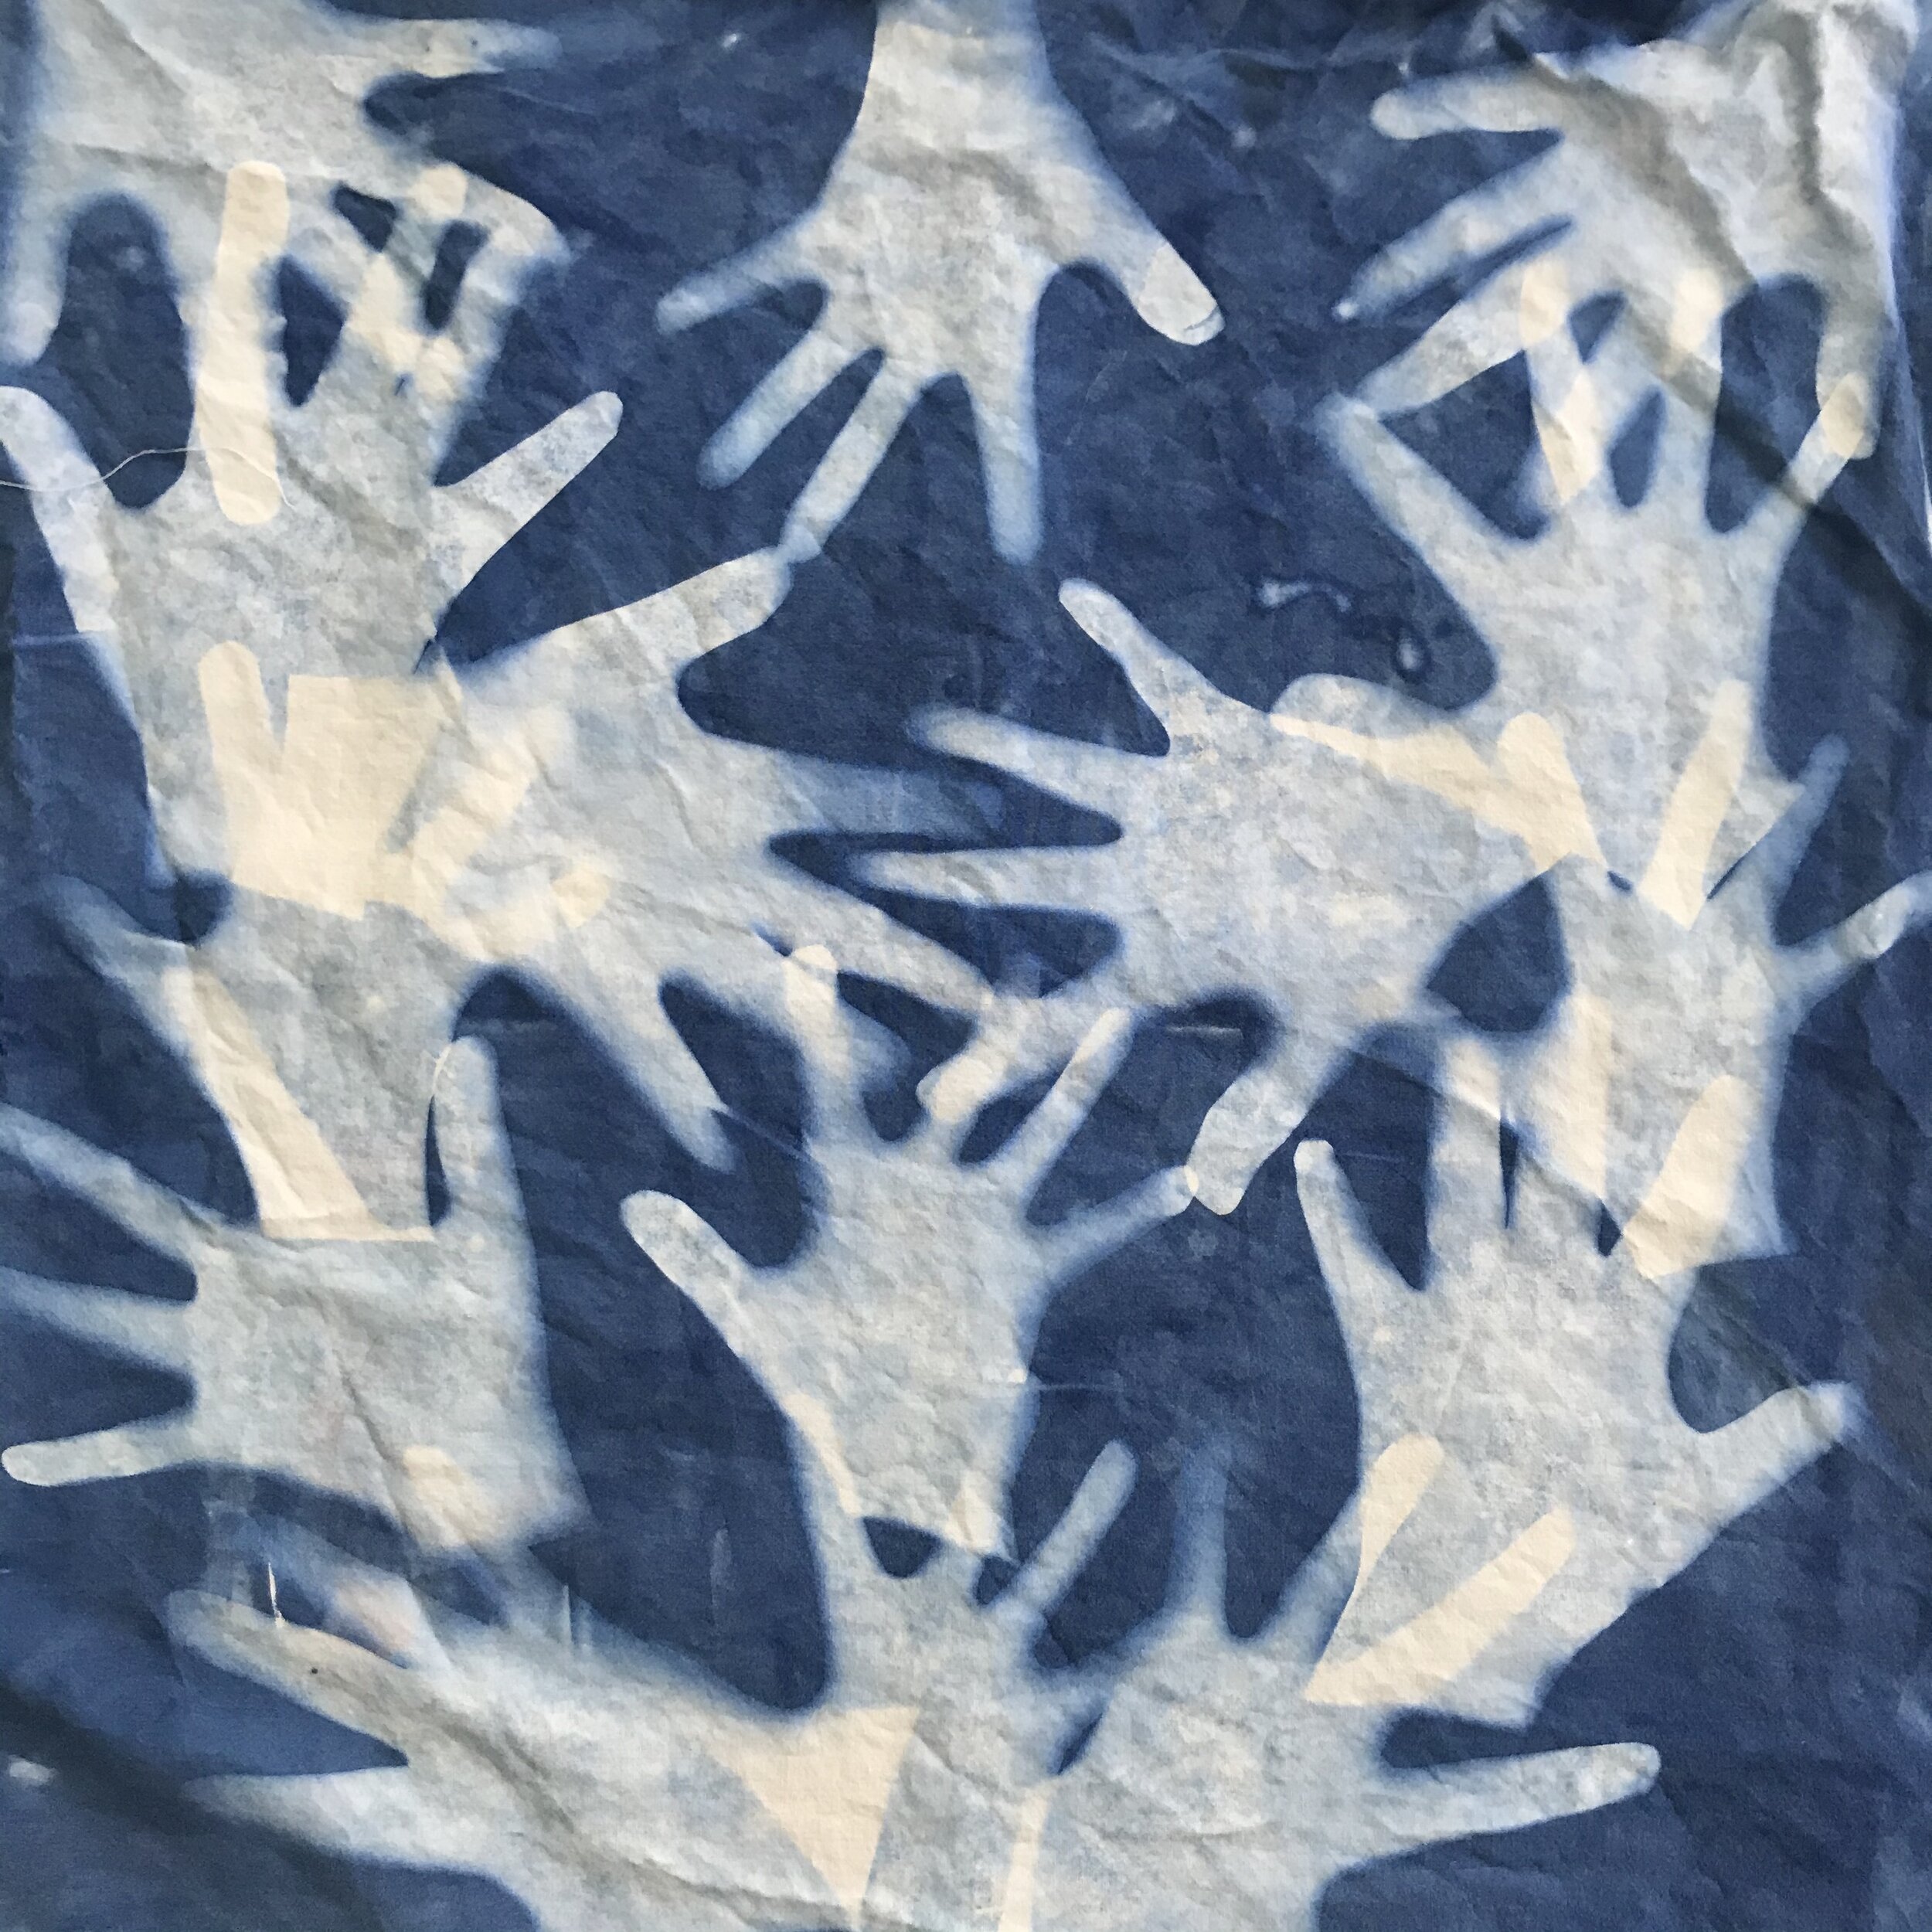
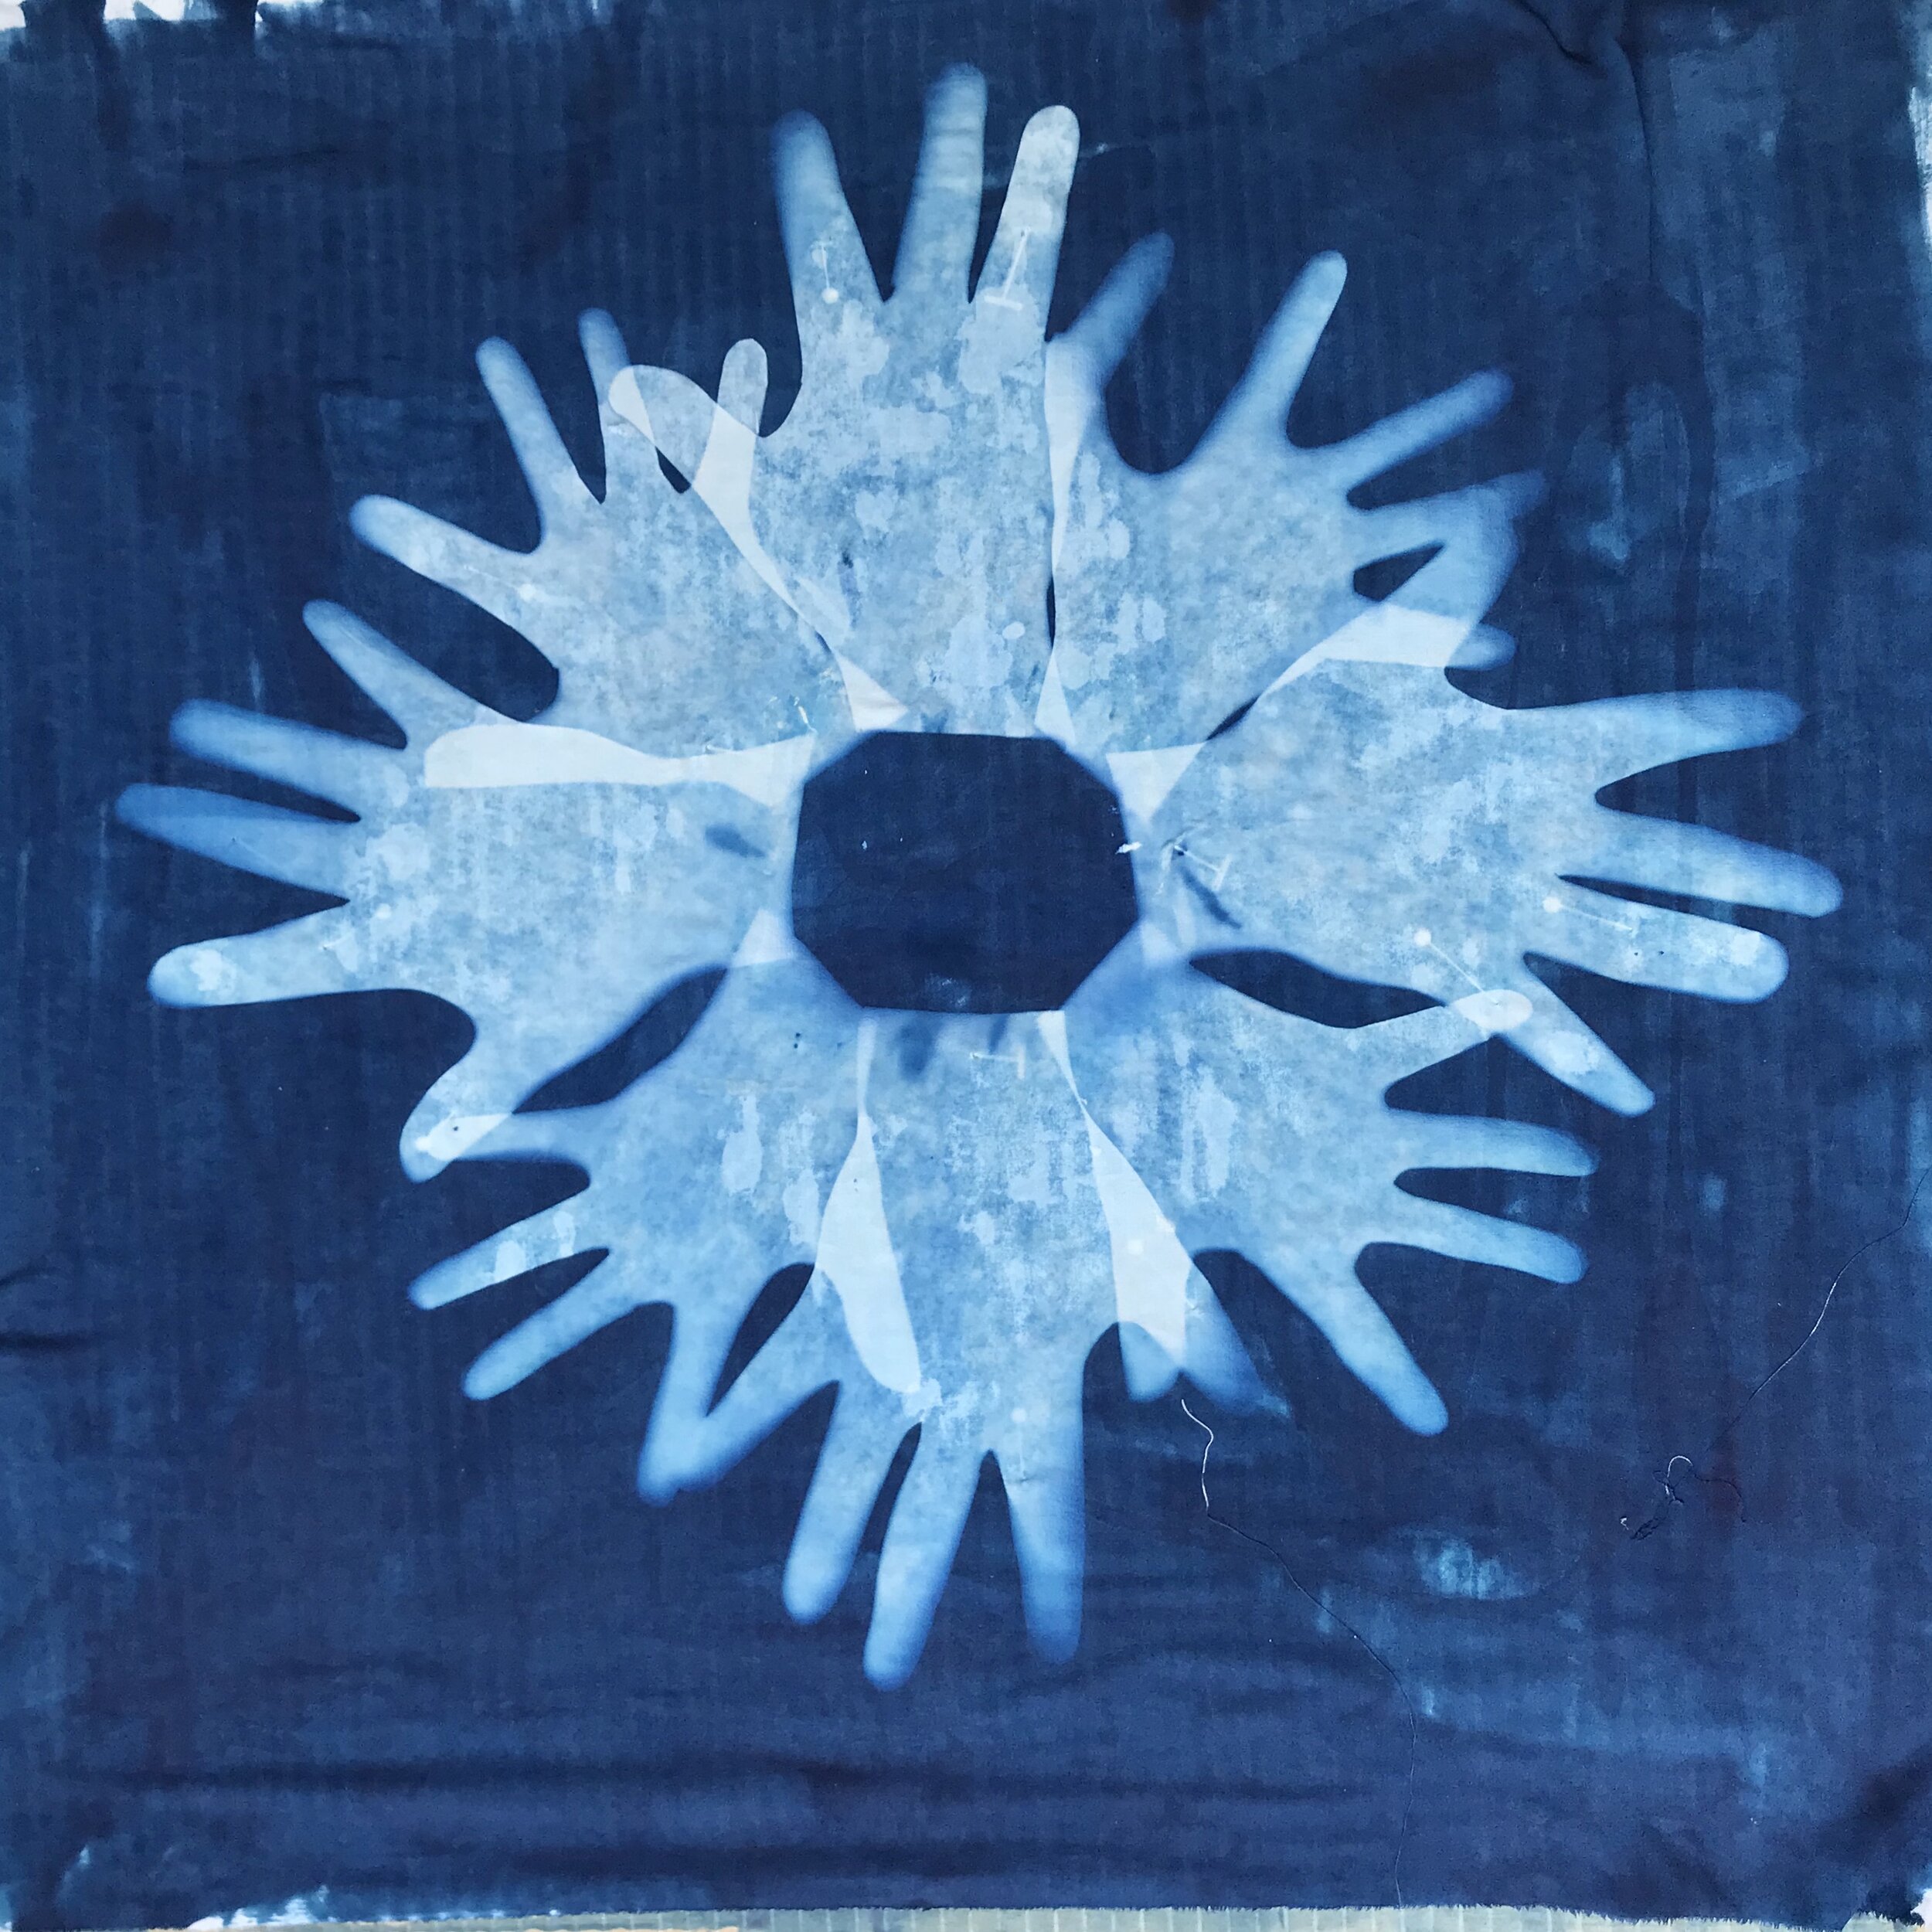
I wanted to make something similar for the grandparents in our life, but I decided to take a slightly different path. I made cyanotype sunprints using the handprints of each child in our family. Sunprinting is actually a photographic process — you are essentially developing a photograph on the material of your choice. The resulting print is permanent, washable, and beautiful! I created pillows from our sunprints, but you could easily use the same process on aprons, a shirt, a tablecloth, napkins and placemats… the possibilities are endless!
And while I sew and sewed mine together, you could also buy a plain white item and use the process on something that is already complete. This can be a great no-sew project. Scroll down to the bottom of where I have gathered a few no-sew ideas that I think would be fabulous for sunprinting.
Next I am going to try this with handprints from my child’s class to make a fun teacher gift!
Materials
Tracings of each child’s hand
Cotton or linen fabric or a pre-made item of your choosing
Jacquard Solar Fast
Jacquard Solar Fast Wash
Disposable gloves
A sponge or paint brush
A sheet of cardboard larger than your object (a flattened box works well)
Straight pins
Clamps (optional — but they help hold things in place)
Paper
Glue Stick
Pencil
Scissors
Note: if this is your first time making solarprints, the Jacquard Printmaking Starter Kit is great! It contains three colors of Solar Fast as well as the wash, gloves, pins, and sponges. It’s reasonably-priced and has enough materials to make at least 3 of the prints I turned into pillows.
Creating a Sunprint Pattern
Be sure you work out of sunlight as you prepare your materials. And follow the directions for your cyanotype product. No matter what products you use, though, these same principles will apply, but the steps may vary slightly.
Note: work INSIDE until everything is prepared. Your solar print will turn out better if it is a sunny day.
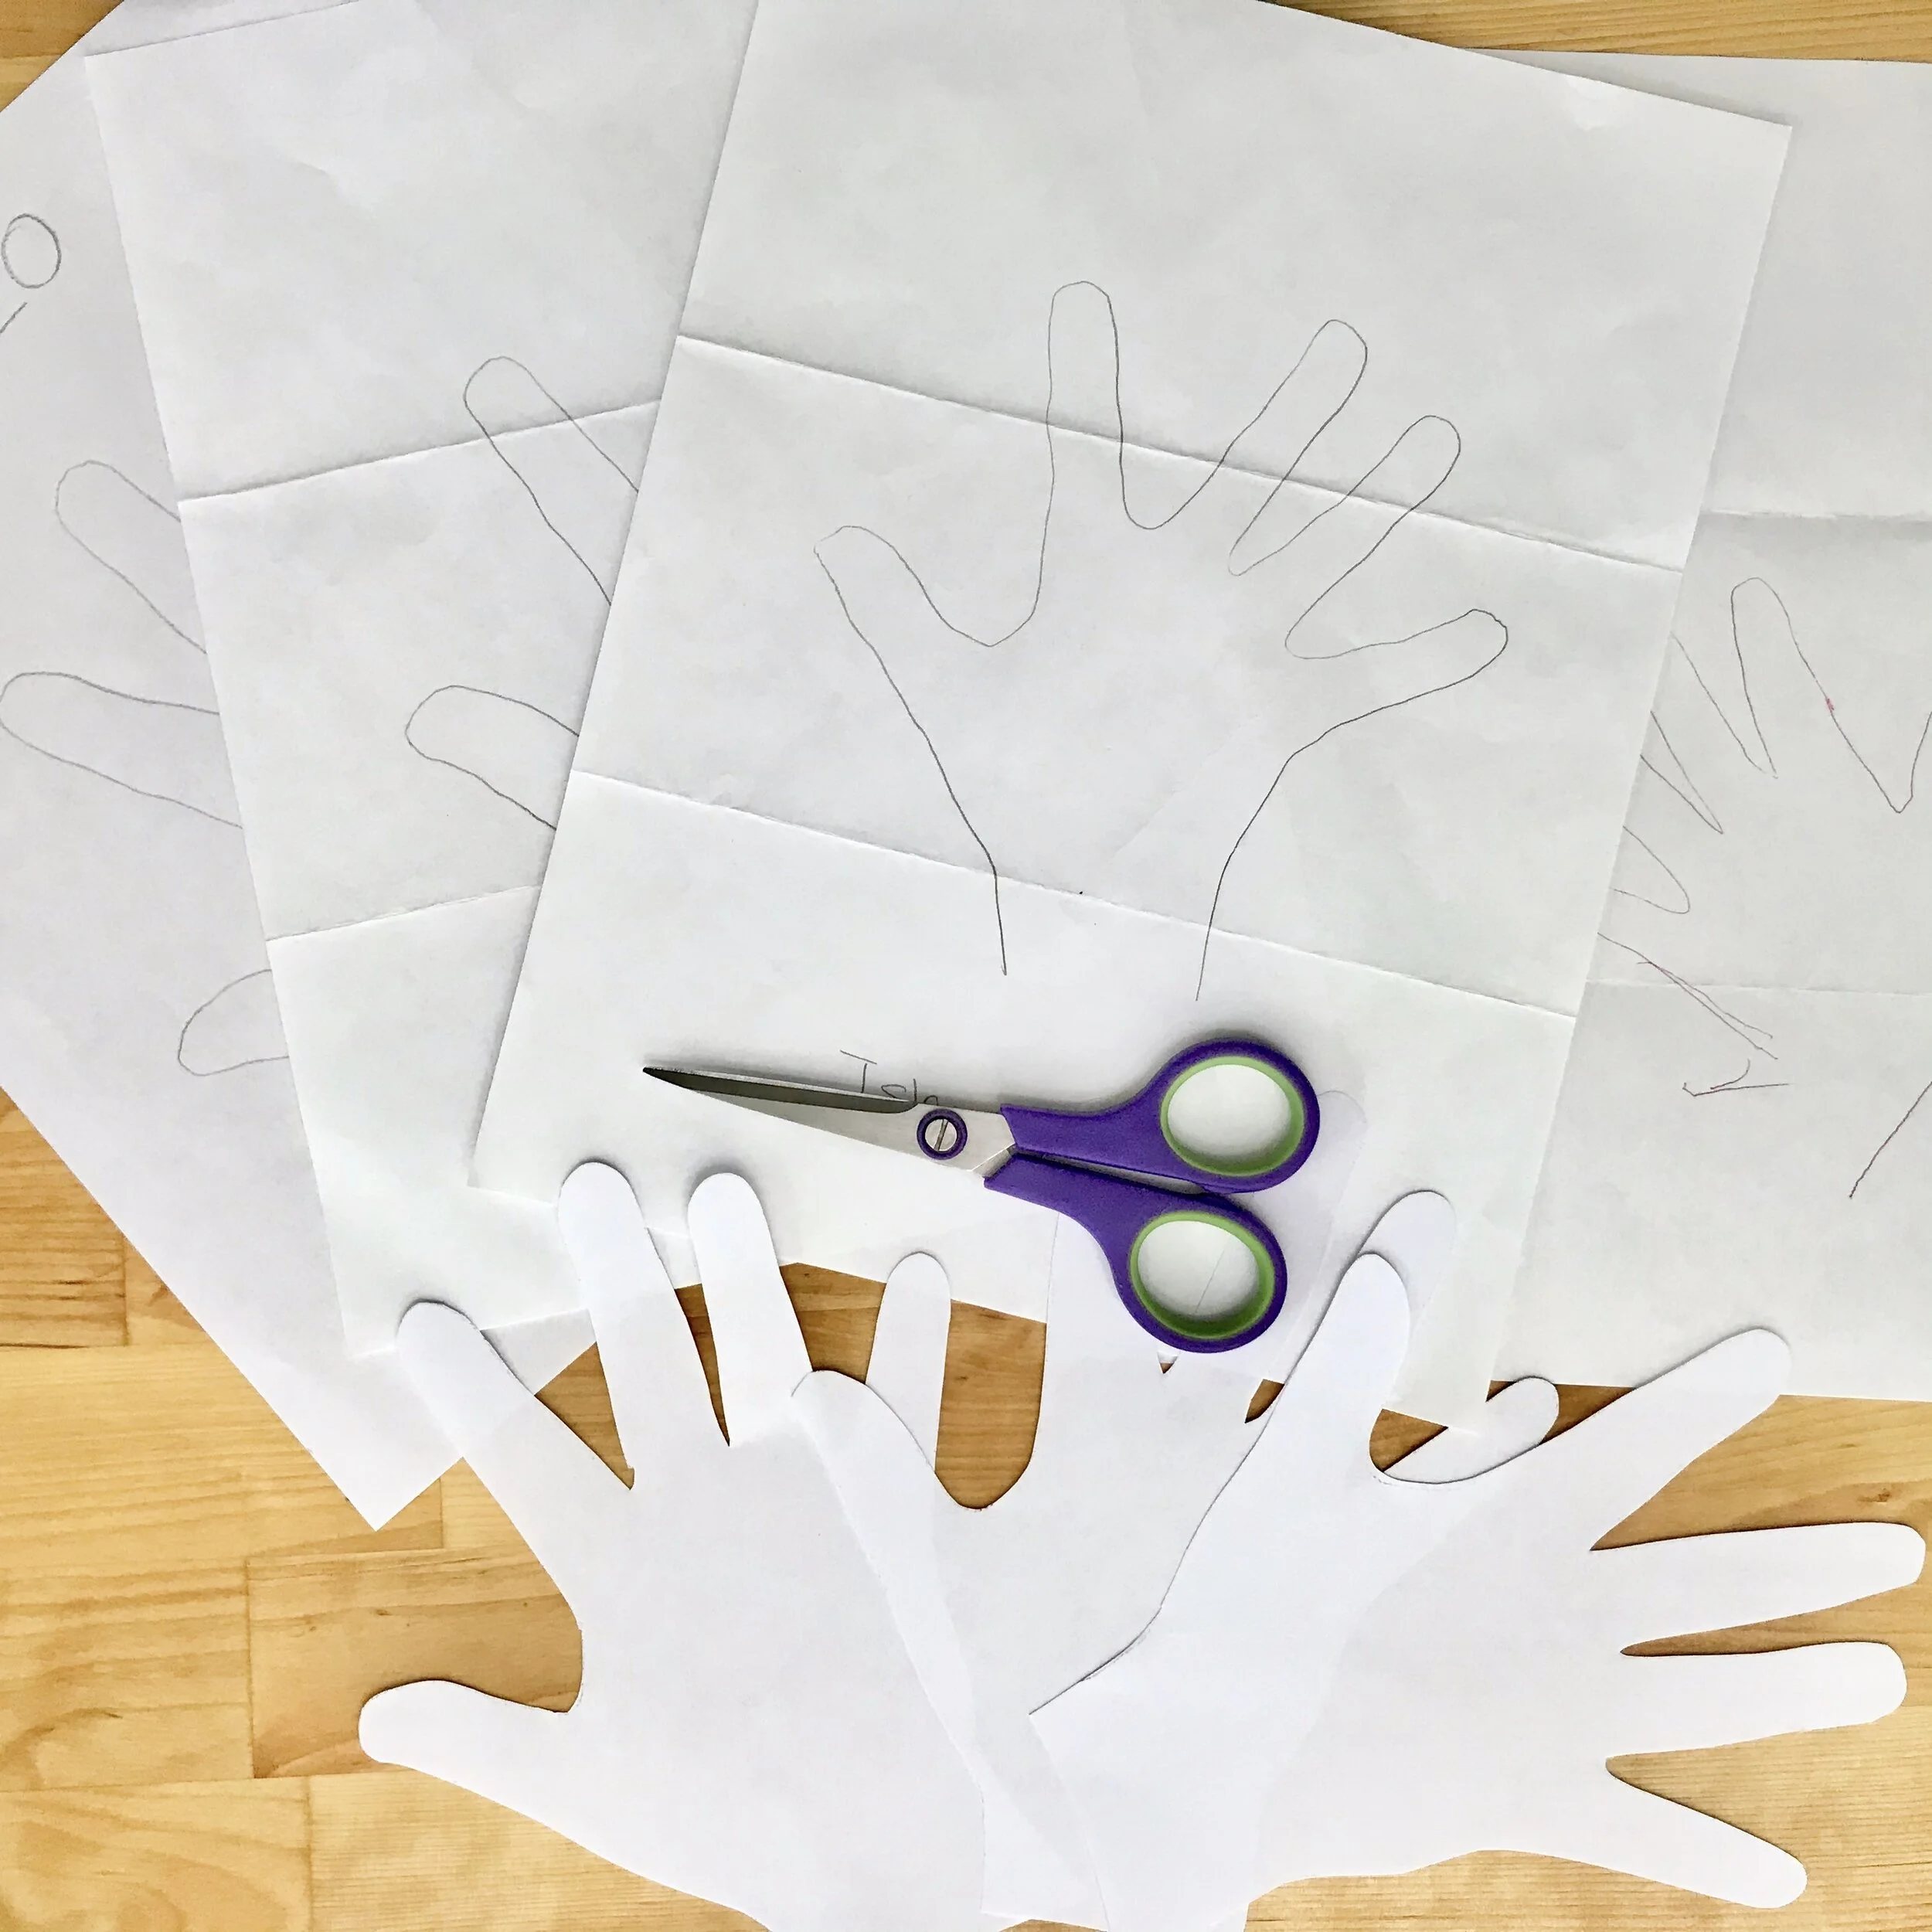
Step 1: Cut out Hands from Paper
Using a copier or just tracing multiple times, create multiple copies of each hand. The number of copies you will need depends on how many hands you are using. I had two for one pillow and three for the other. I ended up using five copies of each hand for one and six for the other. But this will depend on lots of factors.
Step 2: Arrange the Hands & Glue
Spend some time playing with the handprints until you have a pleasing arrangement. Allow the hands to overlap — this is part of what makes a really interesting pattern in the finished product. Once you like the pattern, glue the hands together in the places where they overlap. Don’t glue the hands to the fabric — just to themselves. This will help keep the pattern in place as you move it, and it keeps the wind from blowing the paper around quite as much.
Step 3: Prepare the Fabric
Follow the directions on the Solar Fast for preparing your fabric. Then spread it out across the cardboard surface. Secure it with pins and/or clamps so that the wind won’t be able to blow it around.
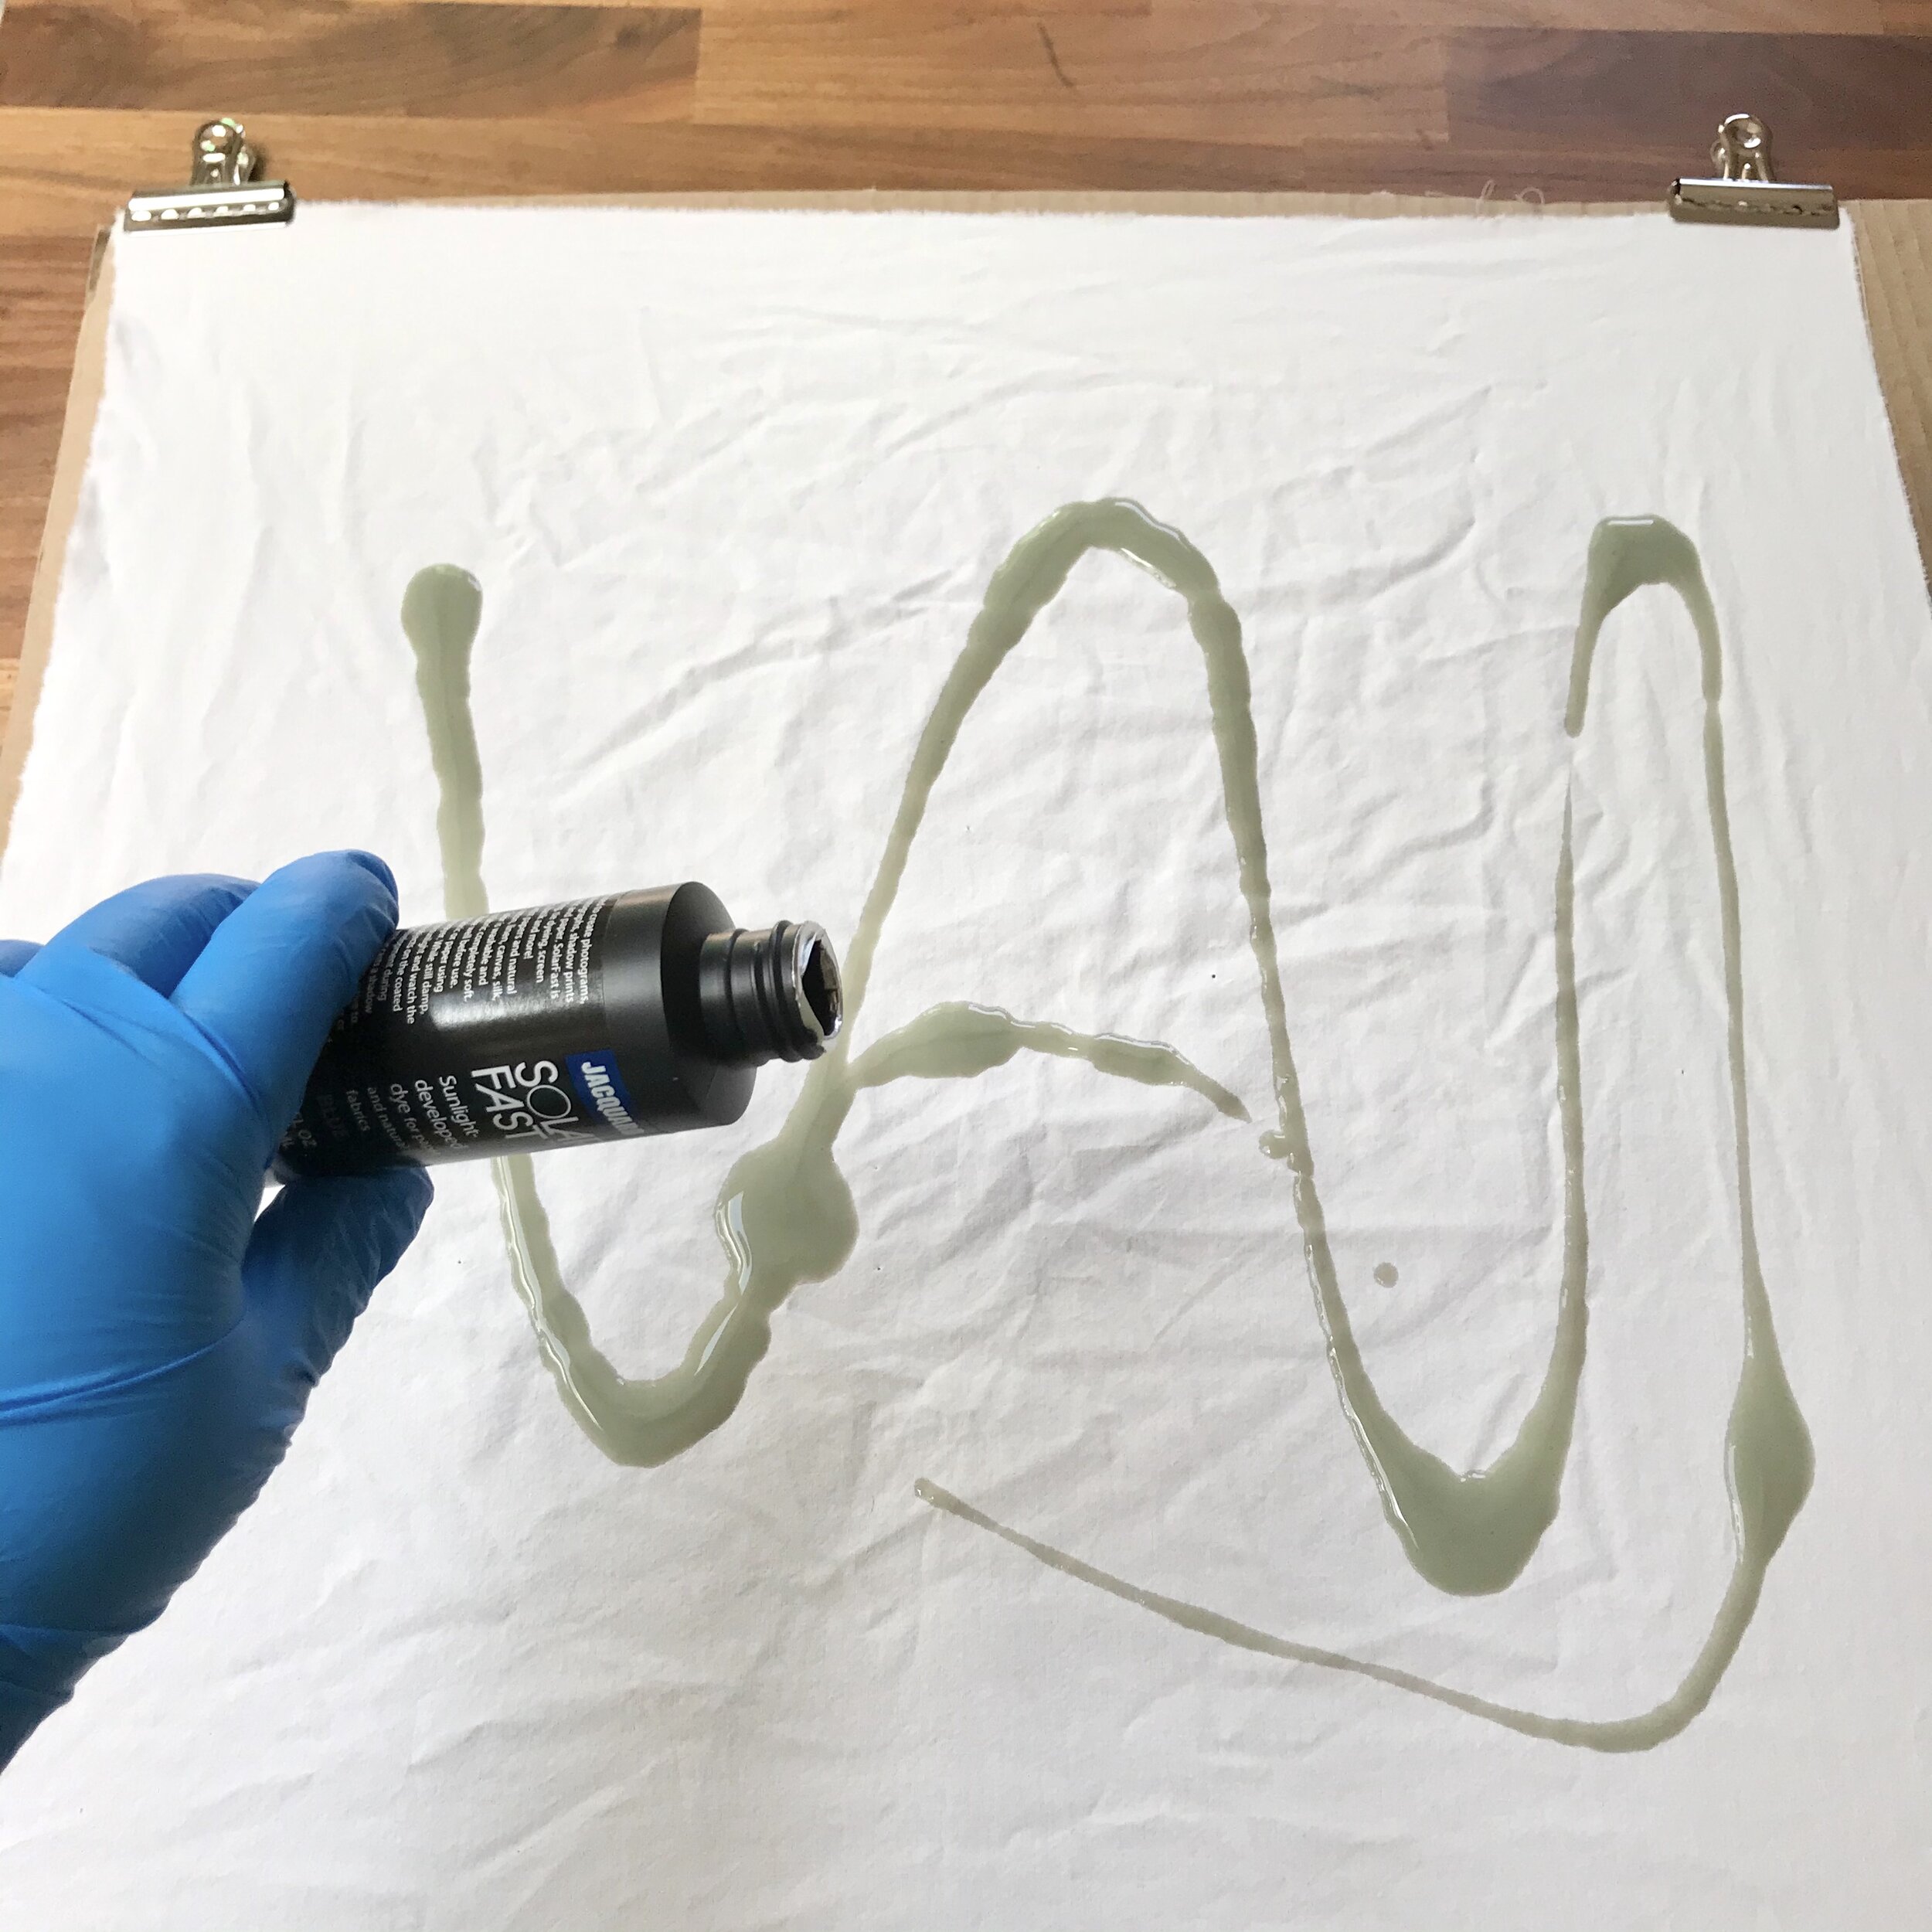
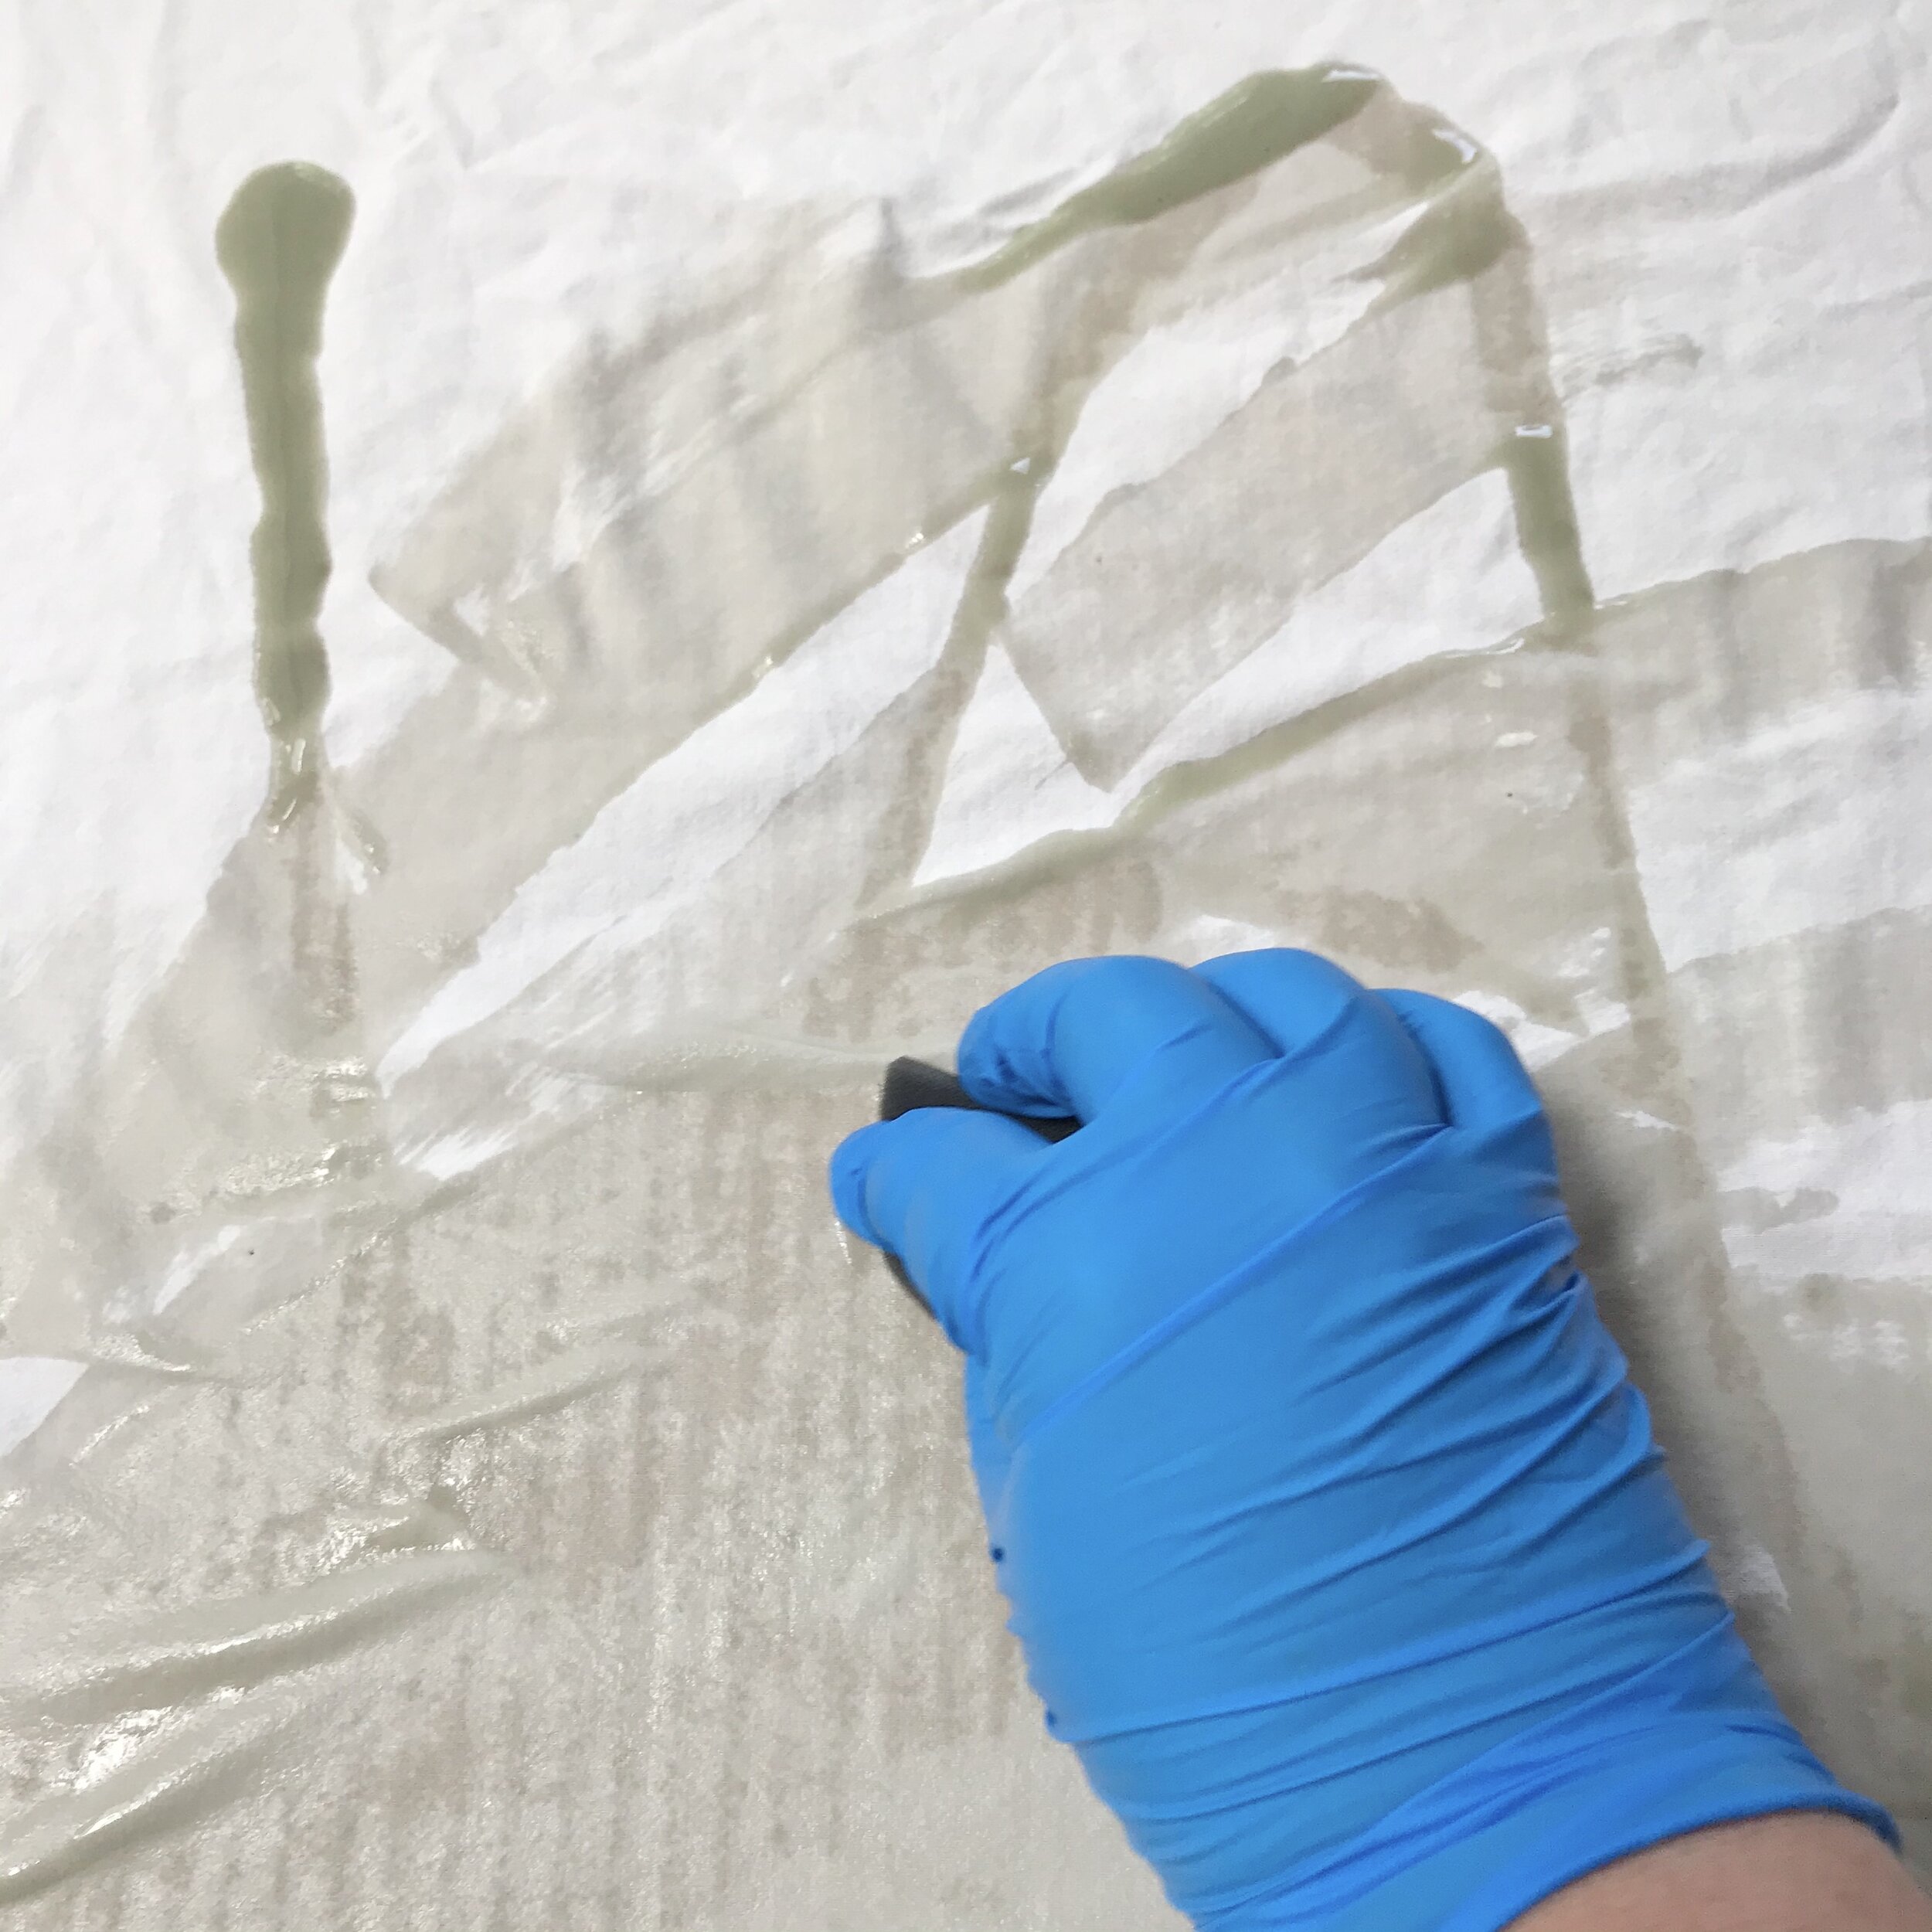
Step 4: Apply the Solar Fast Solution
Again, follow the directions for your product. Be sure to wear gloves and work with some speed.
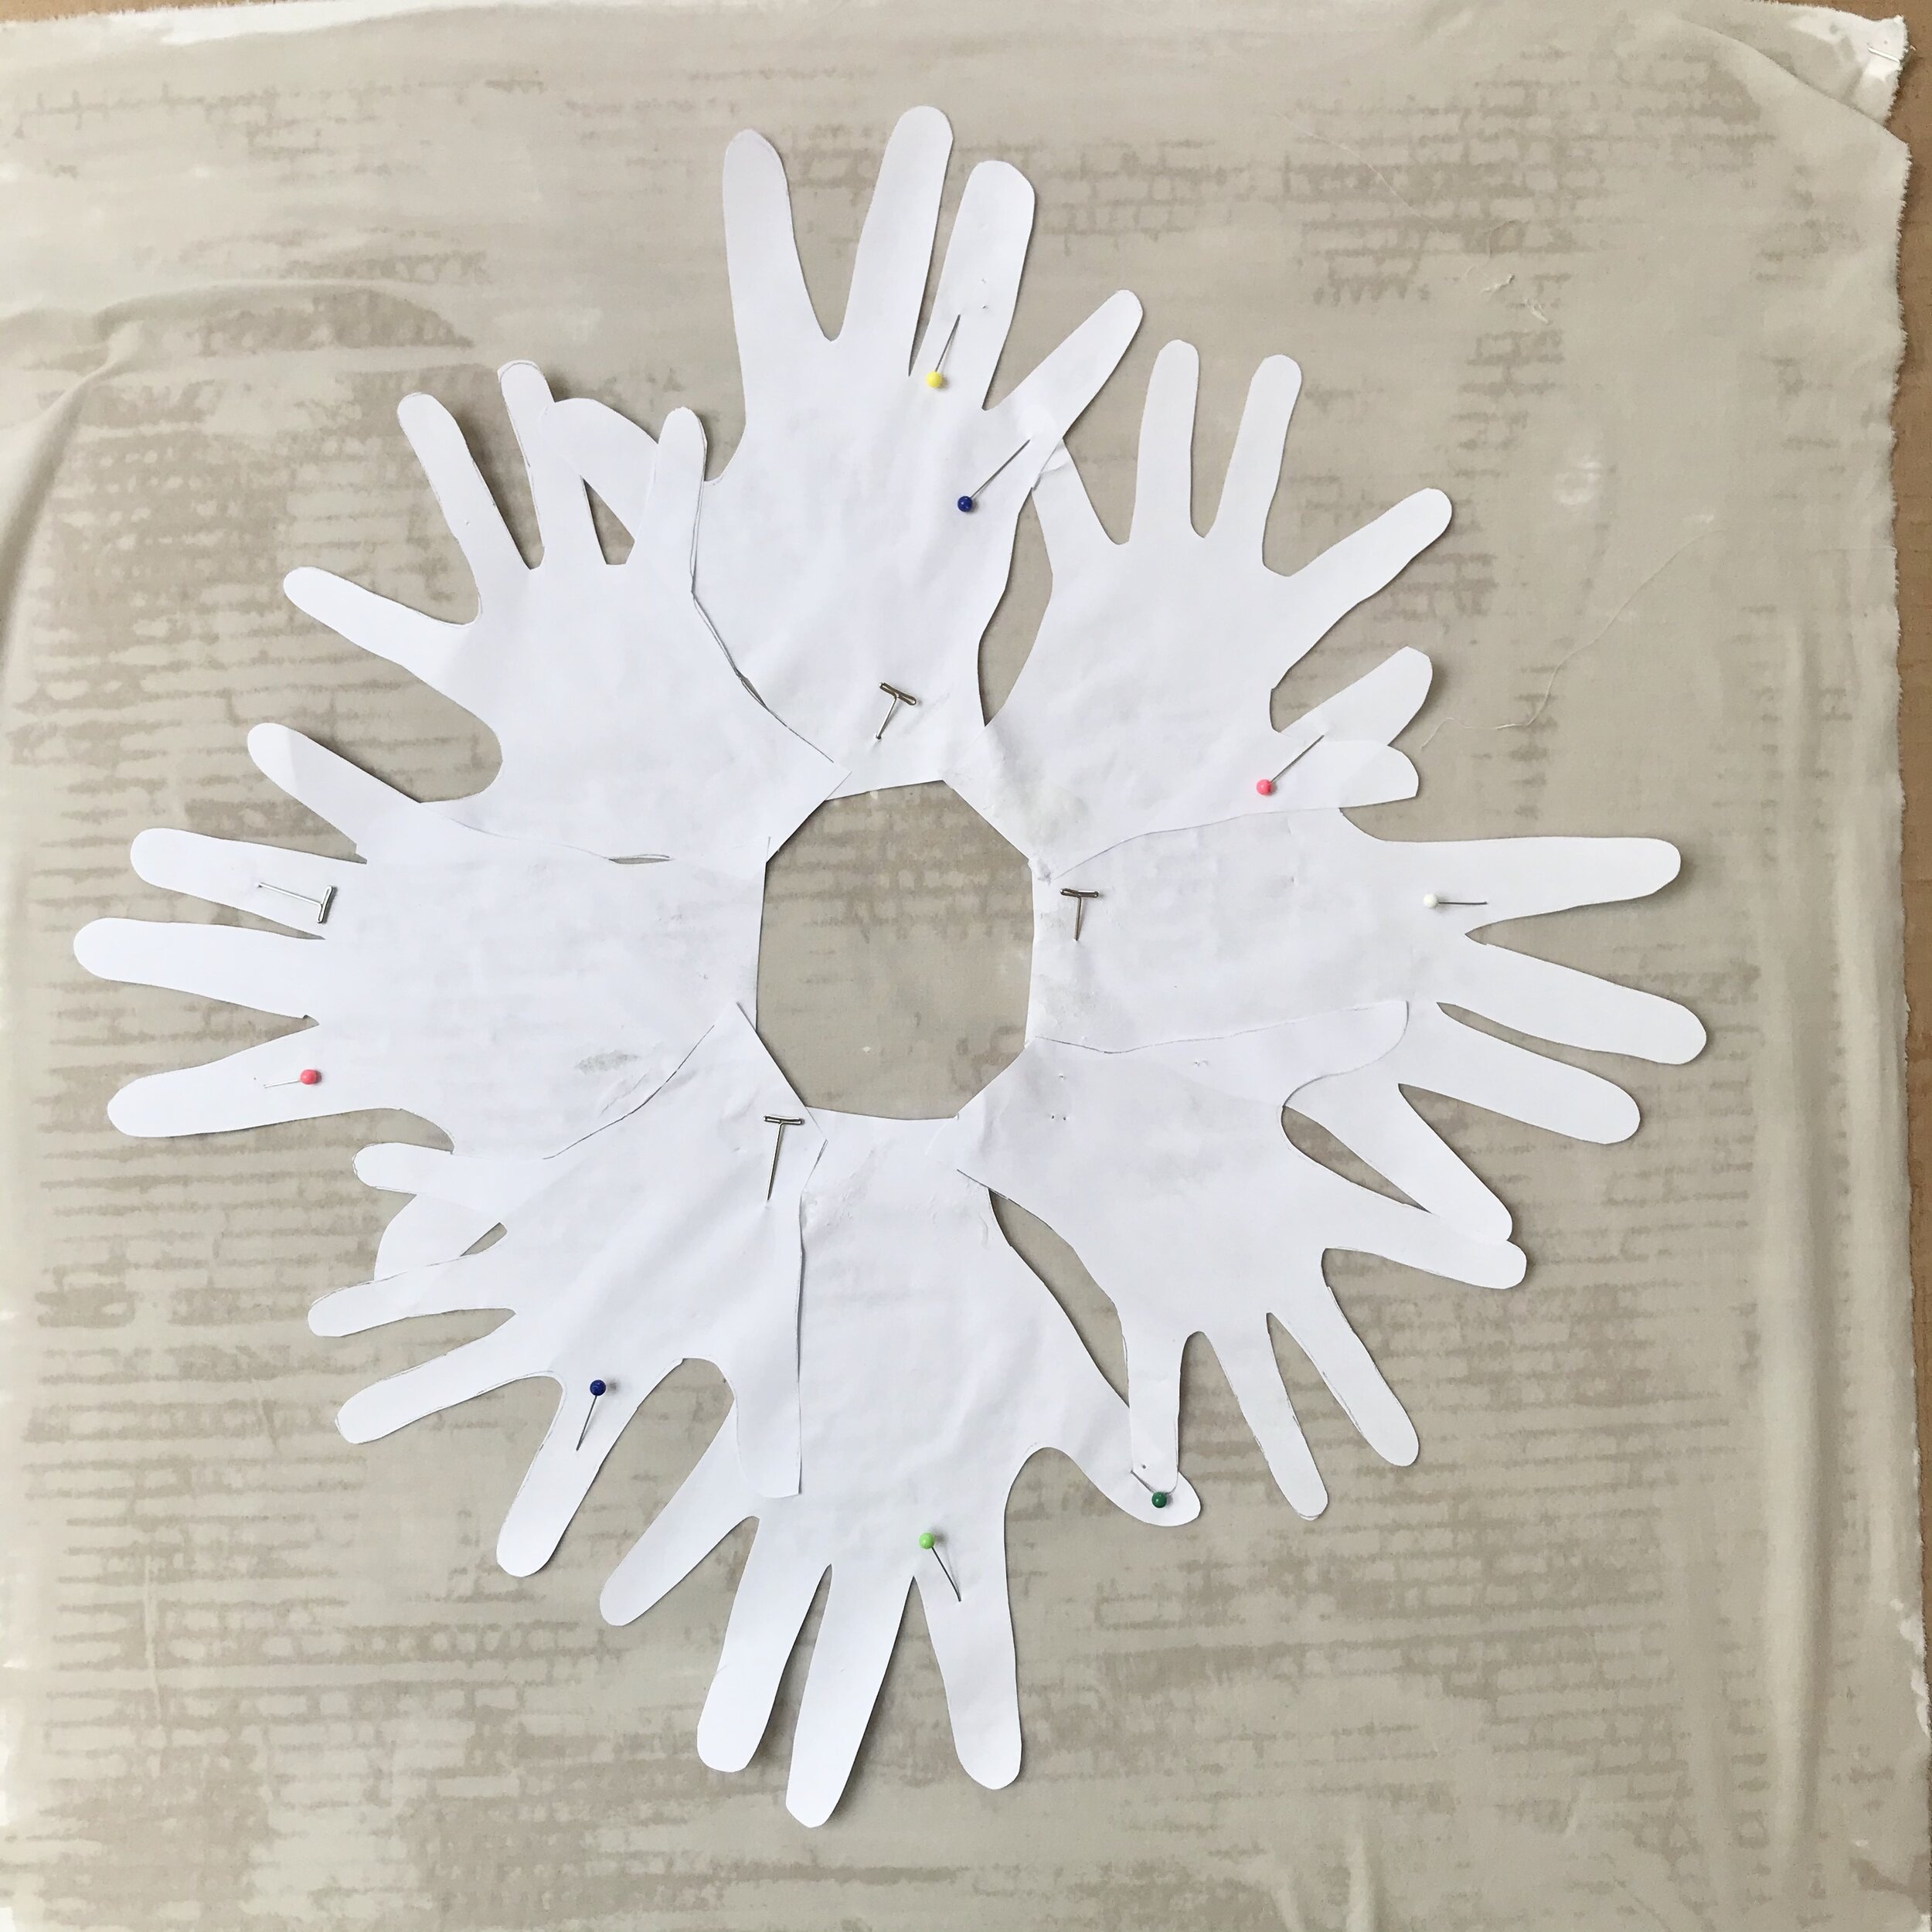
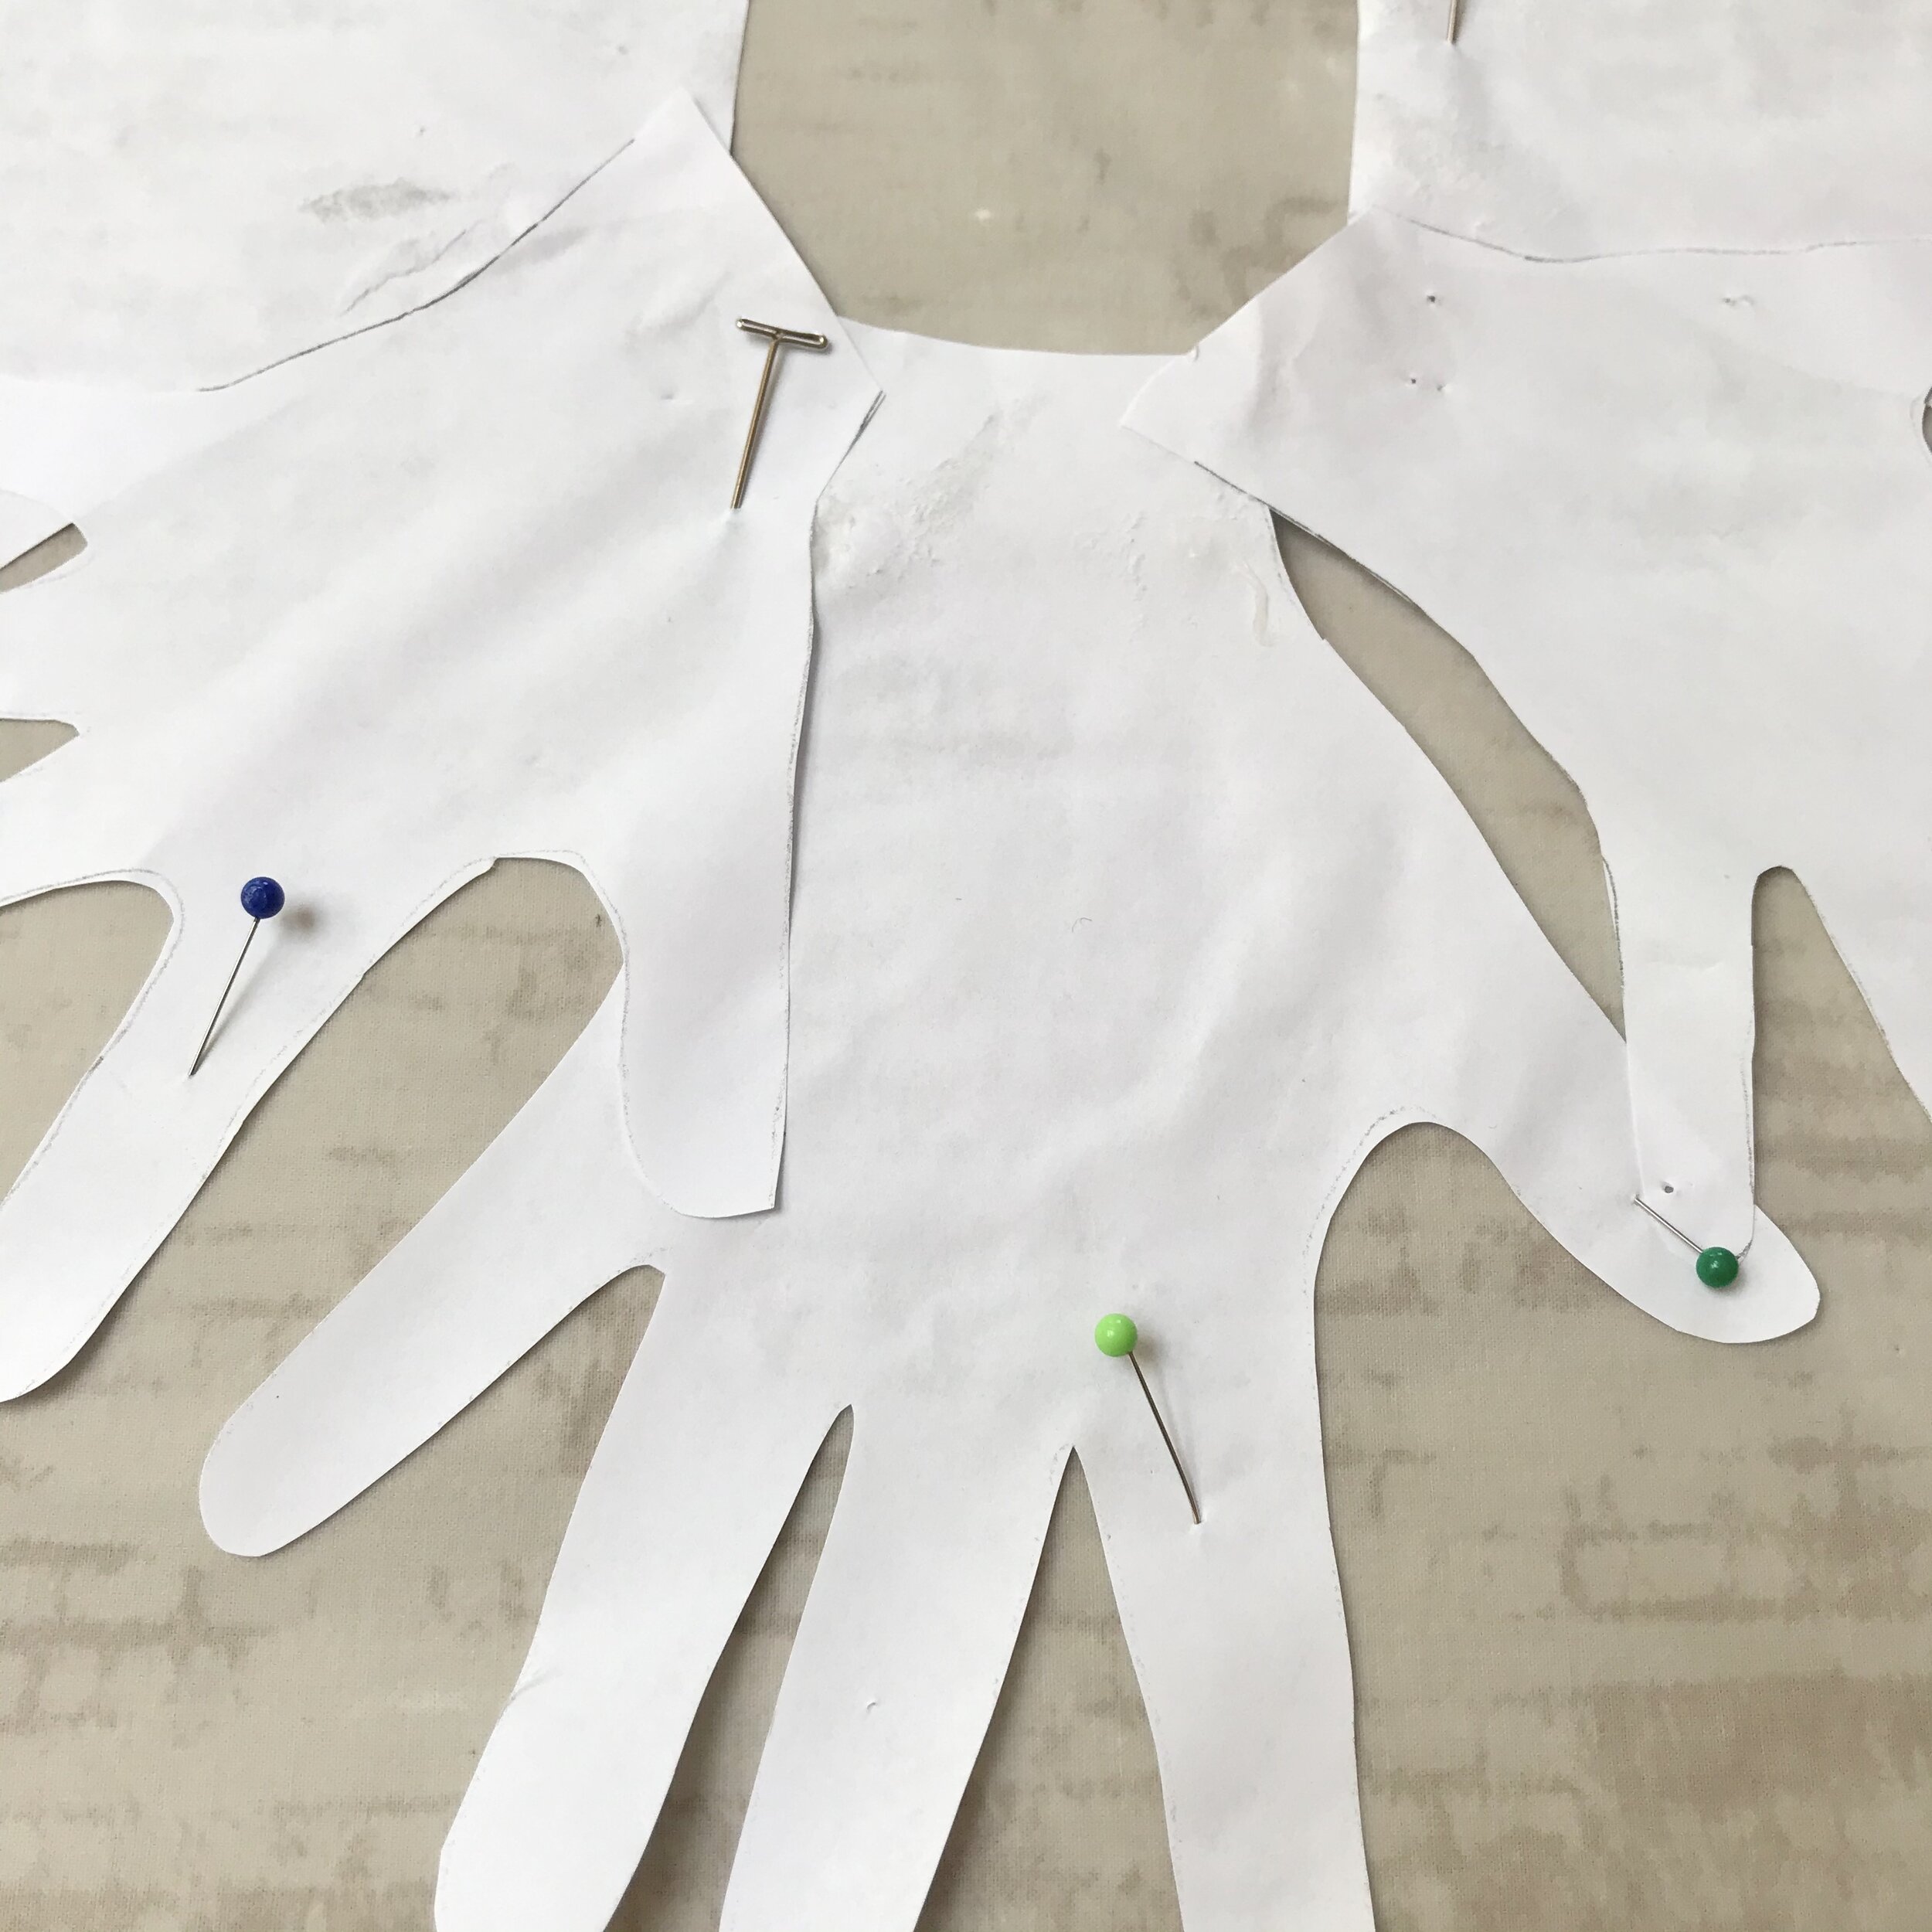
Step 5: Add the Hands & Pin
Position the paper cut outs over the fabric. Secure them with straight pins. Push the pins in as vertically as possible. Even a push pin creates a shadow which could show up in your final product.
Step 6: Place in the Sun & Wait
Choose a sunny spot with no shadows. Place your fabric in the sun and wait for the prescribed amount of time.
Step 7: Bring everything Inside
DO NOT remove the handprints until you get inside!
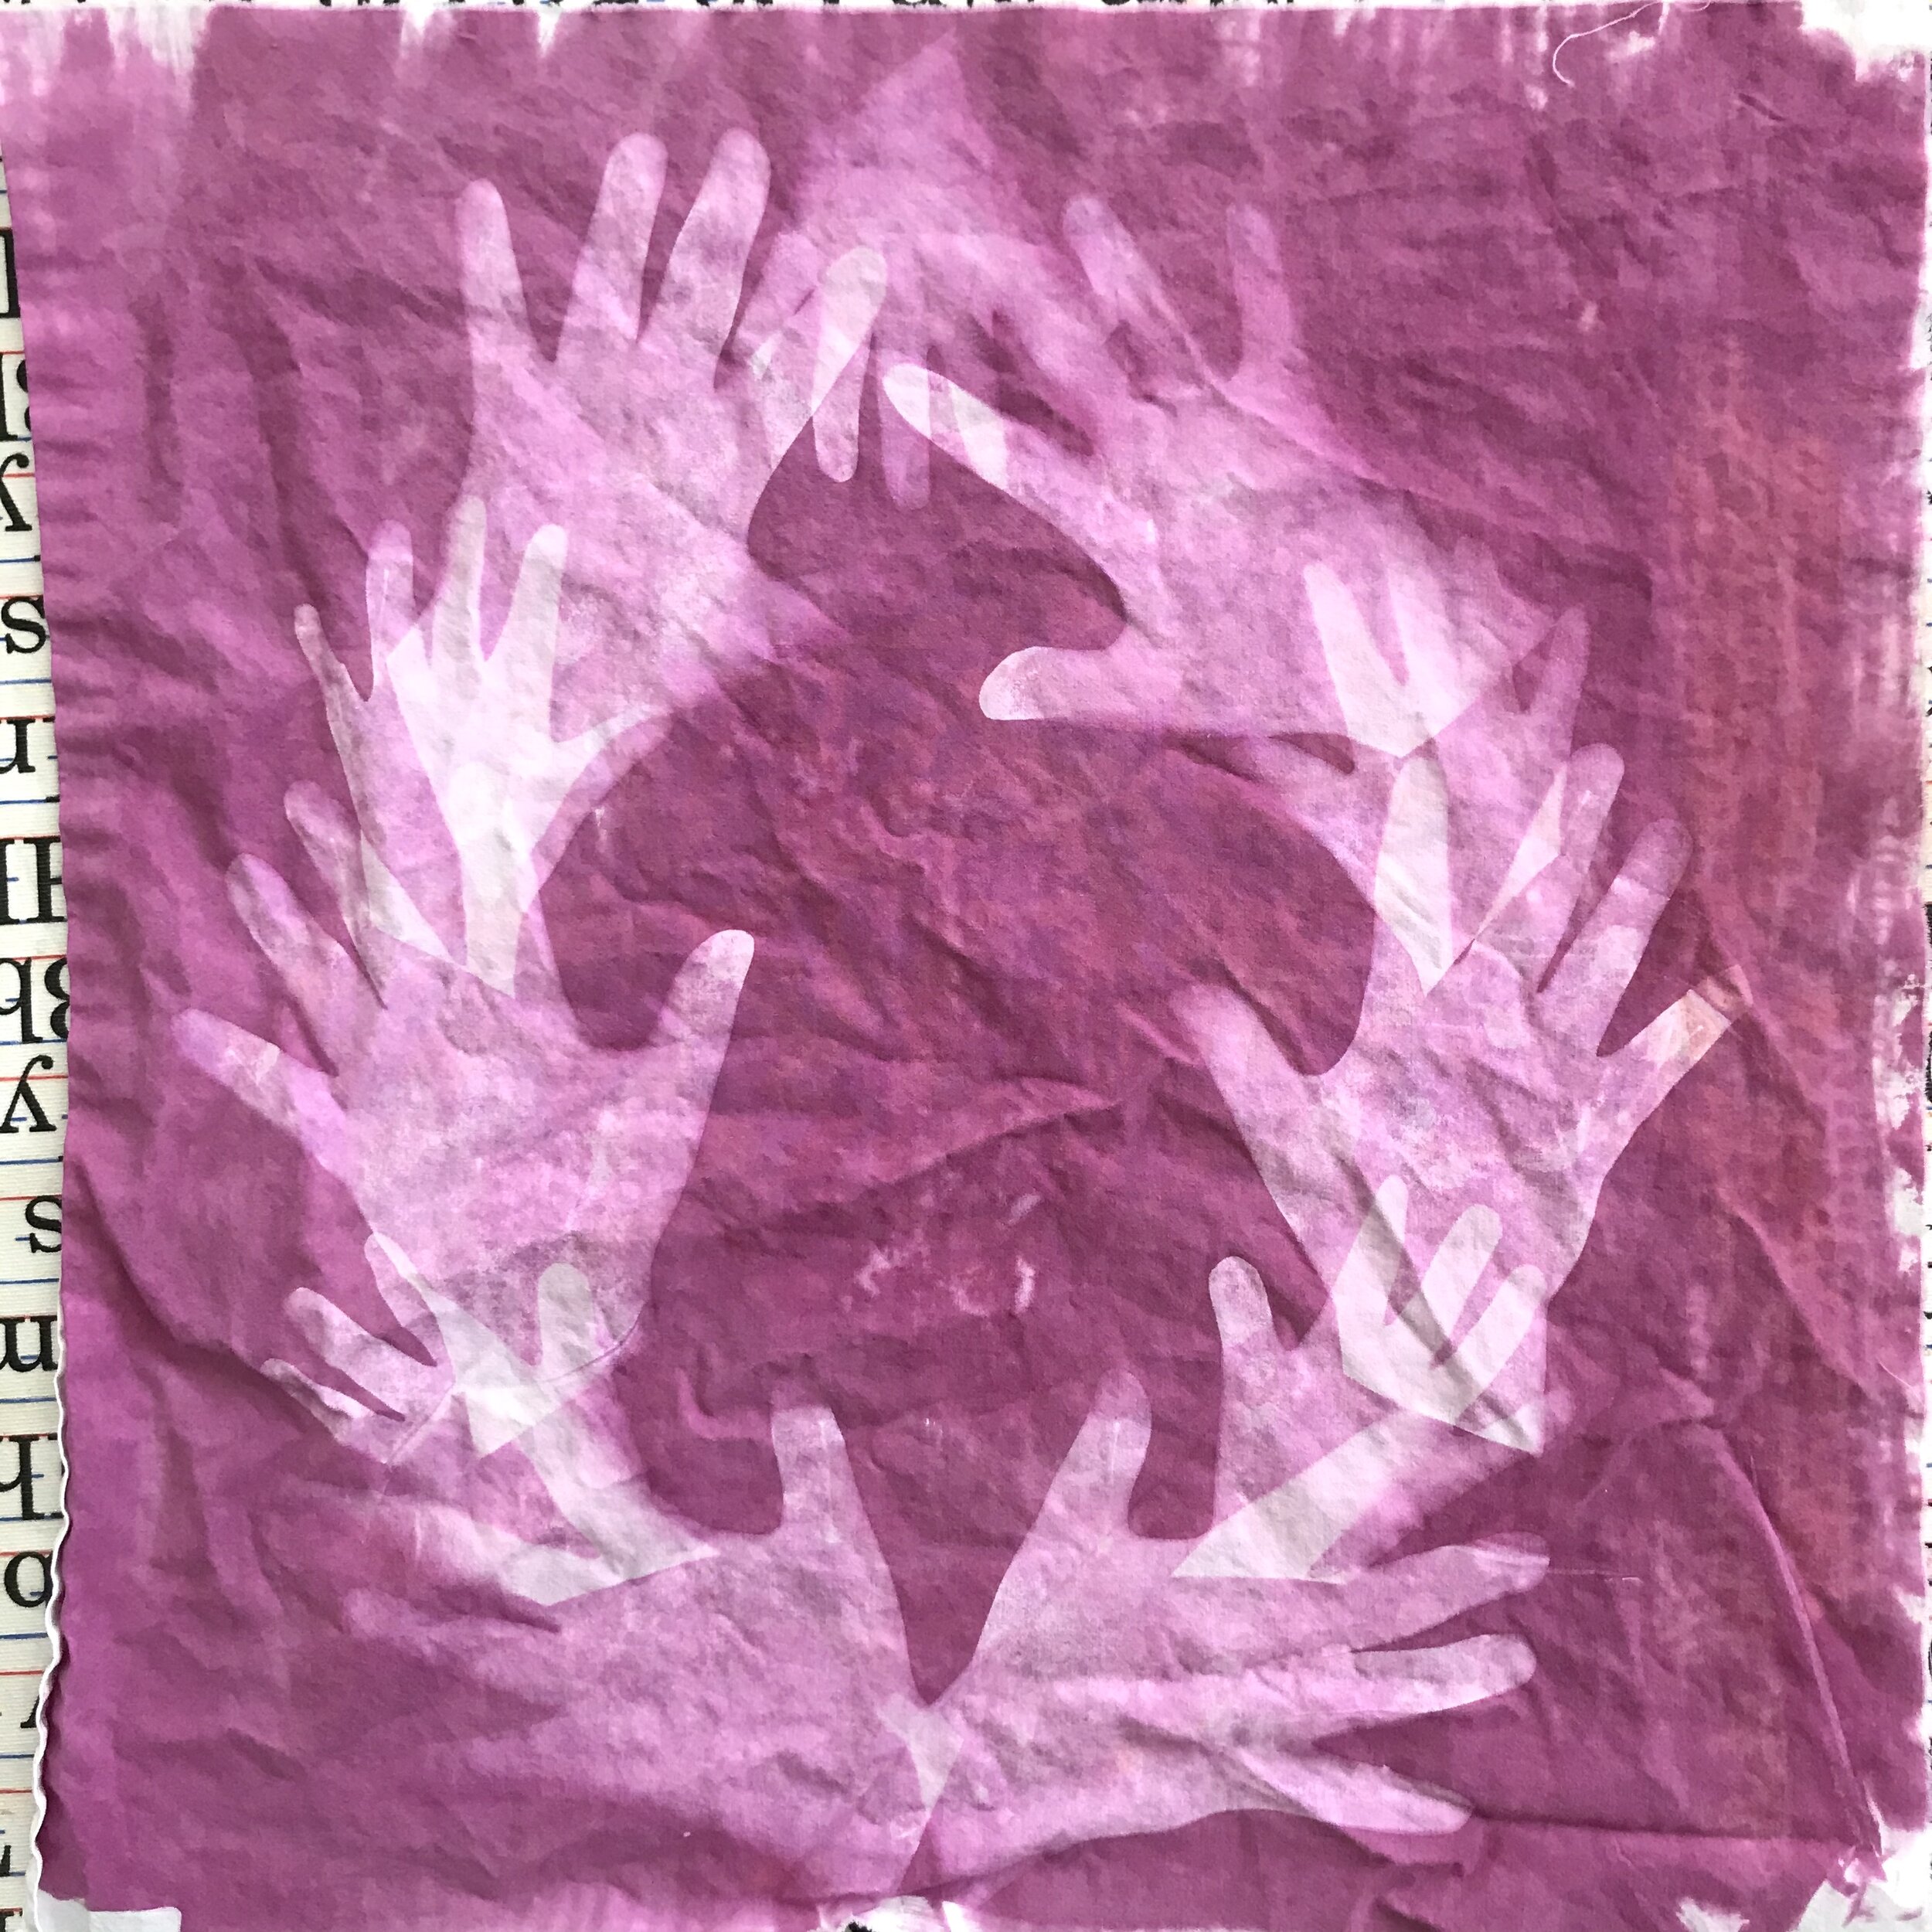
Step 8: Remove Paper
Once out of the sun, you can remove the pins and the hands from the fabric. The revealed image isn’t completely developed, however, until you have washed and set the solution.
Step 9: Wash according to Directions
Follow the product’s directions for rinsing and washing the fabric using the special wash.
Optional: Add Embroidery and Signatures
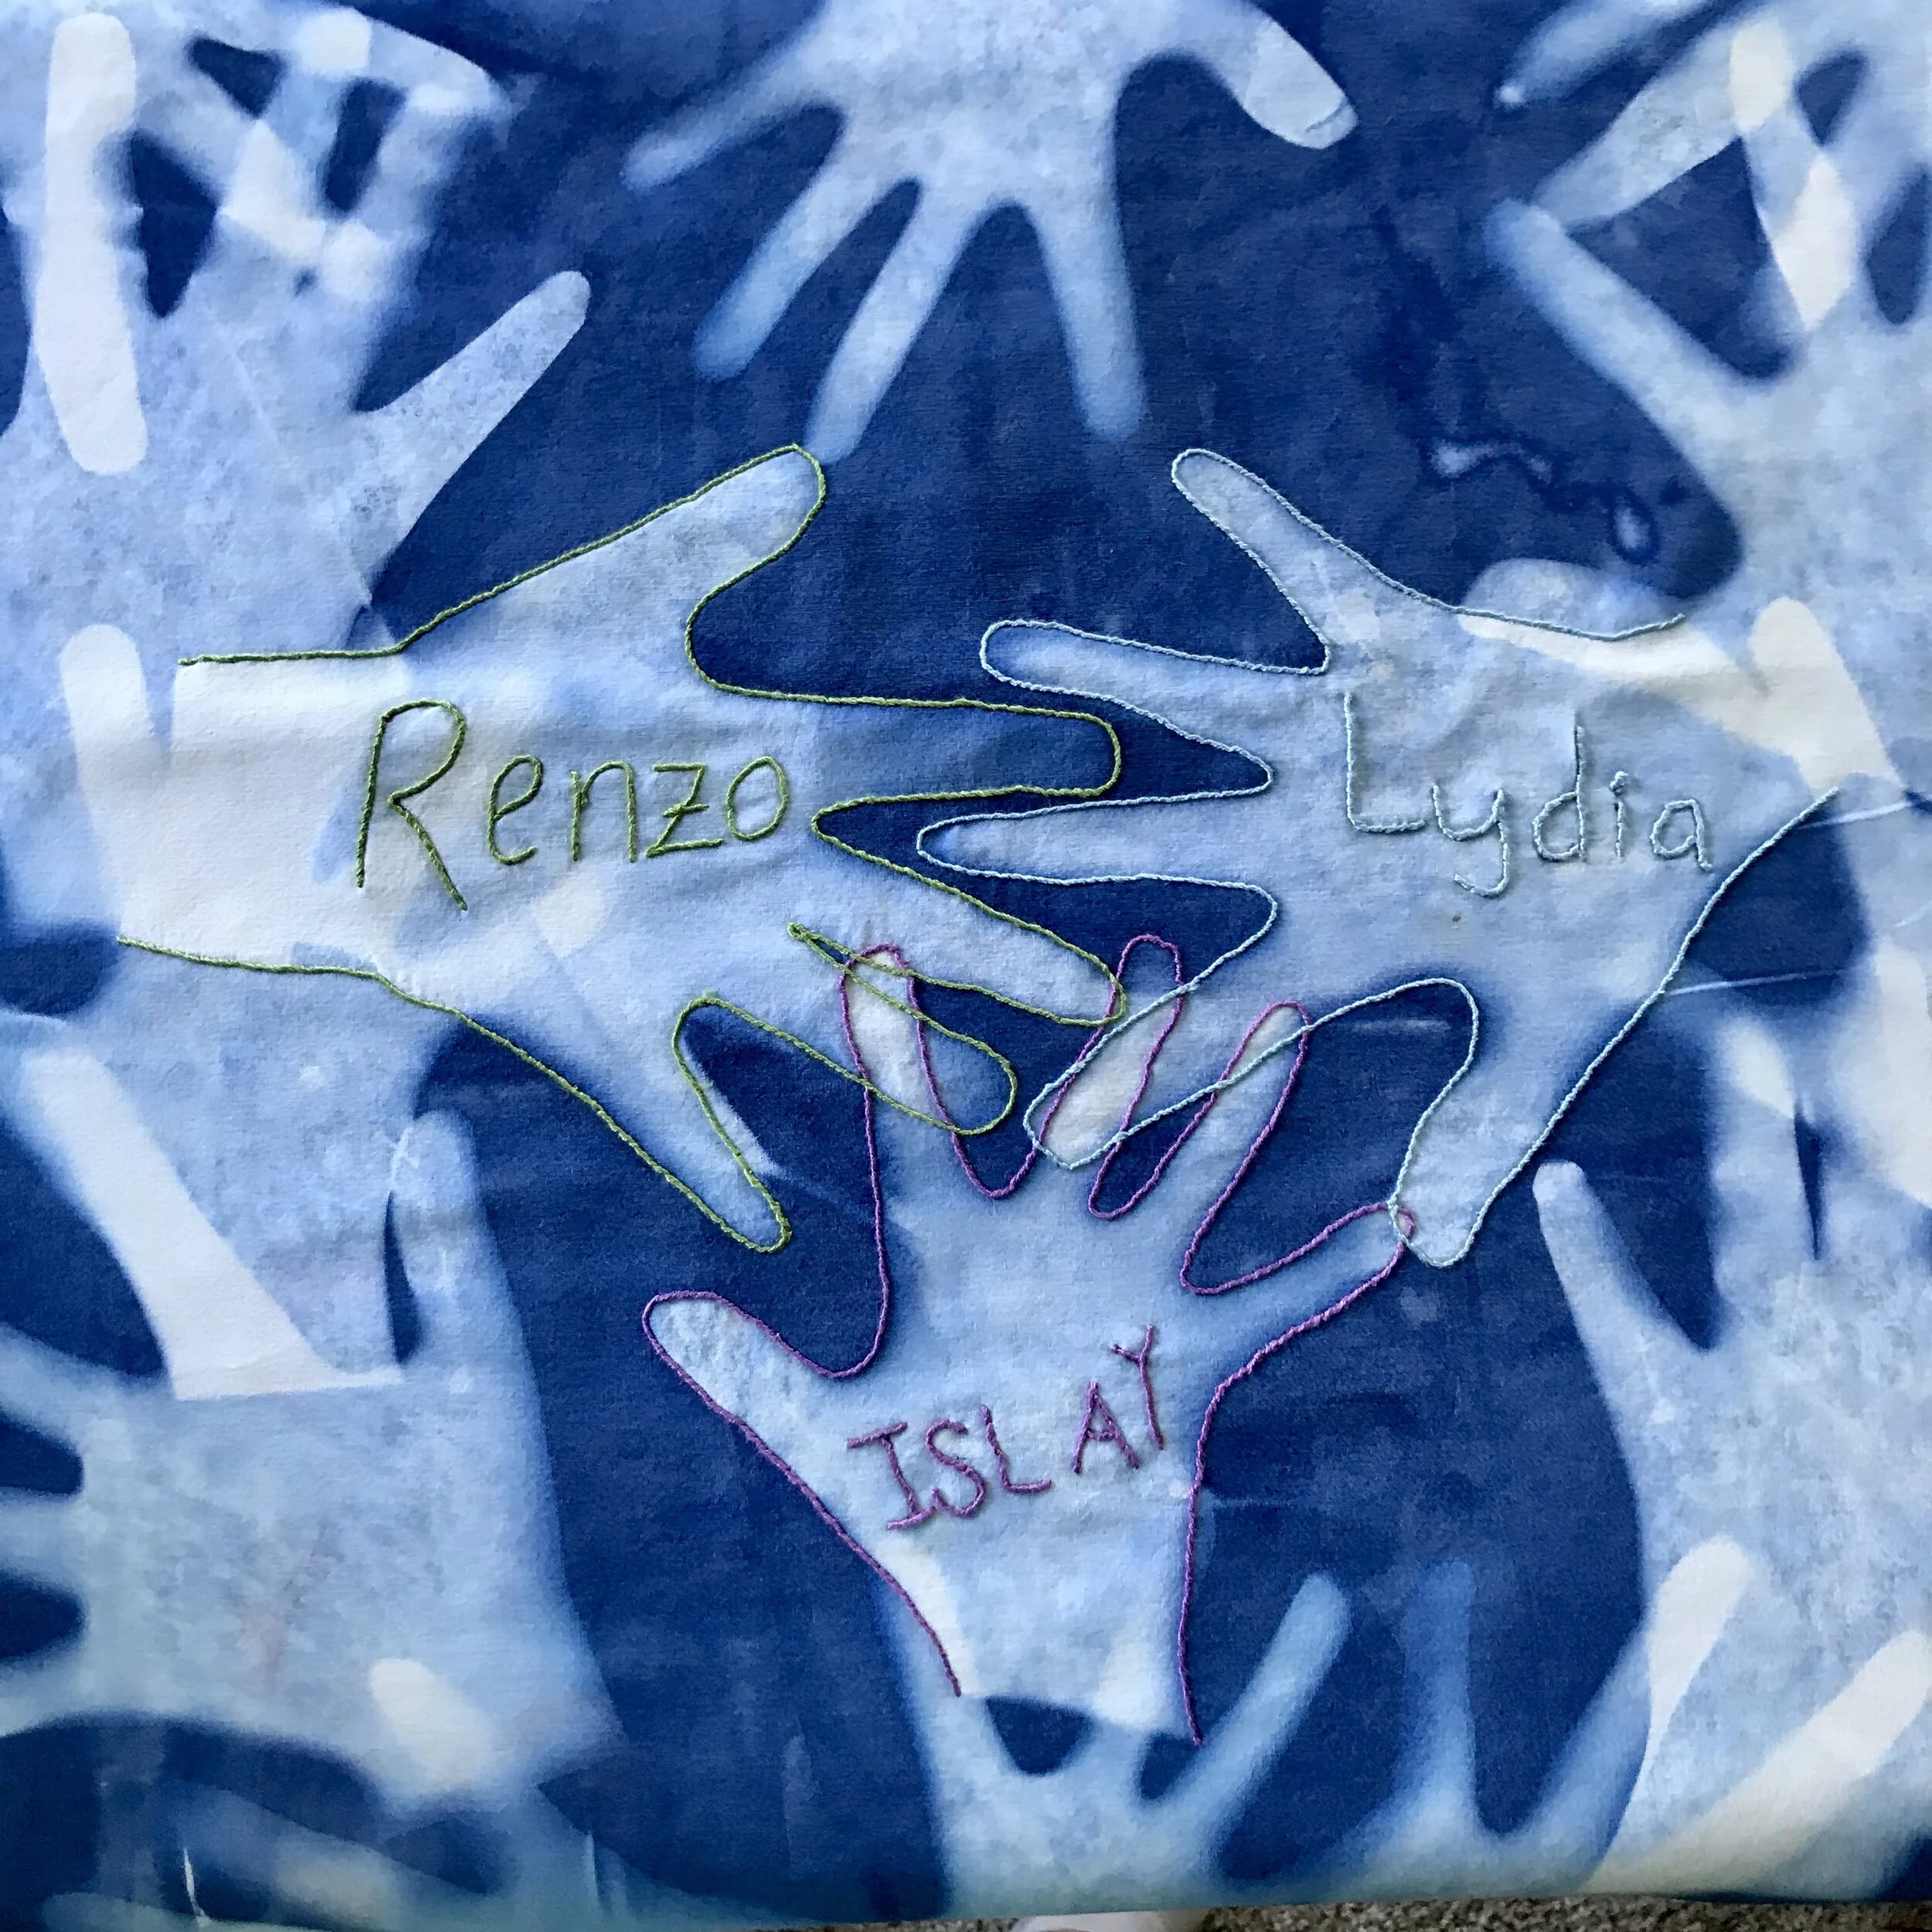
I am into embroidery, so I outlined one handprint from each child and added their signatures as well. I love how this turned out, but it is absolutely an optional step!
Step 10: Transfer Signatures to Fabric
Use a pencil and color heavily over the BACK side of the page with the signature on it.
Place the signature where you want it to appear.
Using pressure, trace the signature with a pencil.
The graphite from the back of the paper will transfer the areas of pressure to the fabric.
Trace the signature with a disappearing fabric pen.
Step 11: Embroider
I used a whipped backstitch to outline the hands and to embroider the signatures, and I am very pleased with the end result. I dotted each “i” with a French Knot. But there are lots of options that would make a beautiful end result!
Step 12: Finish as Needed
I turned mine into pillows using cloth napkins for the backing.
But this is a great no-sew project. Just buy something that’s already finished. Make sure, though, the item is cotton and has been washed and dried before you begin the process.
I absolutely love the finished product! I made our handprint sunprints into pillows for Mother’s and Father’s Days, but I have several other ideas:
Birthday party or slumber party favor: have the kids each make a pillowcase with everyone’s handprint; use fabric markers to sign them once they are washed.
End-of-the-year gift for a teacher with handprints from the entire class
Christmas gift for grandparents, aunts, uncles, or friends
A going away present for someone special who is moving away
A wedding gift: have all of the guests trace their hands, collect them, and then make a tablecloth with hands printed across it
Whatever you end up doing, share it on Instagram and tag me! I want to see your creation!
No-Sew Ideas
Here are a few quick suggestions for a no-sew option. If you plan to use something pre-made, be sure you put cardboard inside it (for the pillowcases, for example) to protect the reverse side or the Solar Fast solution will soak through and the print may be two-sided. But that also might look amazing!

