How to KonMari Your Sewing and Craft Room
How to KonMari a Sewing Room, Art Studio, or Craft Room
I KonMari’d My Workroom and Liked it
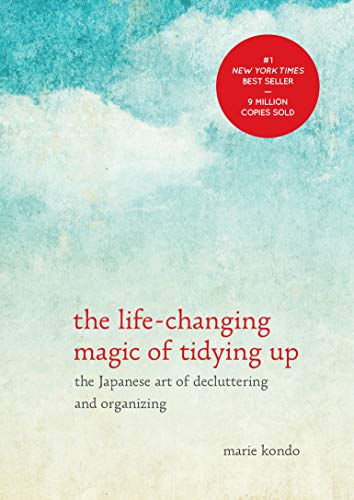
I discovered KonMari about four years ago and started with Marie Kondo’s book, The Life-Changing Magic of Tidying Up. We had just moved to Los Angeles, and I broke my foot while moving boxes in our new house. While I convalesced, I read The Life-Changing Magic of Tidying Up, and then took on using the KonMari method on our home. It made a remarkable difference in so many ways! I truly unpacked our house — something we hadn’t done in several moves. And I took carload after carload of unused items to be donated. When you move frequently as we have in the last decade, it is easy to just move boxes from one place to another without actually opening them and evaluating what is inside!
And then we moved again. This time to Colorado.
We arrived two years ago, and my Workroom was an afterthought. I shoved boxes inside and just shut the door until the rest of the house was unpacked, and we were more settled. Then I hastily put things away without truly thinking about function or organization. And I got to work.
Well, two years later that just wasn’t working. So a big part of the One Room Challenge Workroom Makeover has been organizing and evaluating every item in my Workroom. I broke a big KonMari rule. To truly KonMari your home, you are supposed to consider your house as a whole. But having done this relatively recently — and doing a good job of maintaining the rest of the house — I decided to just take on the Workroom, treating it in essence like a studio apartment. I did all of the KonMari Method steps in order, and I used Marie Kondo’s principles — just on a much smaller, more concentrated scale.
I have taken loads of items to be donated. I have sold a lot on the Marketplace. I am part of a freecycling group, and I’ve been able to give away a bunch as well. In the end, I am confident that what I have left is useful and will spark joy in the many creative pursuits I take on in this room. Ultimately, having a room that is functional and beautiful sparks joy — far more than any individual item might.
So can you KonMari art supplies? Yes! What about sewing materials? Yes! Office supplies? Yes!
The KonMari Method helps you go through your home in a organized, sensible way, to evaluate your possessions for their usefulness and what they contribute to your life, and to discard what is not adding to your lifestyle. That sounds daunting — and it can be hard. But it actually is such a reasonable way to simplify your life.
And let me add: we are not minimalists! Not at all. But the KonMari Method helps my family keep our home tidy (most of the time) and maintain a reasonable amount of stuff so that we aren’t overwhelmed. It has been life-changing!
Tips for using the KonMari Method
As I tackled my Workroom, here are a few of my guiding principles that were helpful:
Decide how much space you have.
I didn’t add storage space to my Workroom — and this was intentional. I have plenty of space. I needed it to be more functional and to only be filled with items that are helpful, meaningful, and useful. And I was determined that my supplies for each of these activities would be confined to this room — no spilling out into another part of the house, because I couldn’t contain it all in here.
Plan your storage space first.
I determined how much space I was allocating to each type of item depending on how much time I spend on that activity in general. It doesn’t make much sense to dedicate 50% of my storage space to sewing materials when I don’t spend 50% of my creative time sewing. I do sew, and I enjoy it. But I don’t even do it weekly, so I worked to develop a storage space which is appropriate for each kind of activity.
The storage space determines how much you can save.
This is particularly hard with art and sewing supplies — both are disciplines which say, “Hang on to me! You never know when you will need me!” But clutter doesn’t spark joy, and that saving-everything attitude just leads to clutter. So I was even ruthless about items I might use someday — and I instead sent a lot of them out into the world for someone else to use instead. I am part of several freecycling groups on Facebook, and people in those groups are always looking for materials. I ended up giving a lot of art supplies away to a local art teacher, for example. I know they will be used well in her classroom.
Don’t spend money on containers.
This is so hard. The Container Store is my happy place — and has been since my childhood. But I was determined to use what I have. This is in keeping with Marie Kondo’s methods. She is decidedly uncommercial in her approach and recommends saving shoeboxes and using containers around the house. And she is right. So over the last few years I have developed a box-hoarding habit which is extremely helpful.
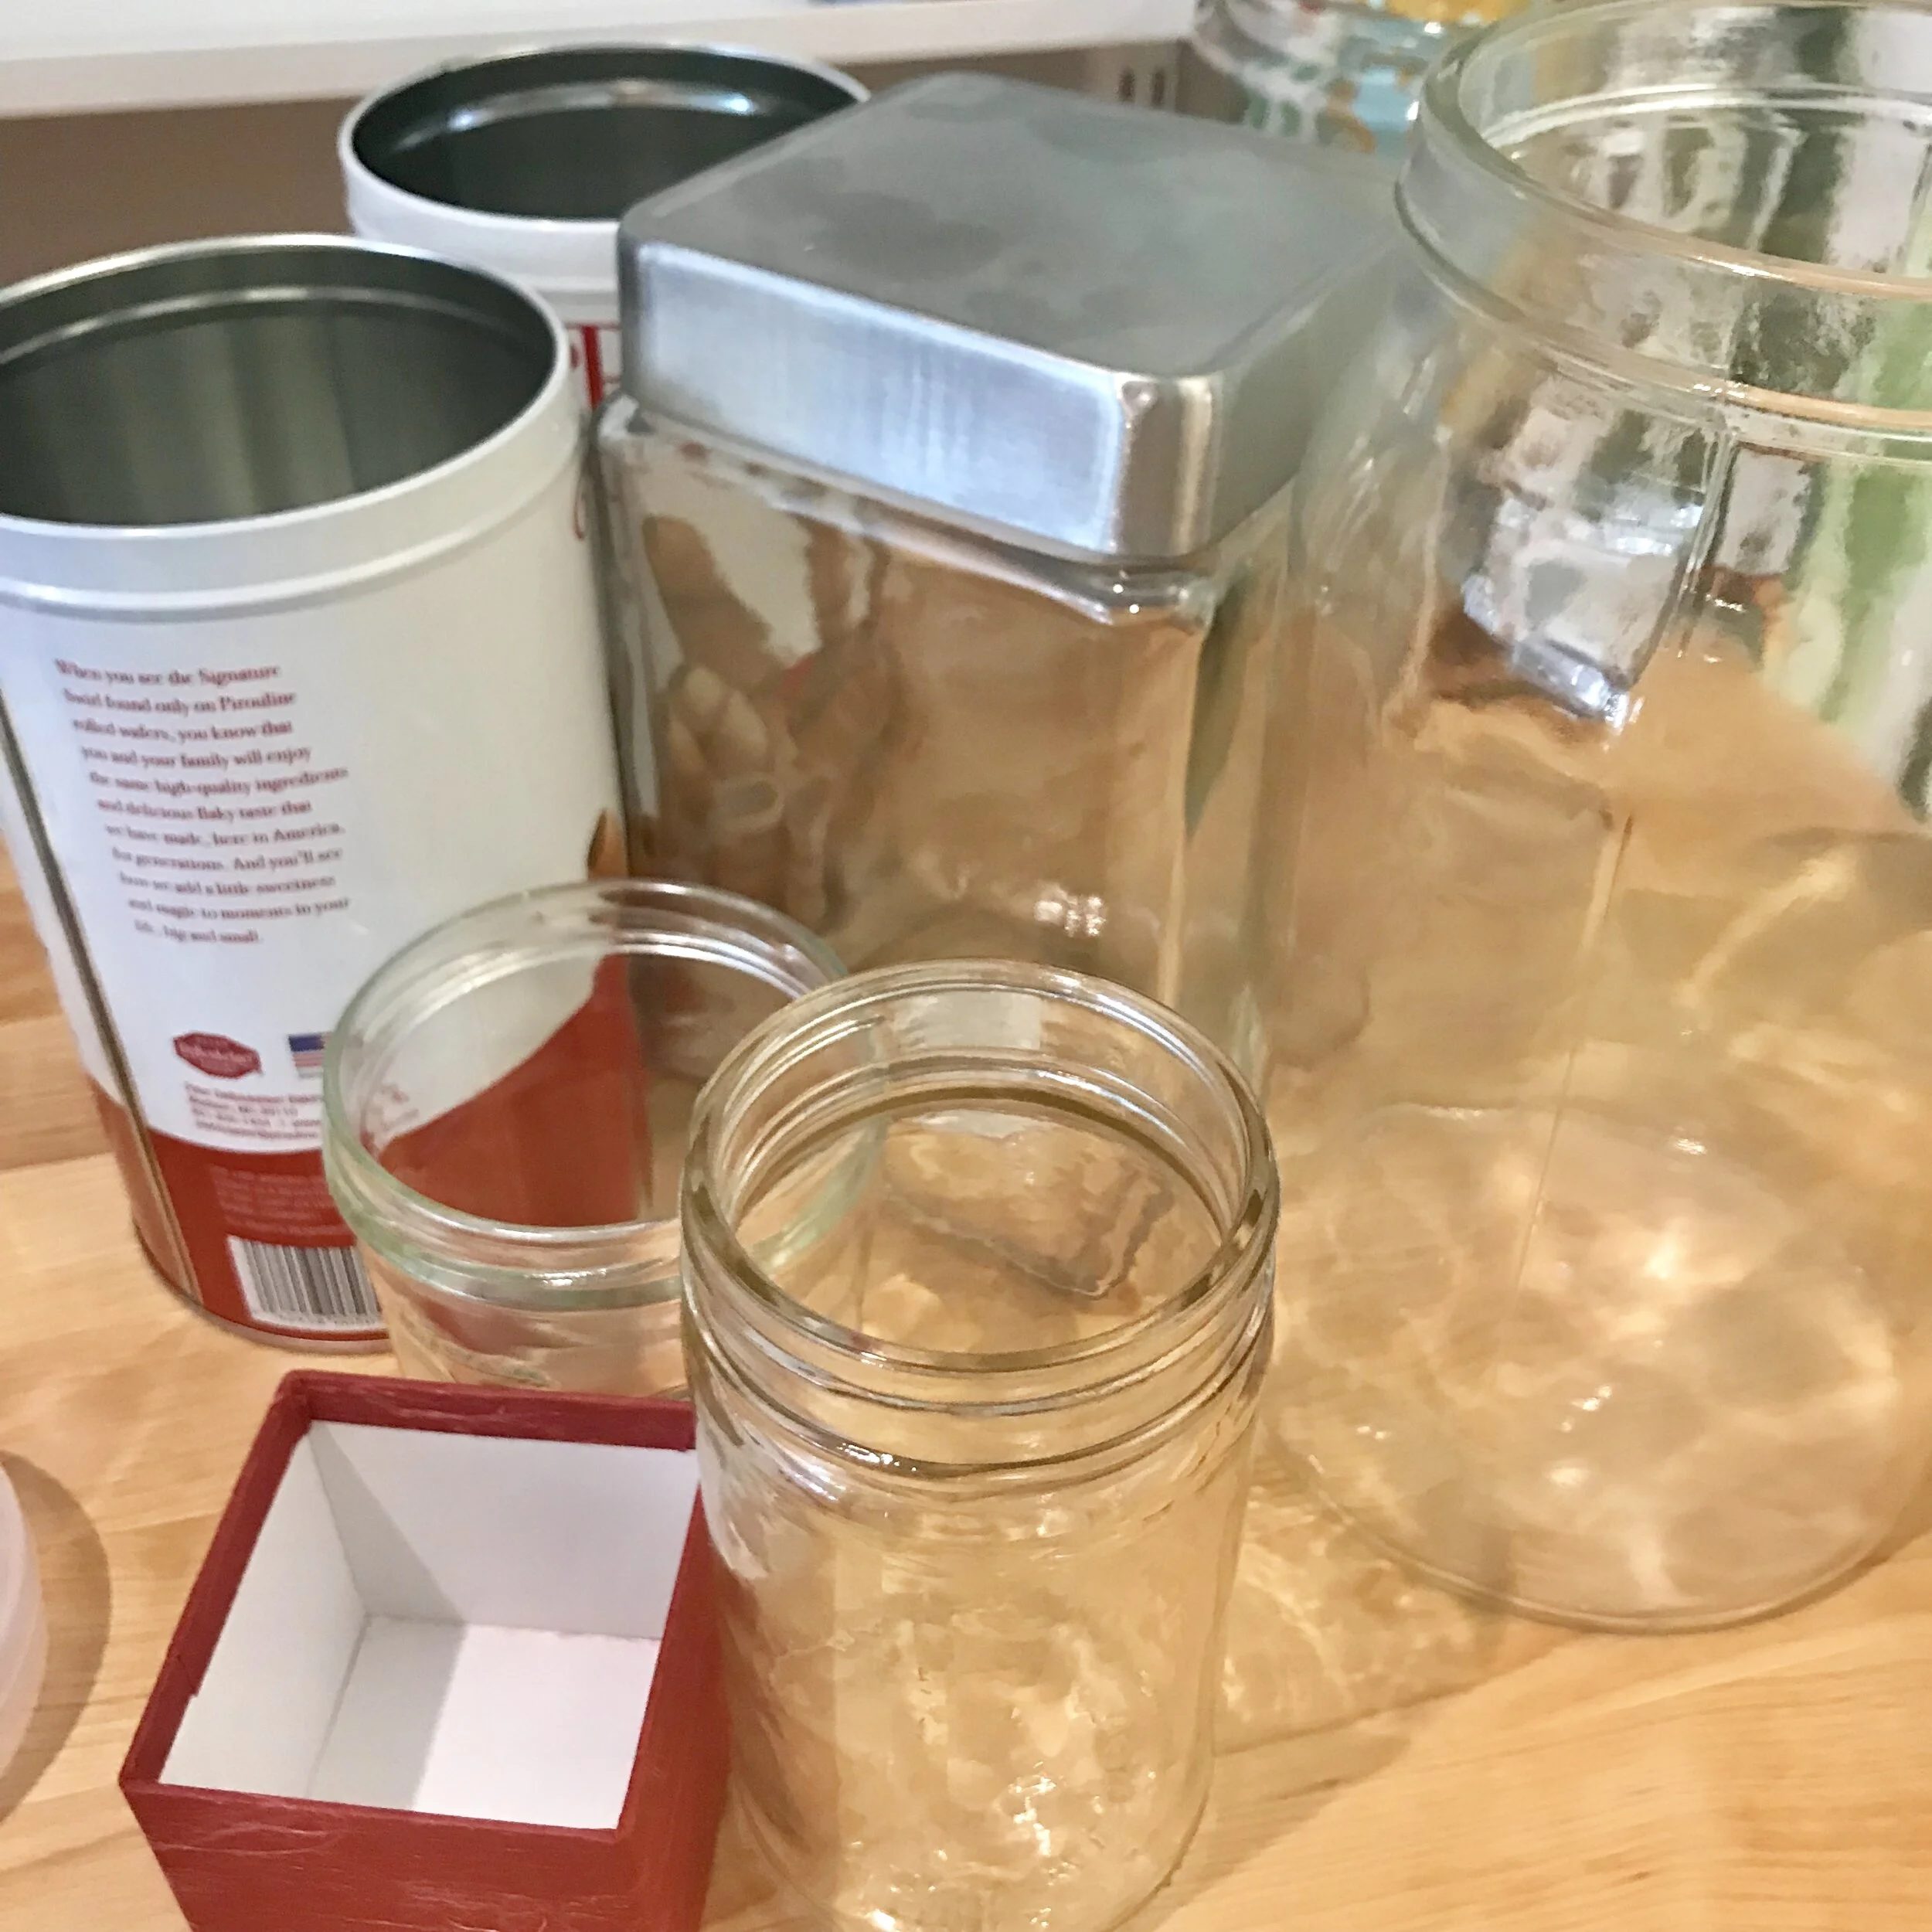
Containers to Save for KonMari: obviously, don’t go overboard. But I have a dedicated spot where I save a few of these kinds of containers as we empty them. It is shocking how often I need them! And I always have something on hand.
Shoe boxes
Small, sturdy cardboard boxes
Glass jars and lids
Plastic jars (like peanut butter jars)
Tin cans and containers
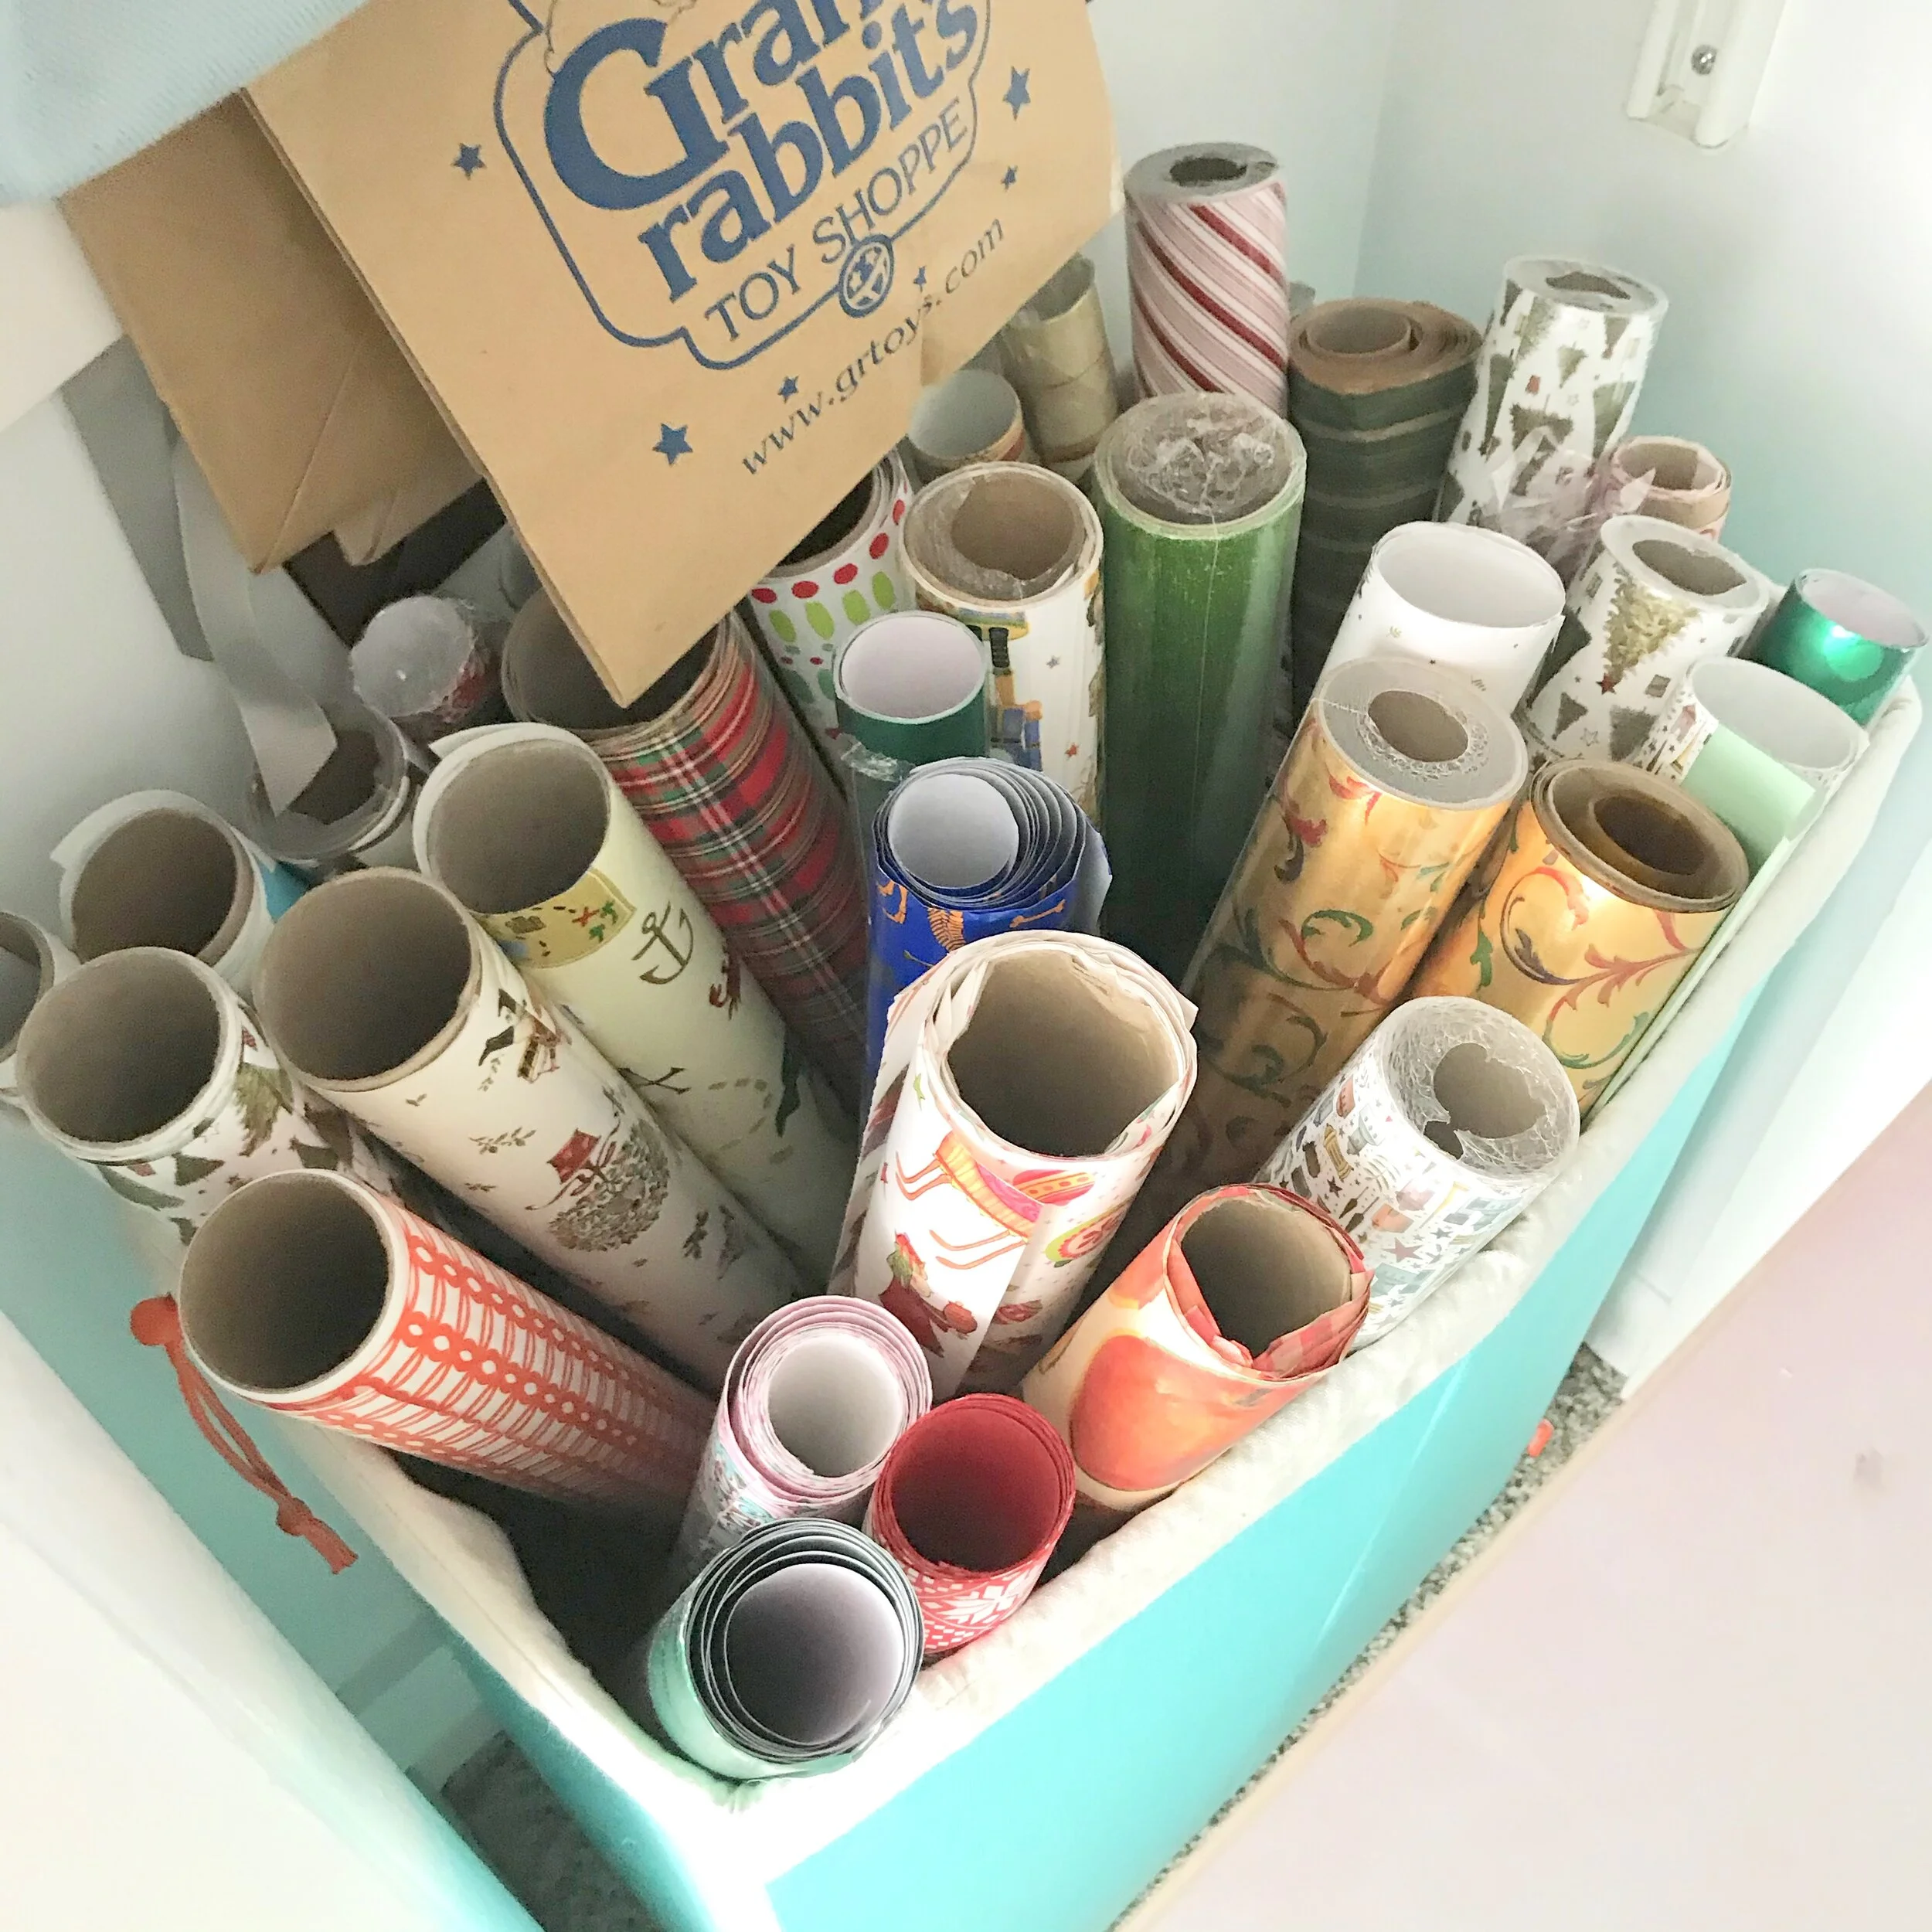
When you go to use your containers if they aren’t attractive enough, there are lots of ways to make them prettier! Paint, wrapping paper, collage, wall paper scraps, or even a simple piece of ribbon can dress up the most humble of containers. I’m a big fan, personally, of wrapping boxes in wrapping paper to make them more attractive!
Make a plan for getting rid of things.
It is easier to get rid of items if you know where they are going. So before you start, have some large boxes or bins set aside for donations, items to sell, and freecycling items as well as trash bags and a recycling bin. Also, find your local freecycling groups on Facebook and join them. It’s easier to gather a bunch of items together and then to list them at once. I am even part of a local crafting group where I found an art teacher in need of many of the things I wanted to let go.
How to KonMari Art and Sewing Supplies
This isn’t meant to take the place of Marie Kondo’s books or the show “Tidying Up with Marie Kondo”. She is the expert, and I highly recommend both. But this is the process I went through as I evaluated every paint brush, marker, and piece of paper in my Workroom. It was incredibly helpful, and I was able to pare down my supplies to a manageable stash which will still allow for plenty of creativity in the future.
Step 1: Gather it all Together
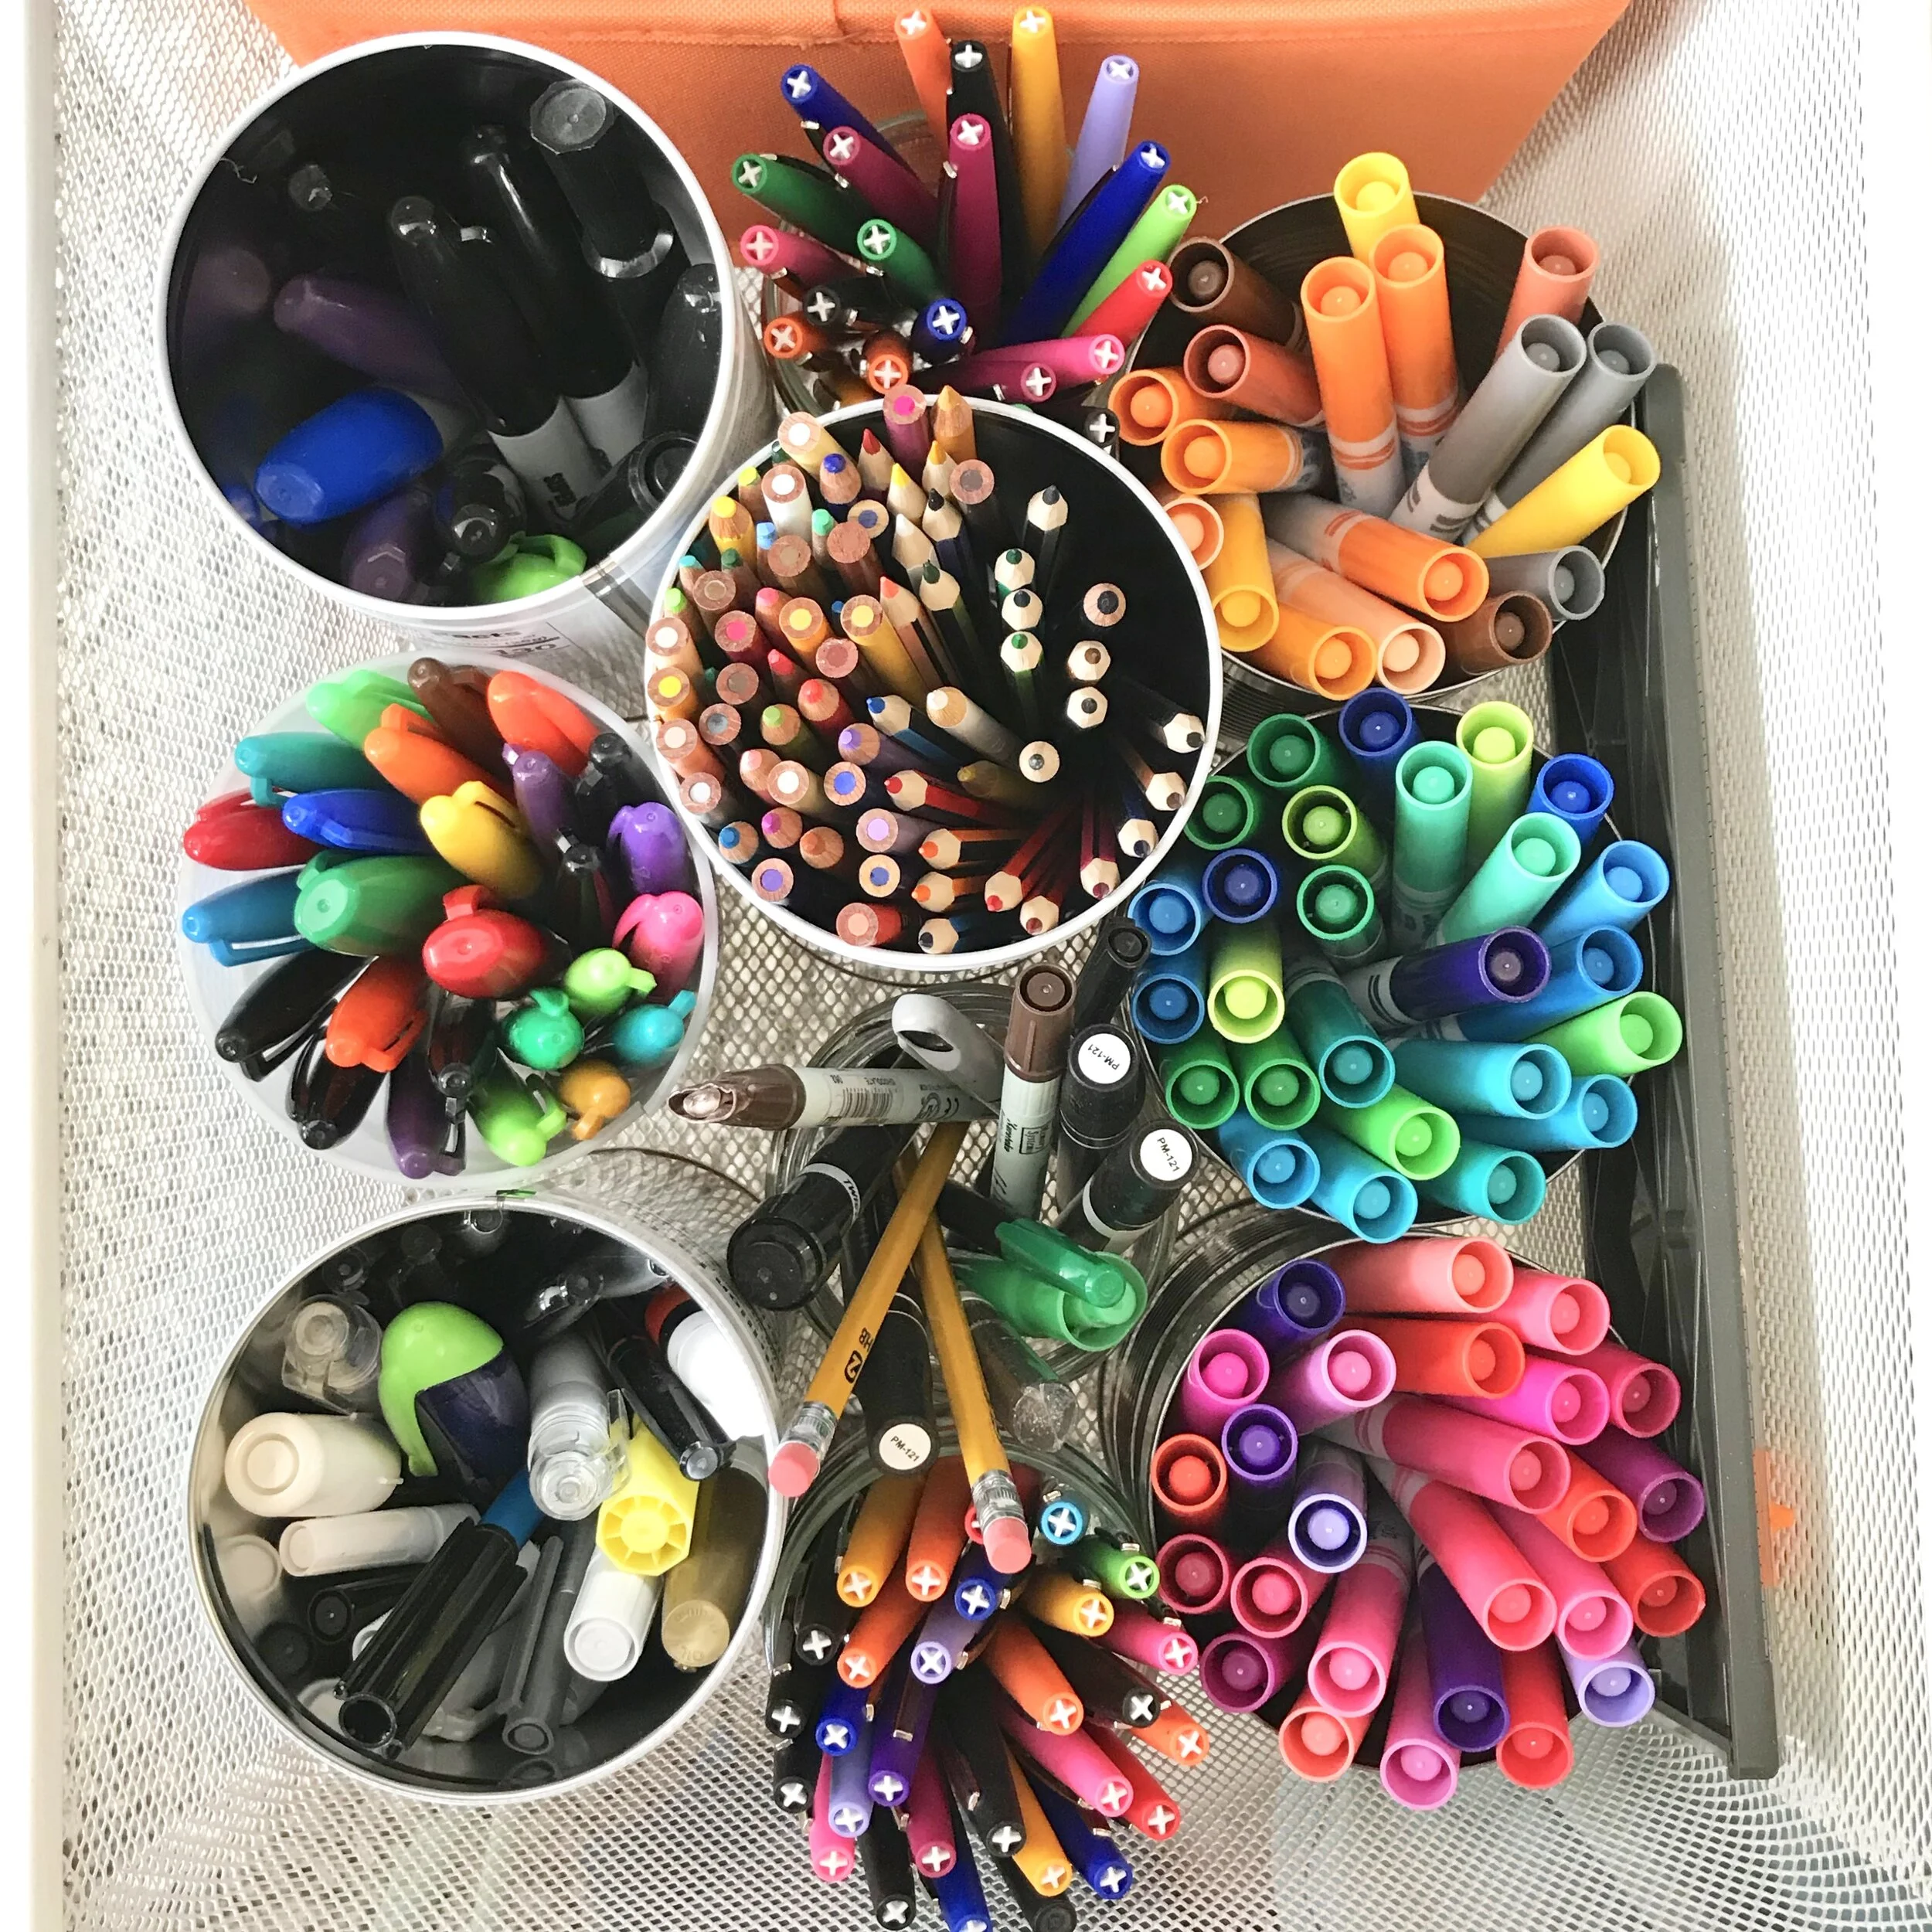
This, in my opinion, is the root of the brilliance of the KonMari Method. Putting alllllll of the pens or markers or paints or thread together in one place makes you look at your supply, see exactly what is there, and then be able to make real, careful choices. So I pulled every pen from every drawer into one place, for example — and then…
Step 2: Does it Spark Joy?
Then I had to ask myself, “Does this spark joy?” Even about a pen. And here’s the thing: sometimes the answer is yes, and sometimes it is no. The hardest part of this for me was with paper for collage and crafting. But I know that some colors, for example, really do not spark joy. So out they went.
Step 3: Give it a Future
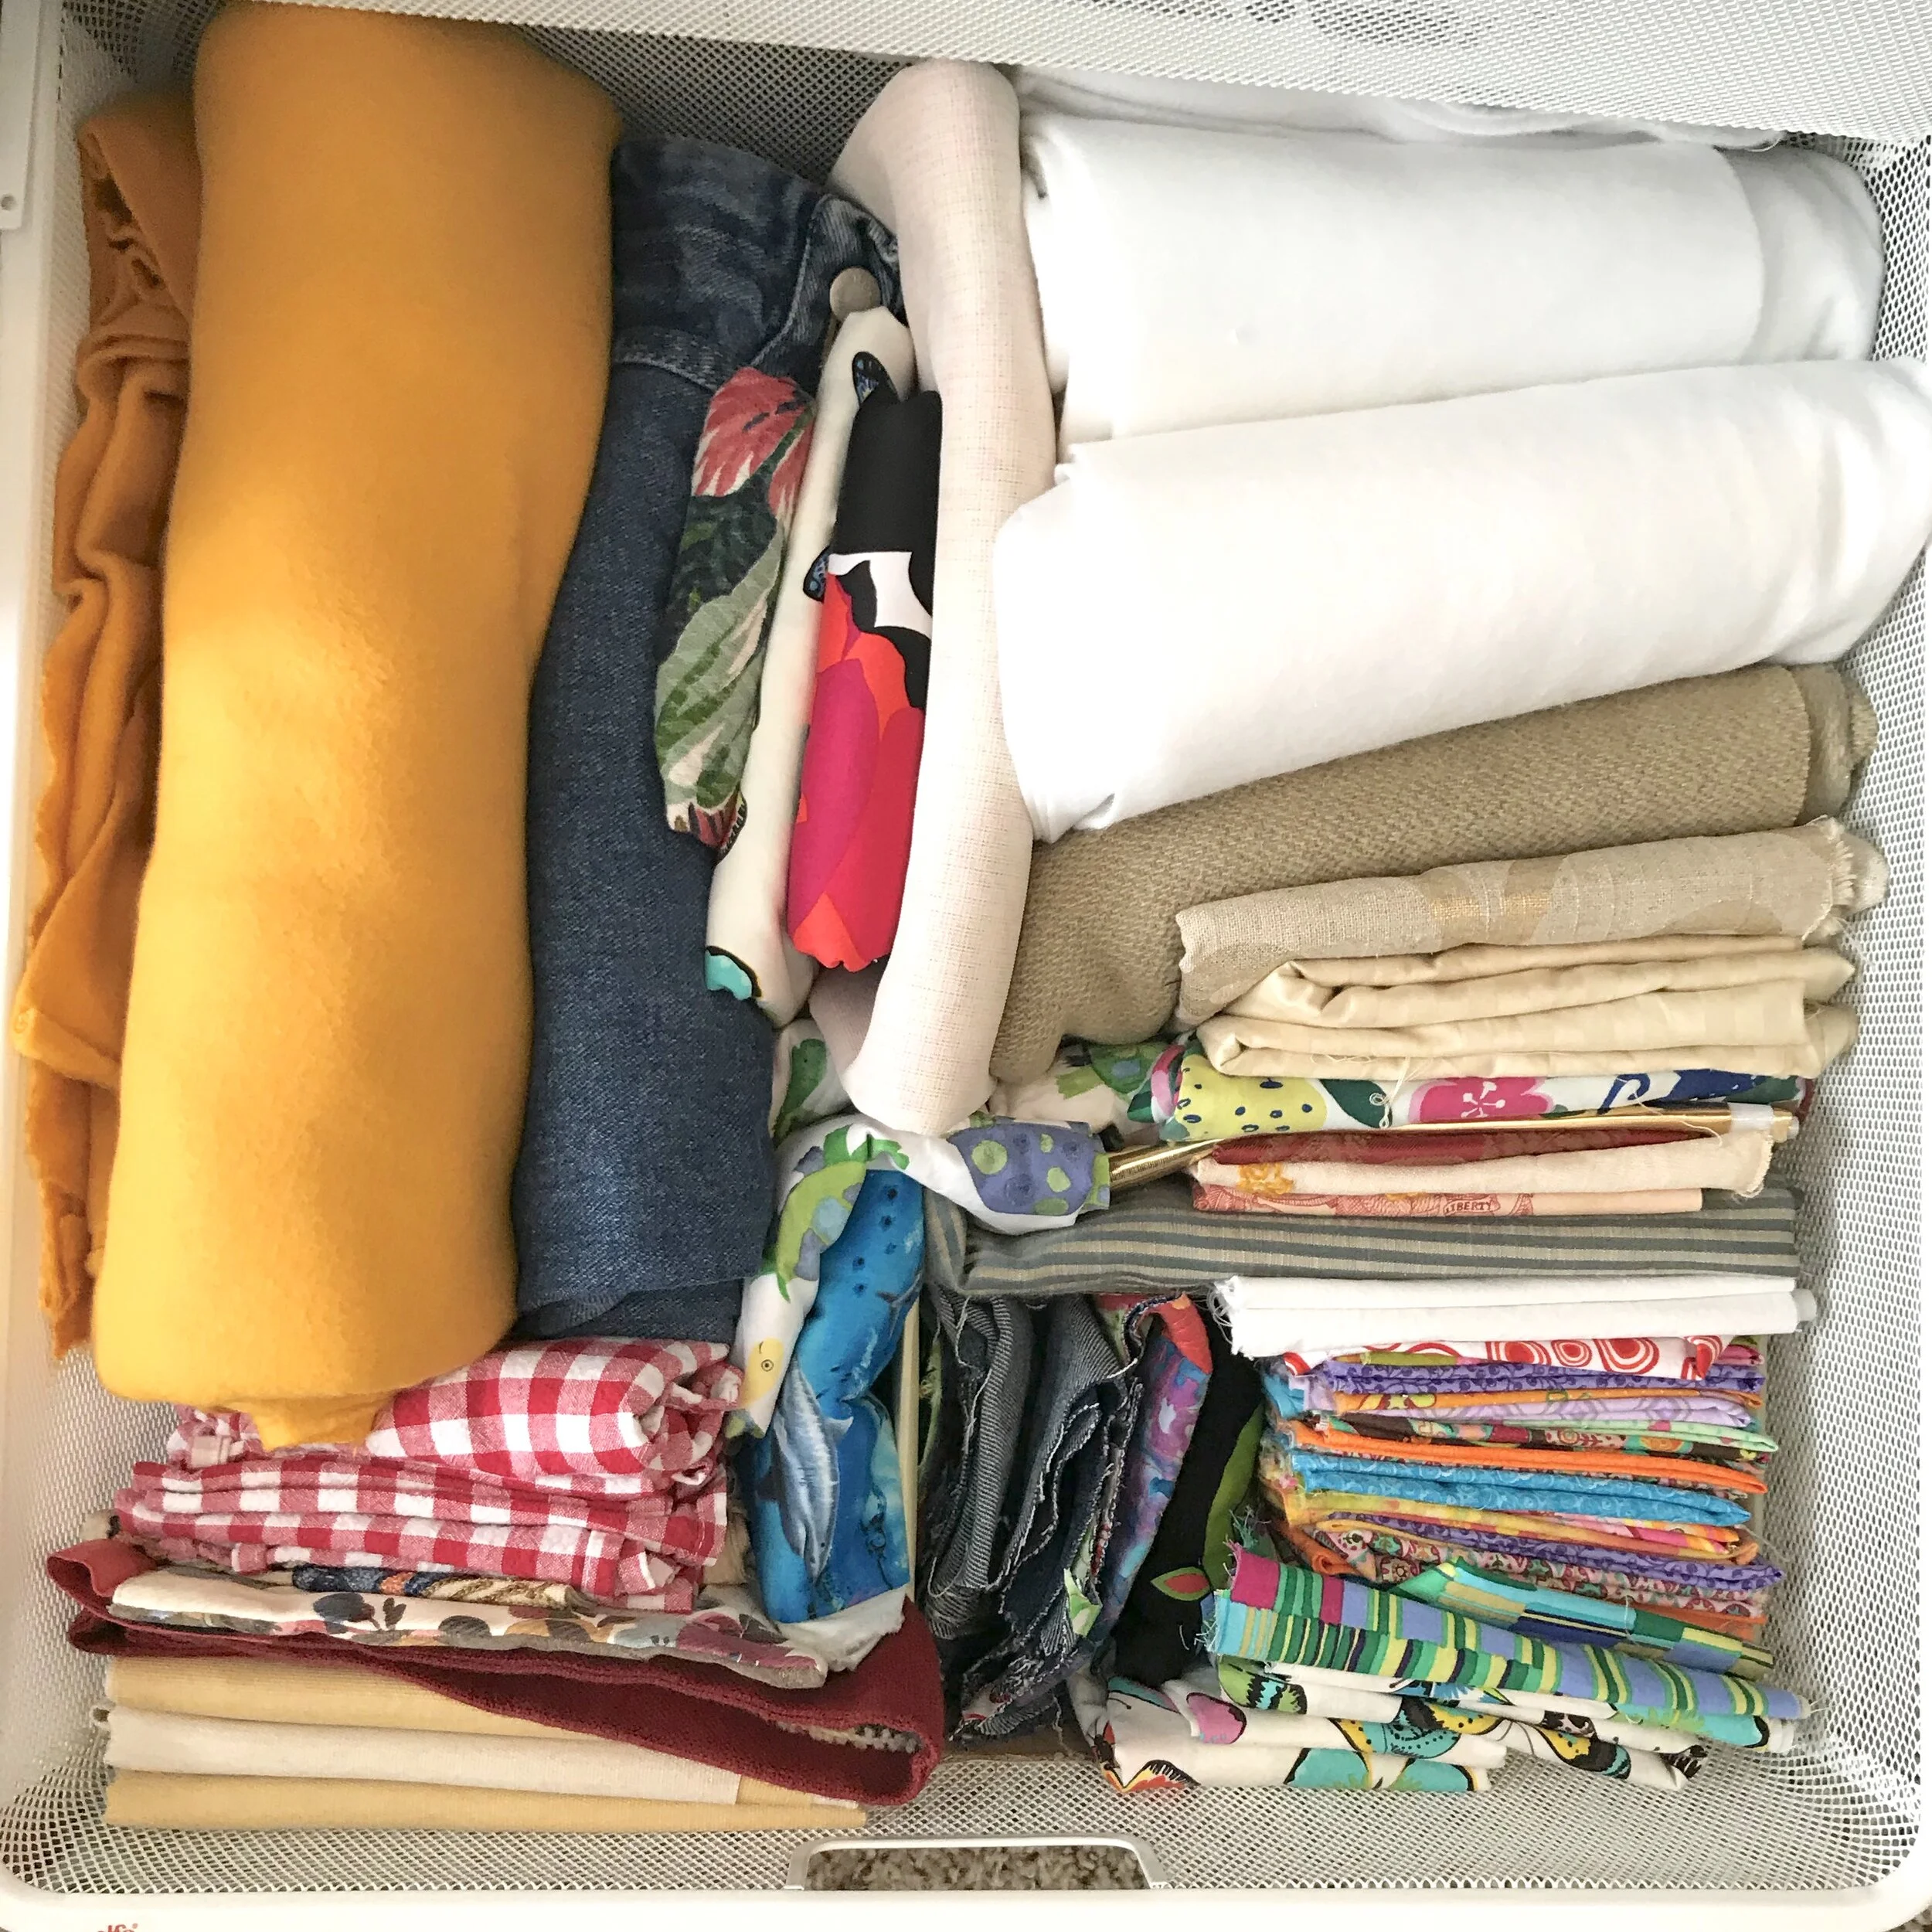
Because I have an elfa desk system, I used the drawers as storage bins. Once I had sorted all like items, the things to be kept went into a dedicated drawer.
I also kept large boxes and laundry baskets nearby. Donations went into the boxes, and once the box was full, it went out to the car. For several weeks, I stopped almost daily at the donation center. Items to be sold went into laundry baskets. At the end of each day, I listed the items to be sold online. And I created a rule: if it isn’t sold by the end of the One Room Challenge period (6 weeks), it will be donated. I don’t need it in my house!
Step 4: Store Like Items Together
One of the problems with my previous storage solutions was that items weren’t all grouped together by type. This meant that I was often hunting for the specific thing needed, and I ended up with duplicates.
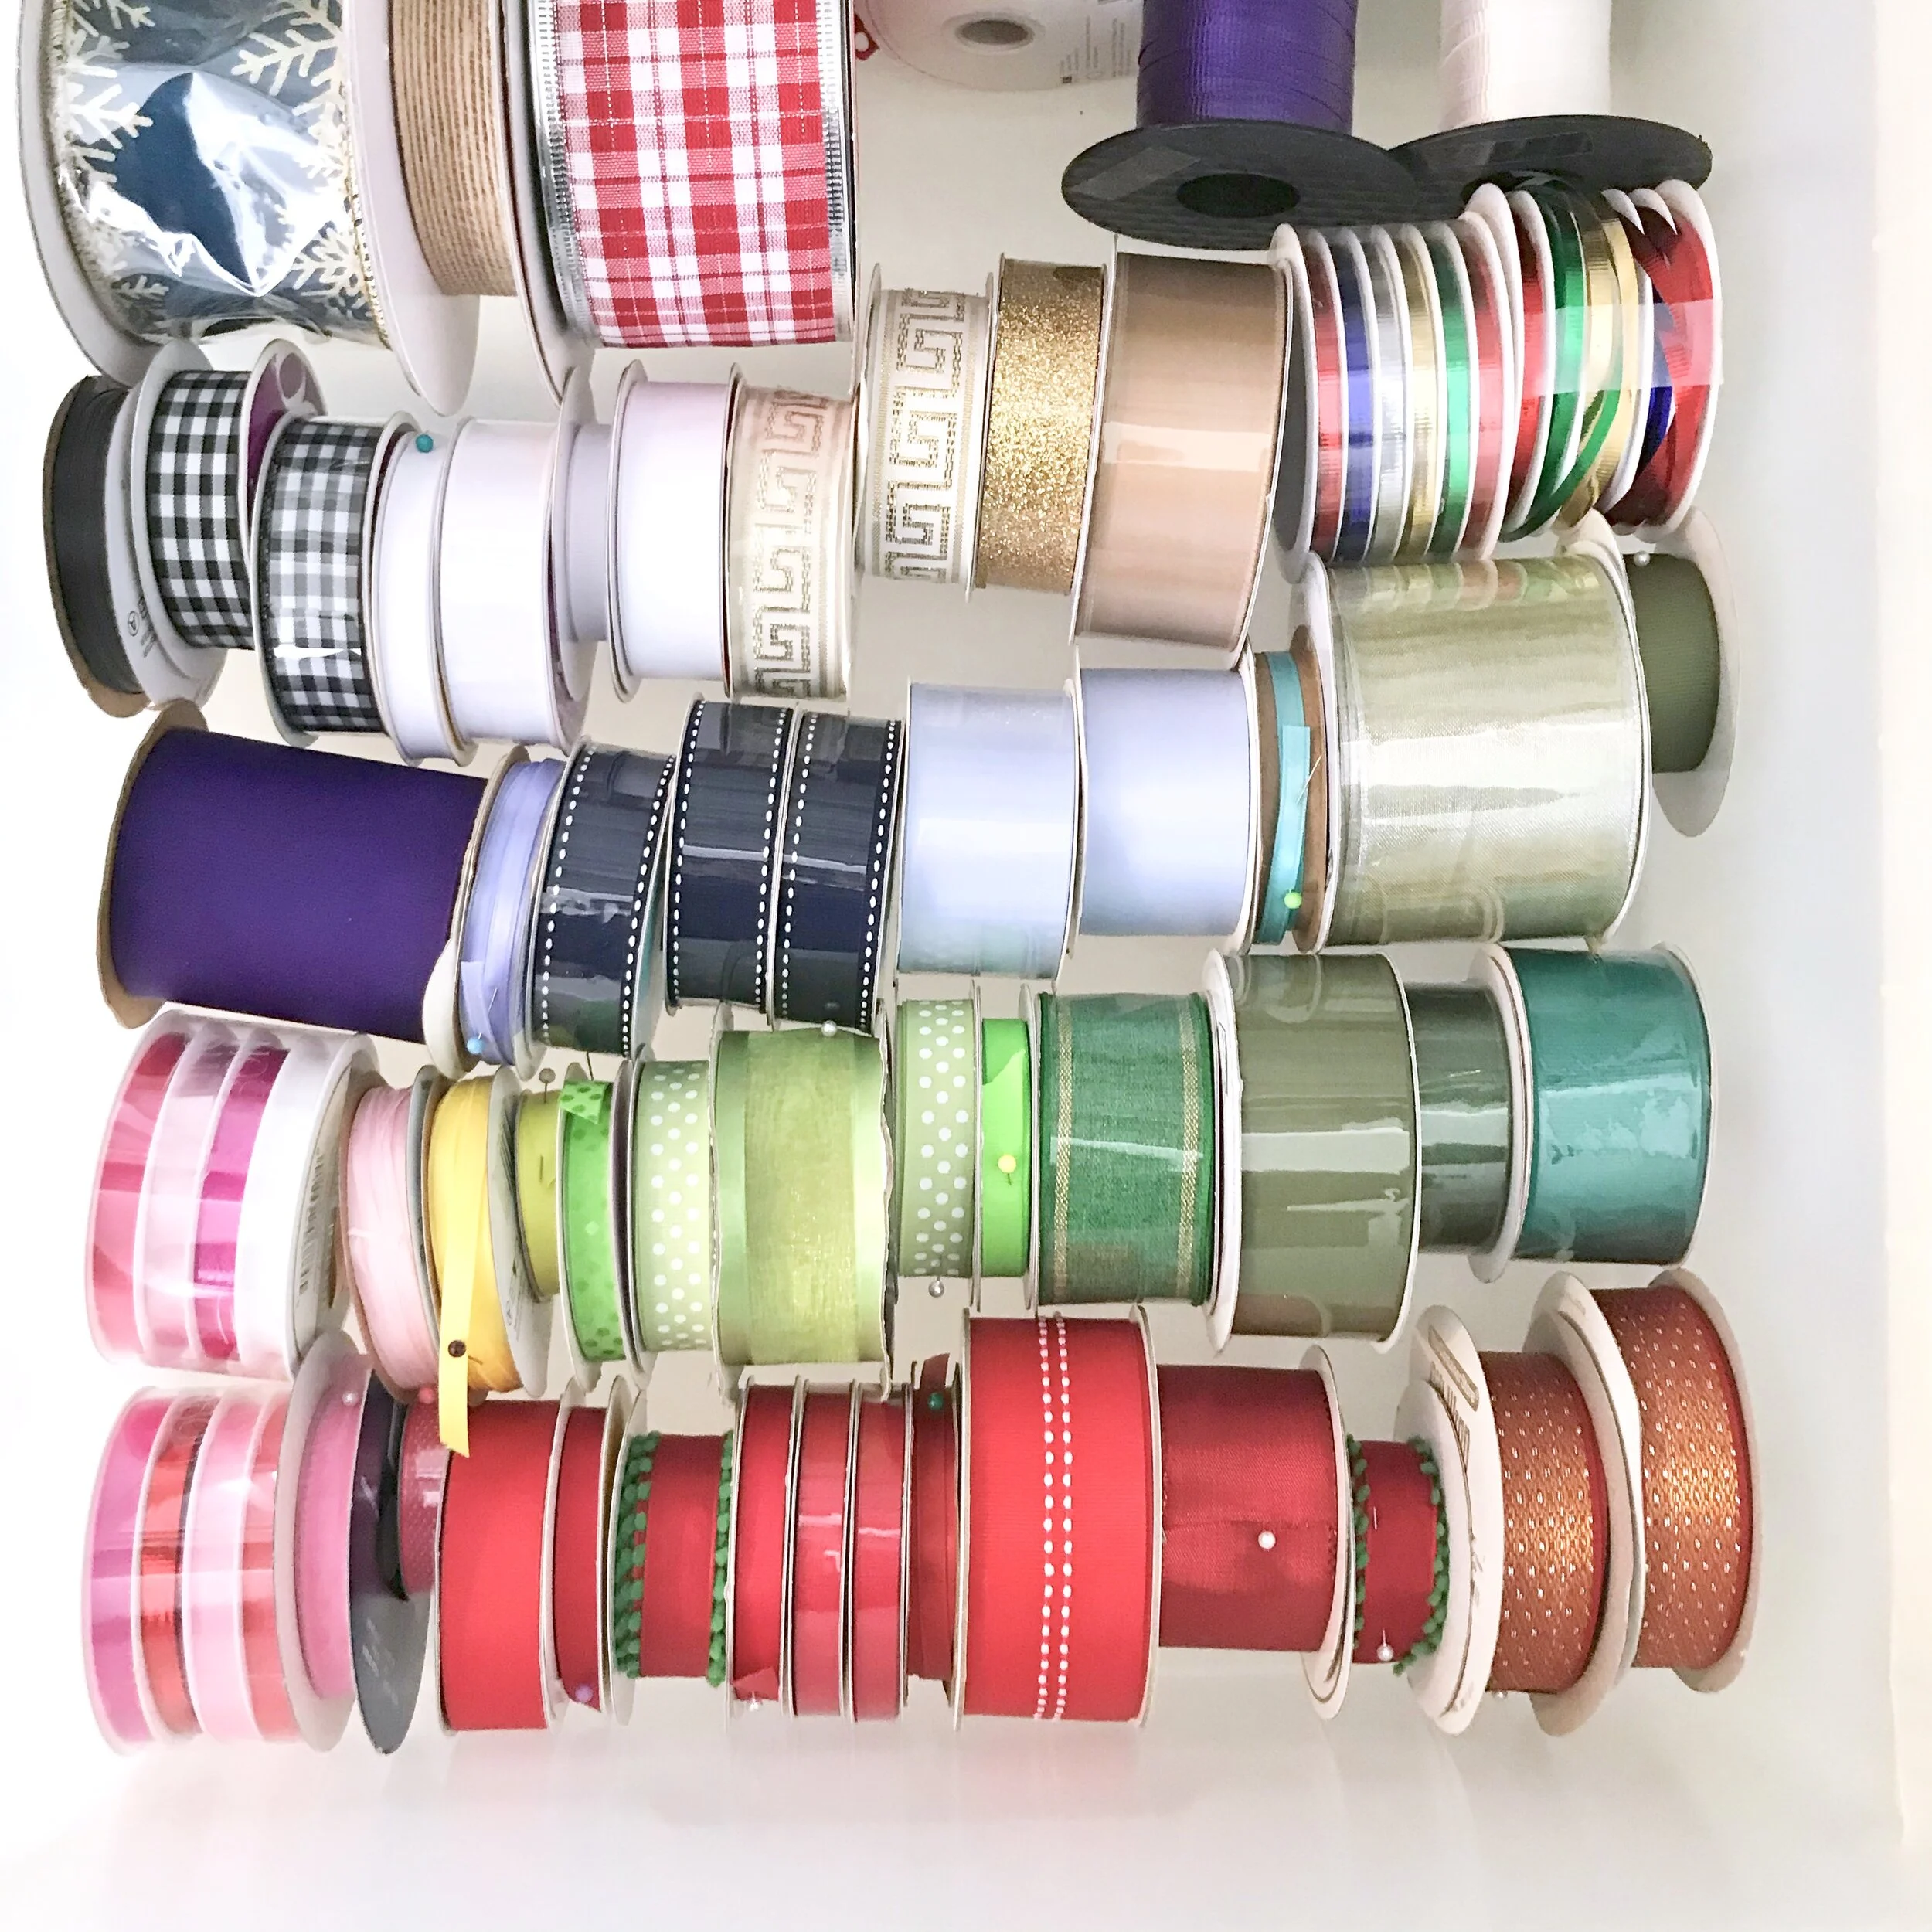
So I mapped out my storage by activity — art journaling, painting, sewing, gift wrapping — and then stored items together.
Additionally, I was able to assess how many items I actually had in each category. I found that I won’t need to buy white thread for a very, very long time. But there are other colors which I will need to buy for my next project. And as I stored things away, I did another assessment. Too many like items? Then some went into the donate bin!
Step 5: Use Containers within Containers
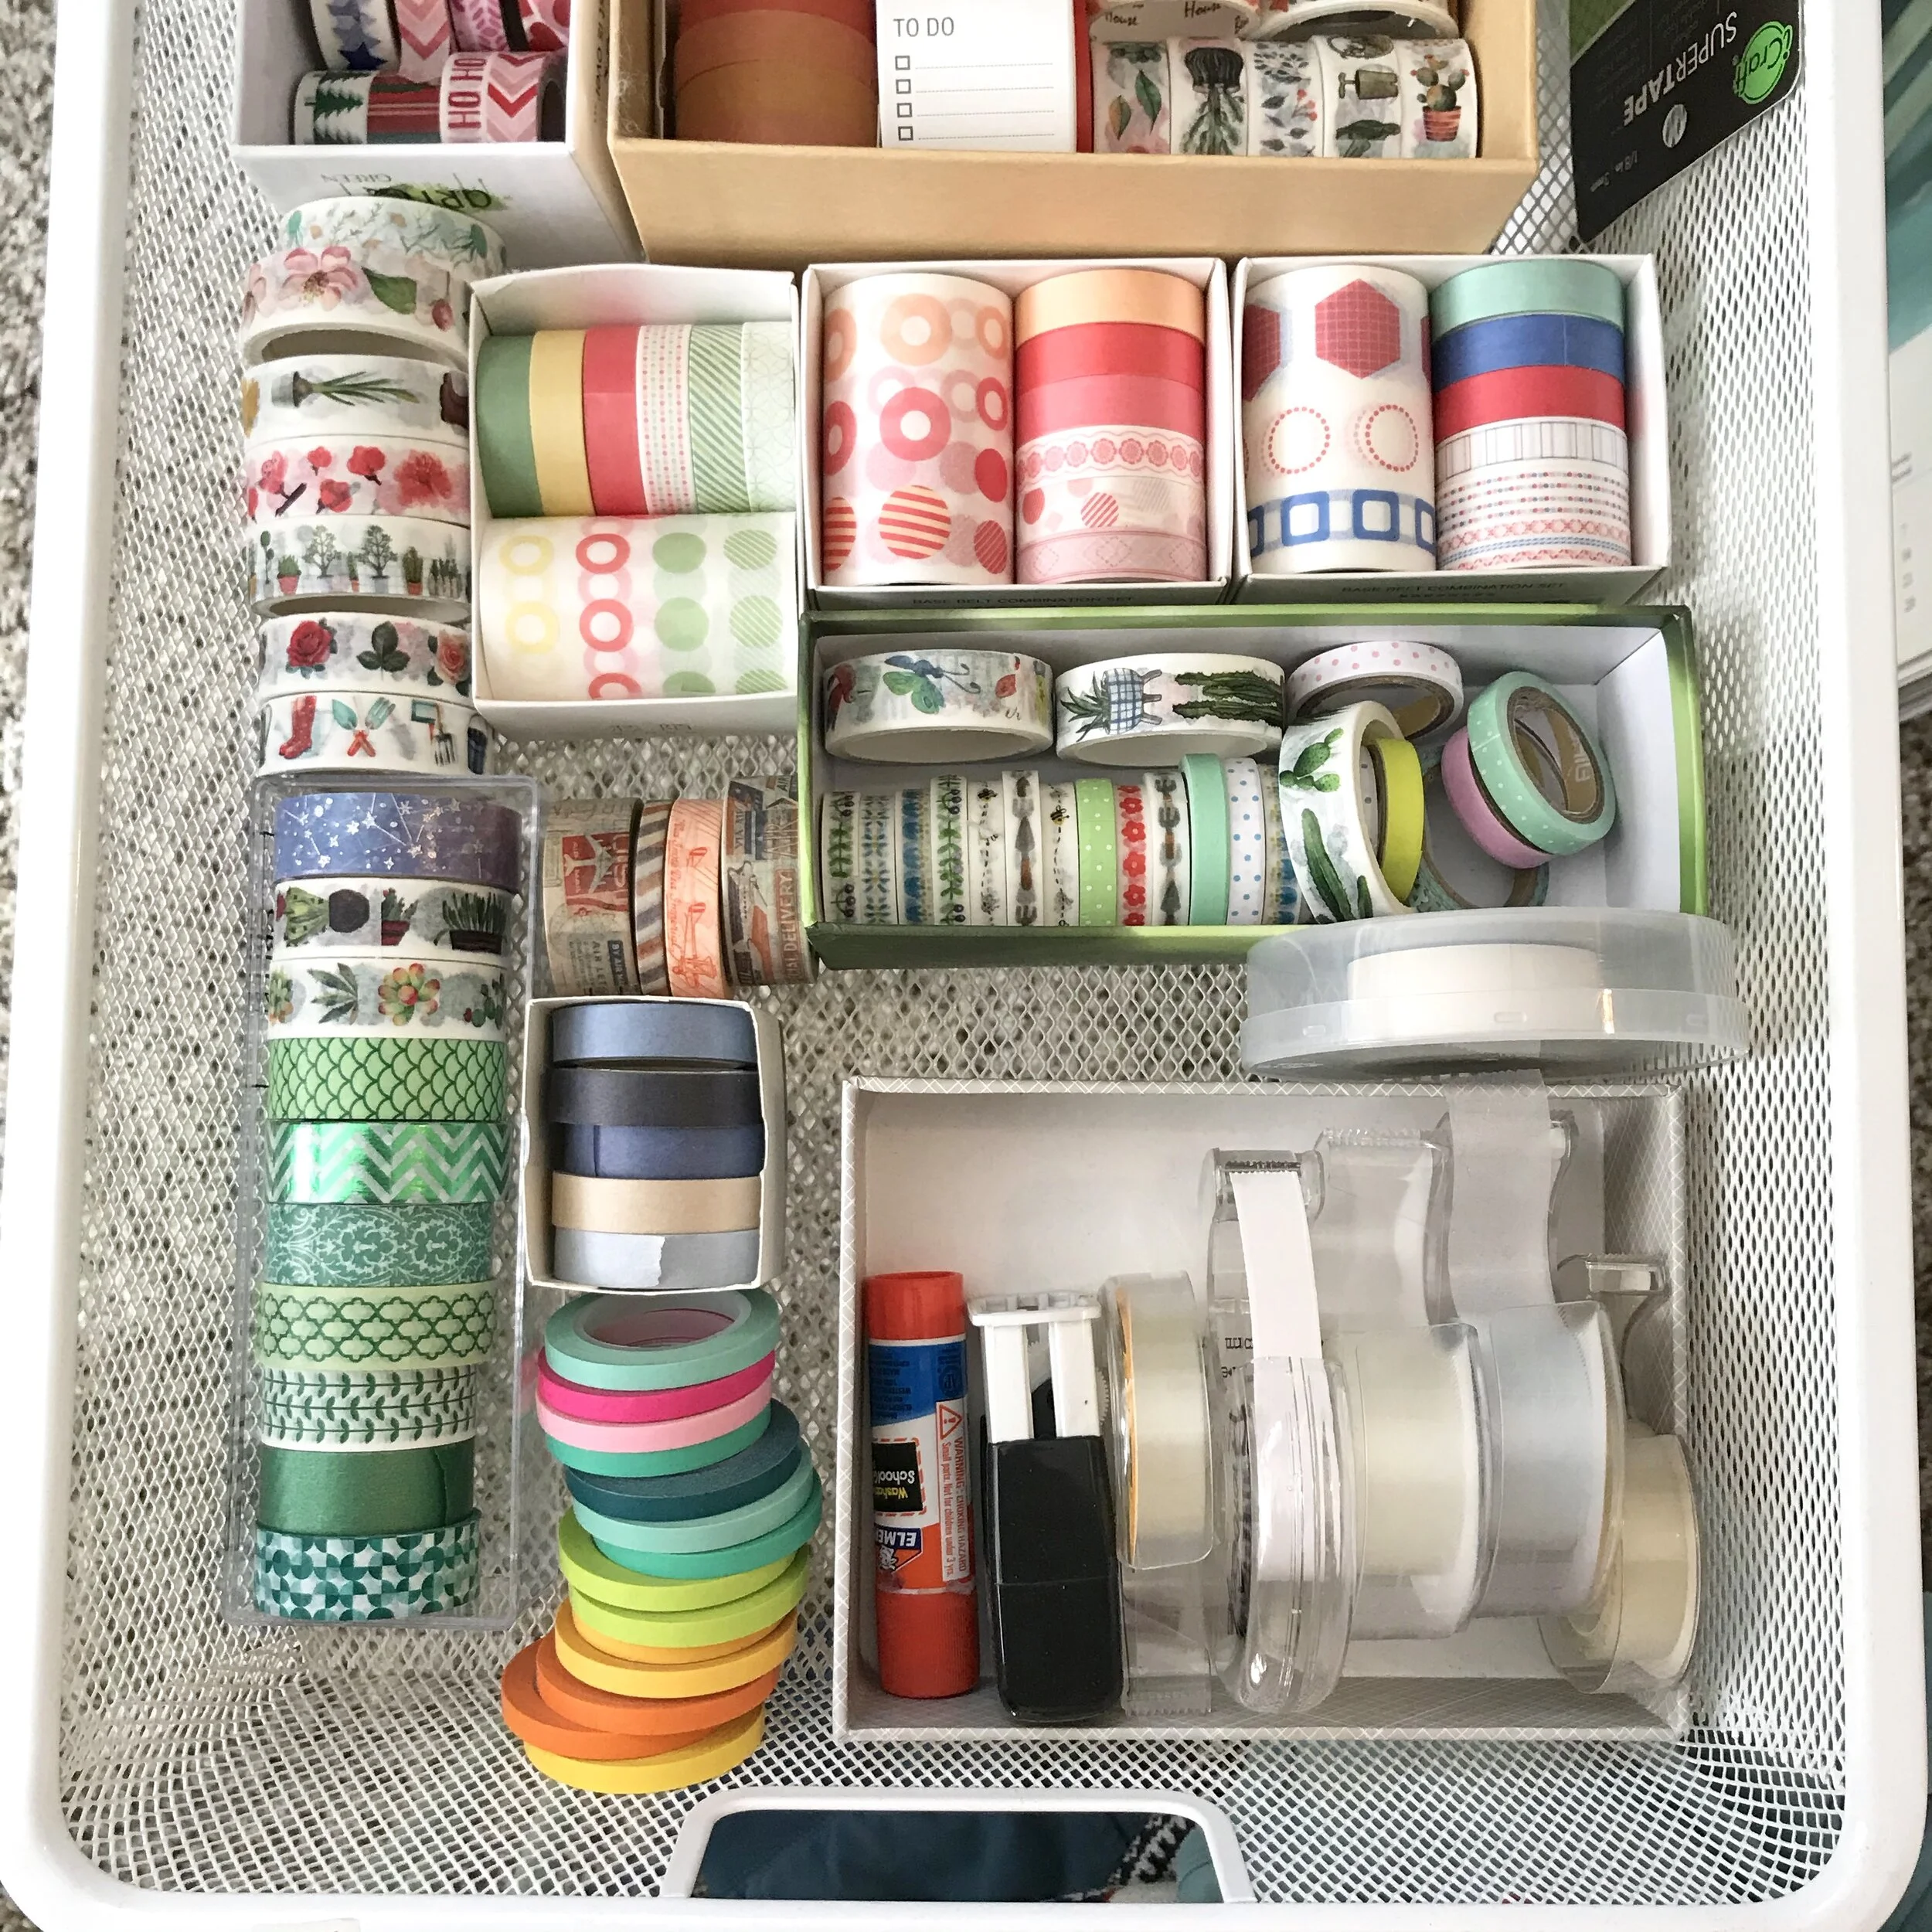
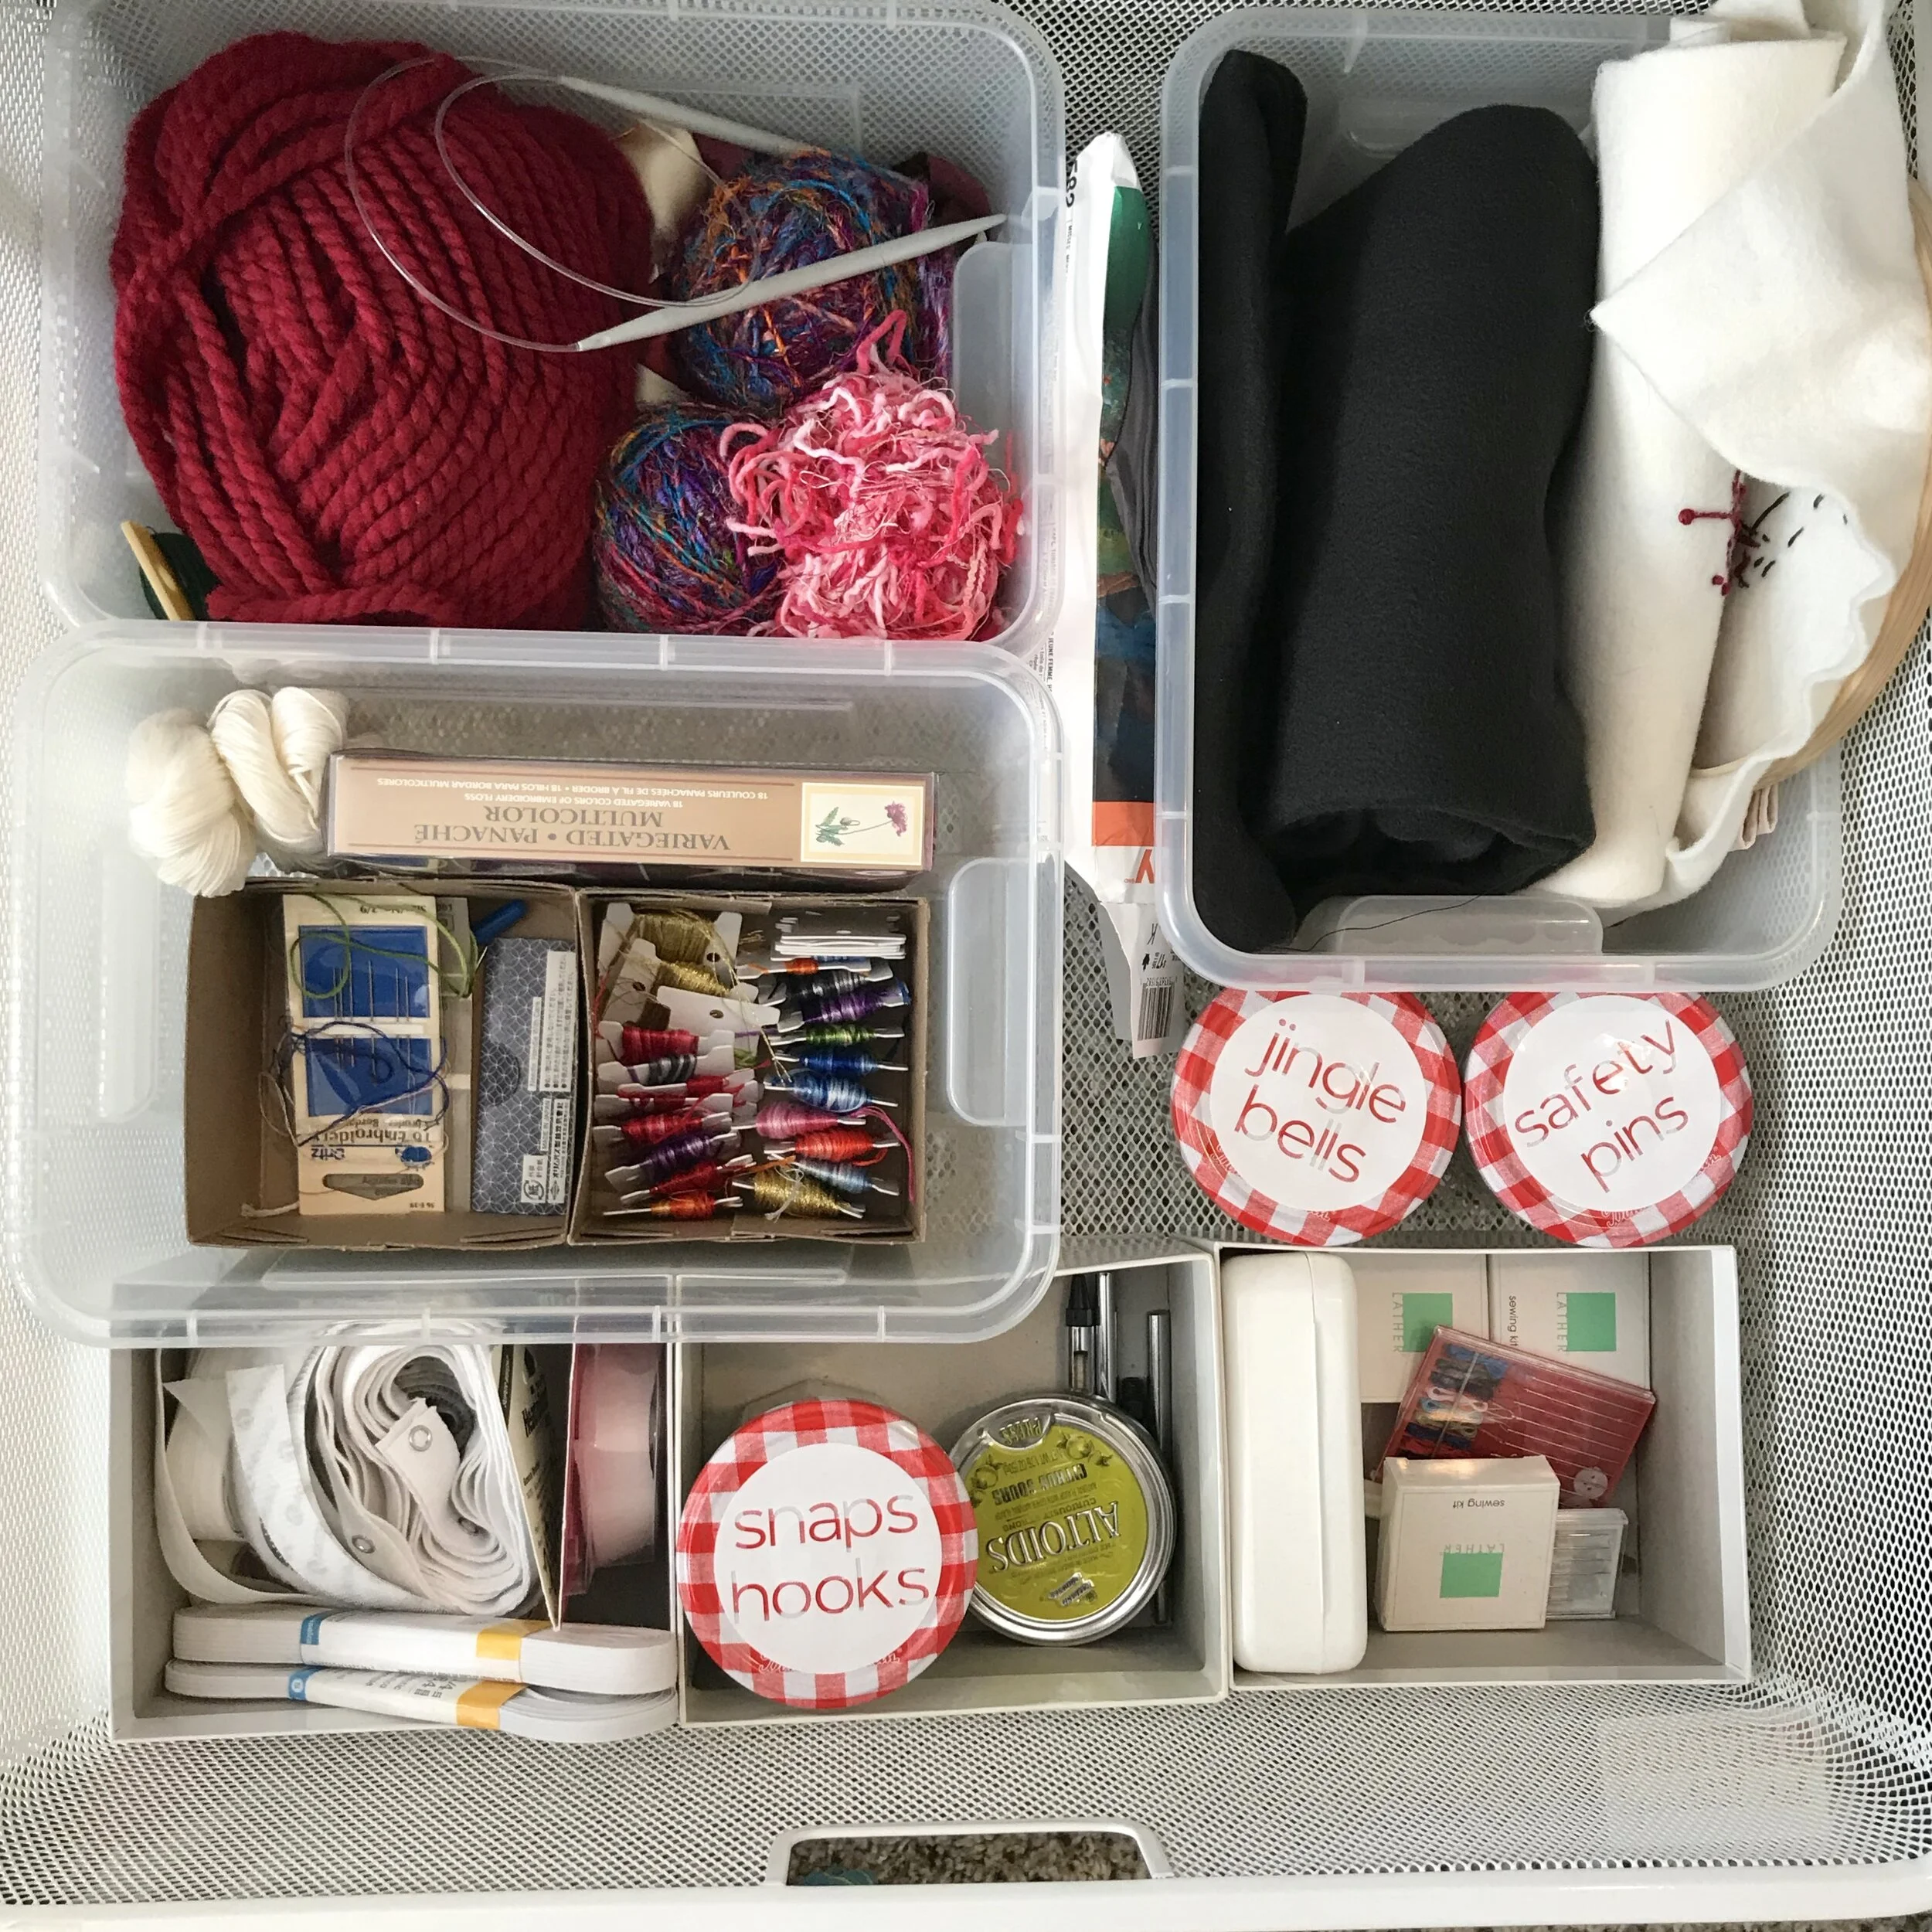
My desk drawers are big and shapeless. They needed dividers. So using boxes and bins and cups and cans, I divided up those big expanses of space and sorted like items together. I even put boxes inside of bins to create smaller spaces and to make containers even more useful. There are no rules here! Just create spaces small enough that everything has a dedicated place. That’s the secret of staying tidy — if everything has a place to go, it’s easy to put it away! So your craft room or sewing room or home office will stay beautiful long after your initial tidying efforts!
Step 6: Rinse and Repeat
Most of what is in my Workroom qualifies as Komono in the KonMari system. But I worked by discreet categories within that — writing instruments, office supplies, stationery, sewing supplies, fabric, paints. I handled one category at a time. And once I was done tidying that category, I moved on to the next.
Then when I had touched everything and made decisions about everything, I went through again, and made each drawer and shelf more functional.
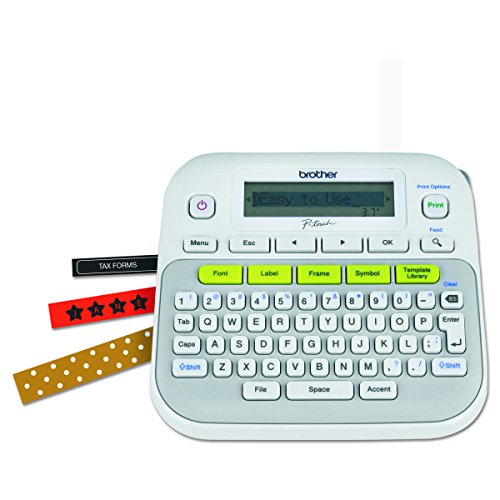
Finally, after everything was sorted and every drawer was organized, I labeled everything. It took more than a day of work with my Cricut, but not only does everything have a place now, but it is all labeled and easy to find. Don’t have a Cricut? There are people on Etsy who will make labels for you if you want to go that route. I also love a good Brother label maker and use mine for all kinds of projects. But, frankly, a Sharpie works just as well!
If you are just starting your KonMari journey, I wish you luck and peace. I hope you find the process to be as helpful and as hopeful as I have. Tidying has been a life-changing experience for my family, and I wish you all the best.


