Cute DIY Valentines
Inexpensive and easy for the whole class!
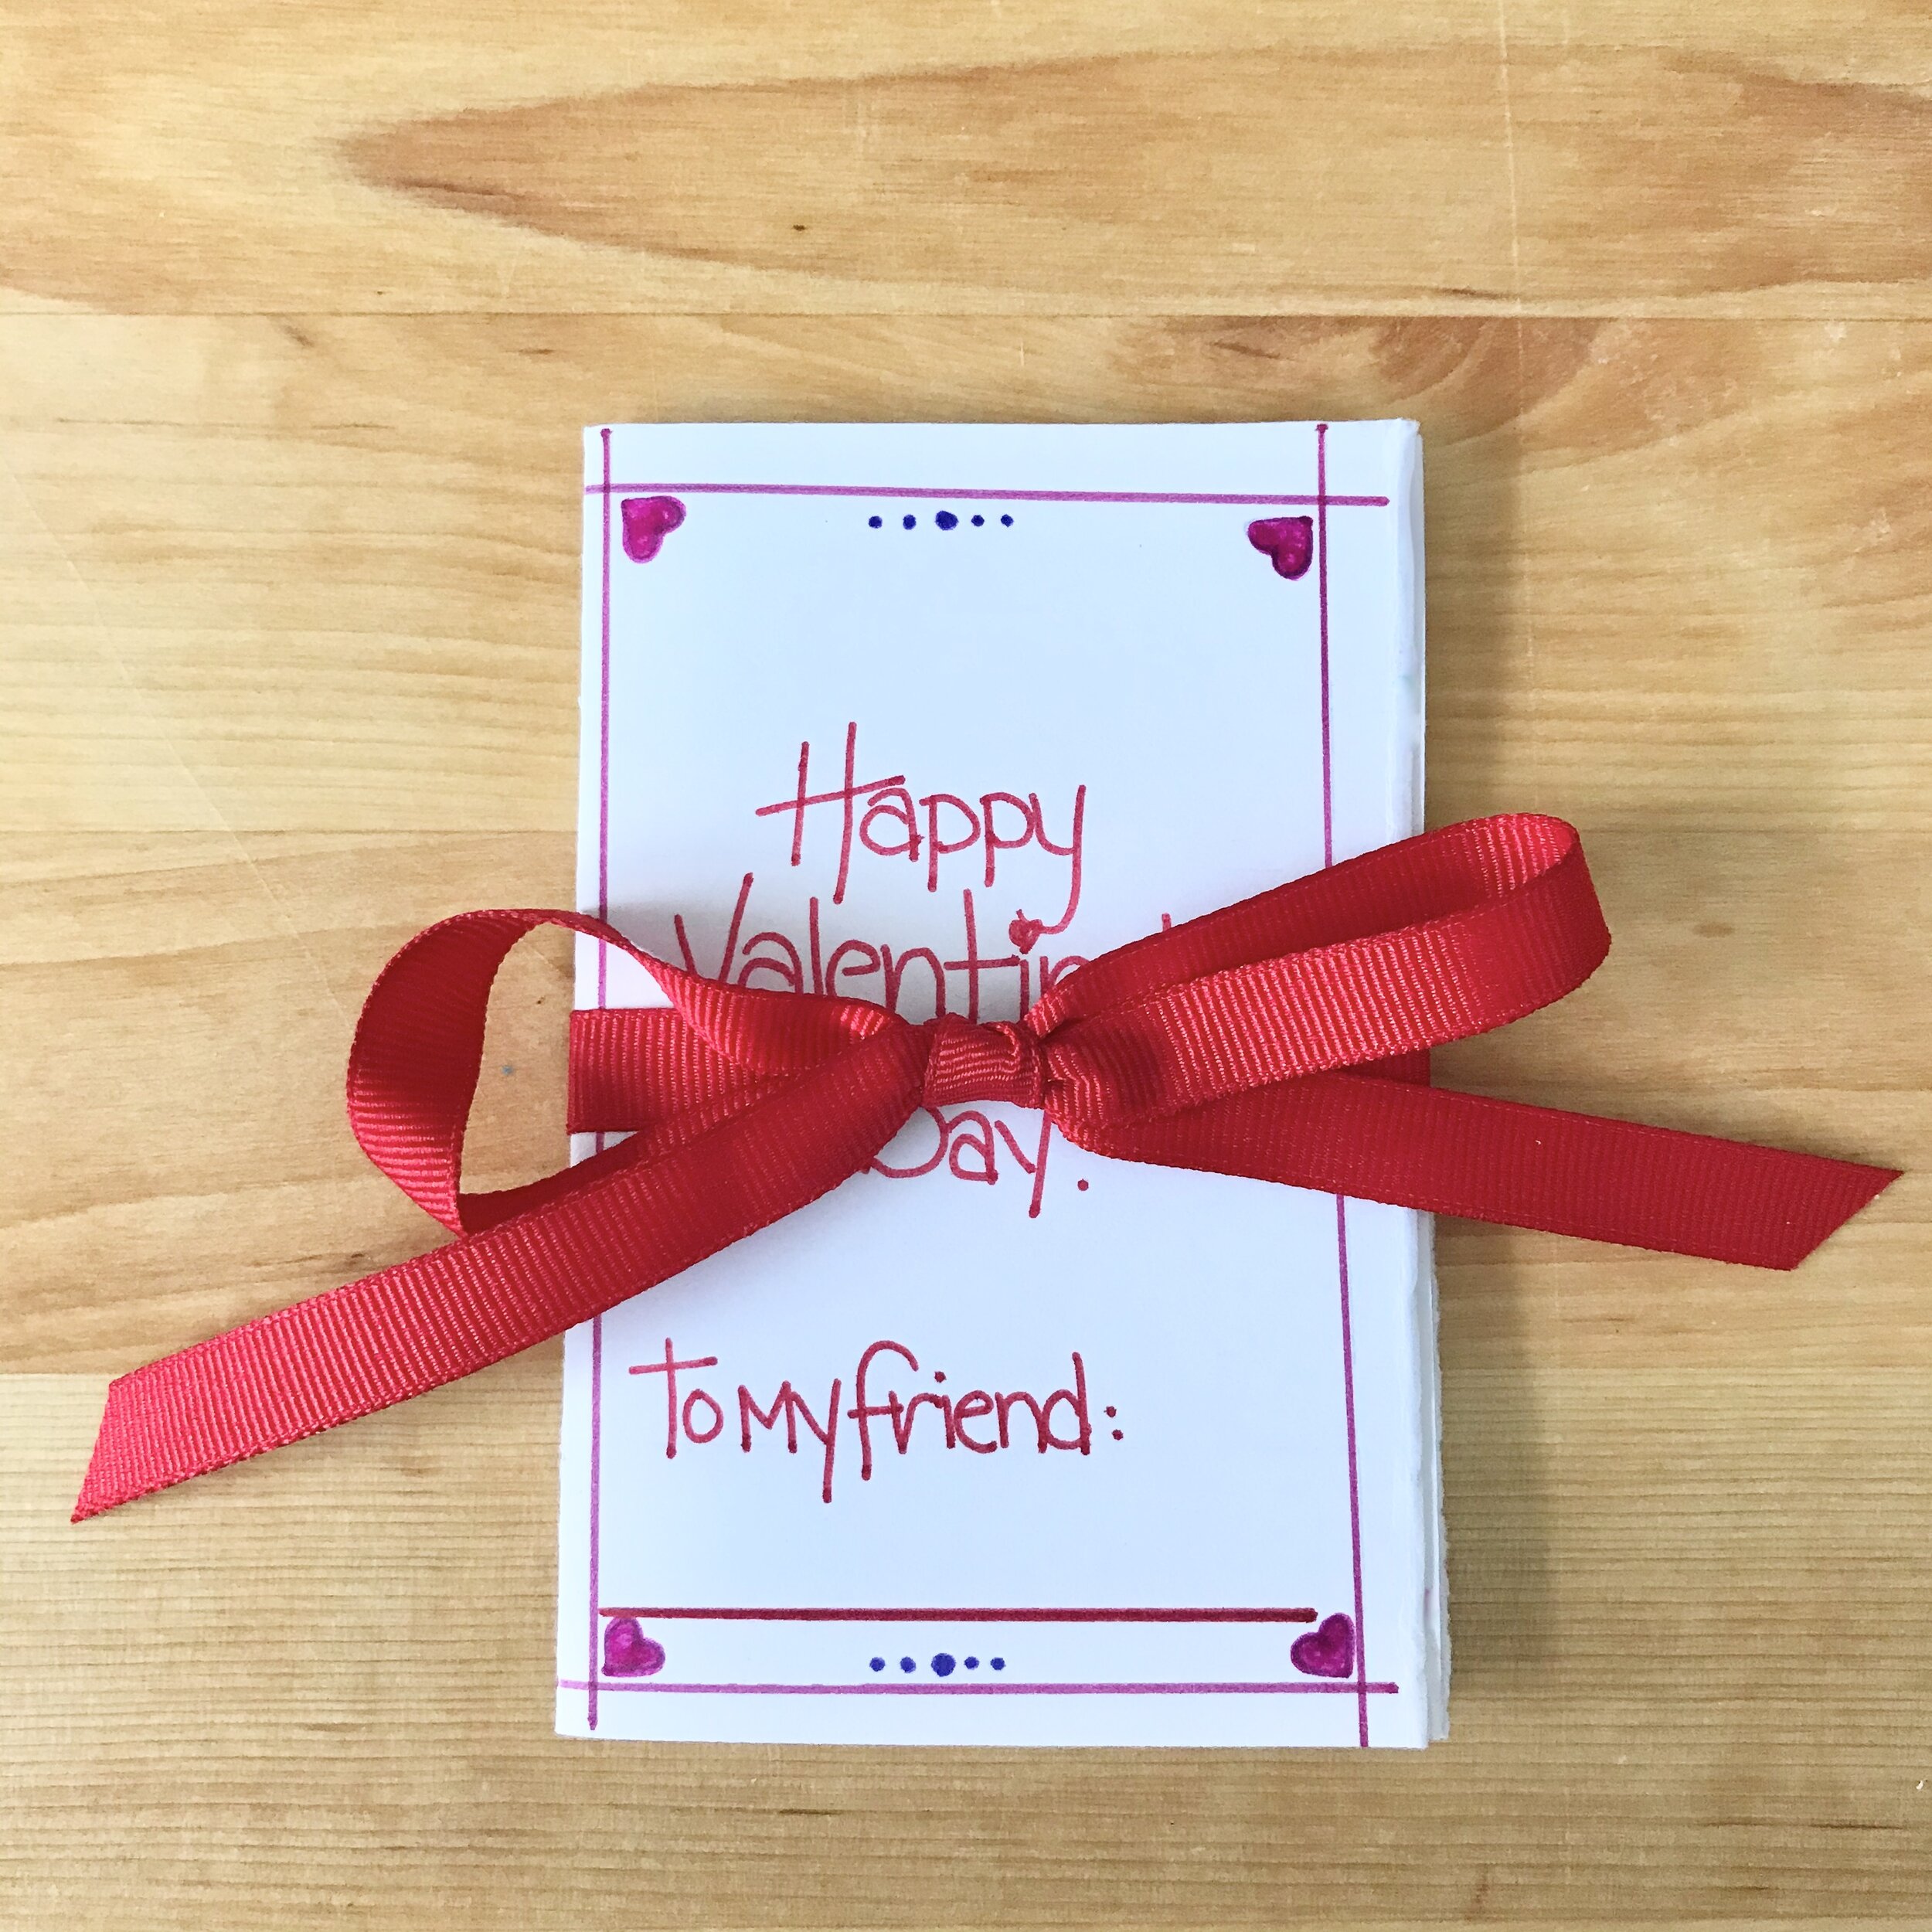
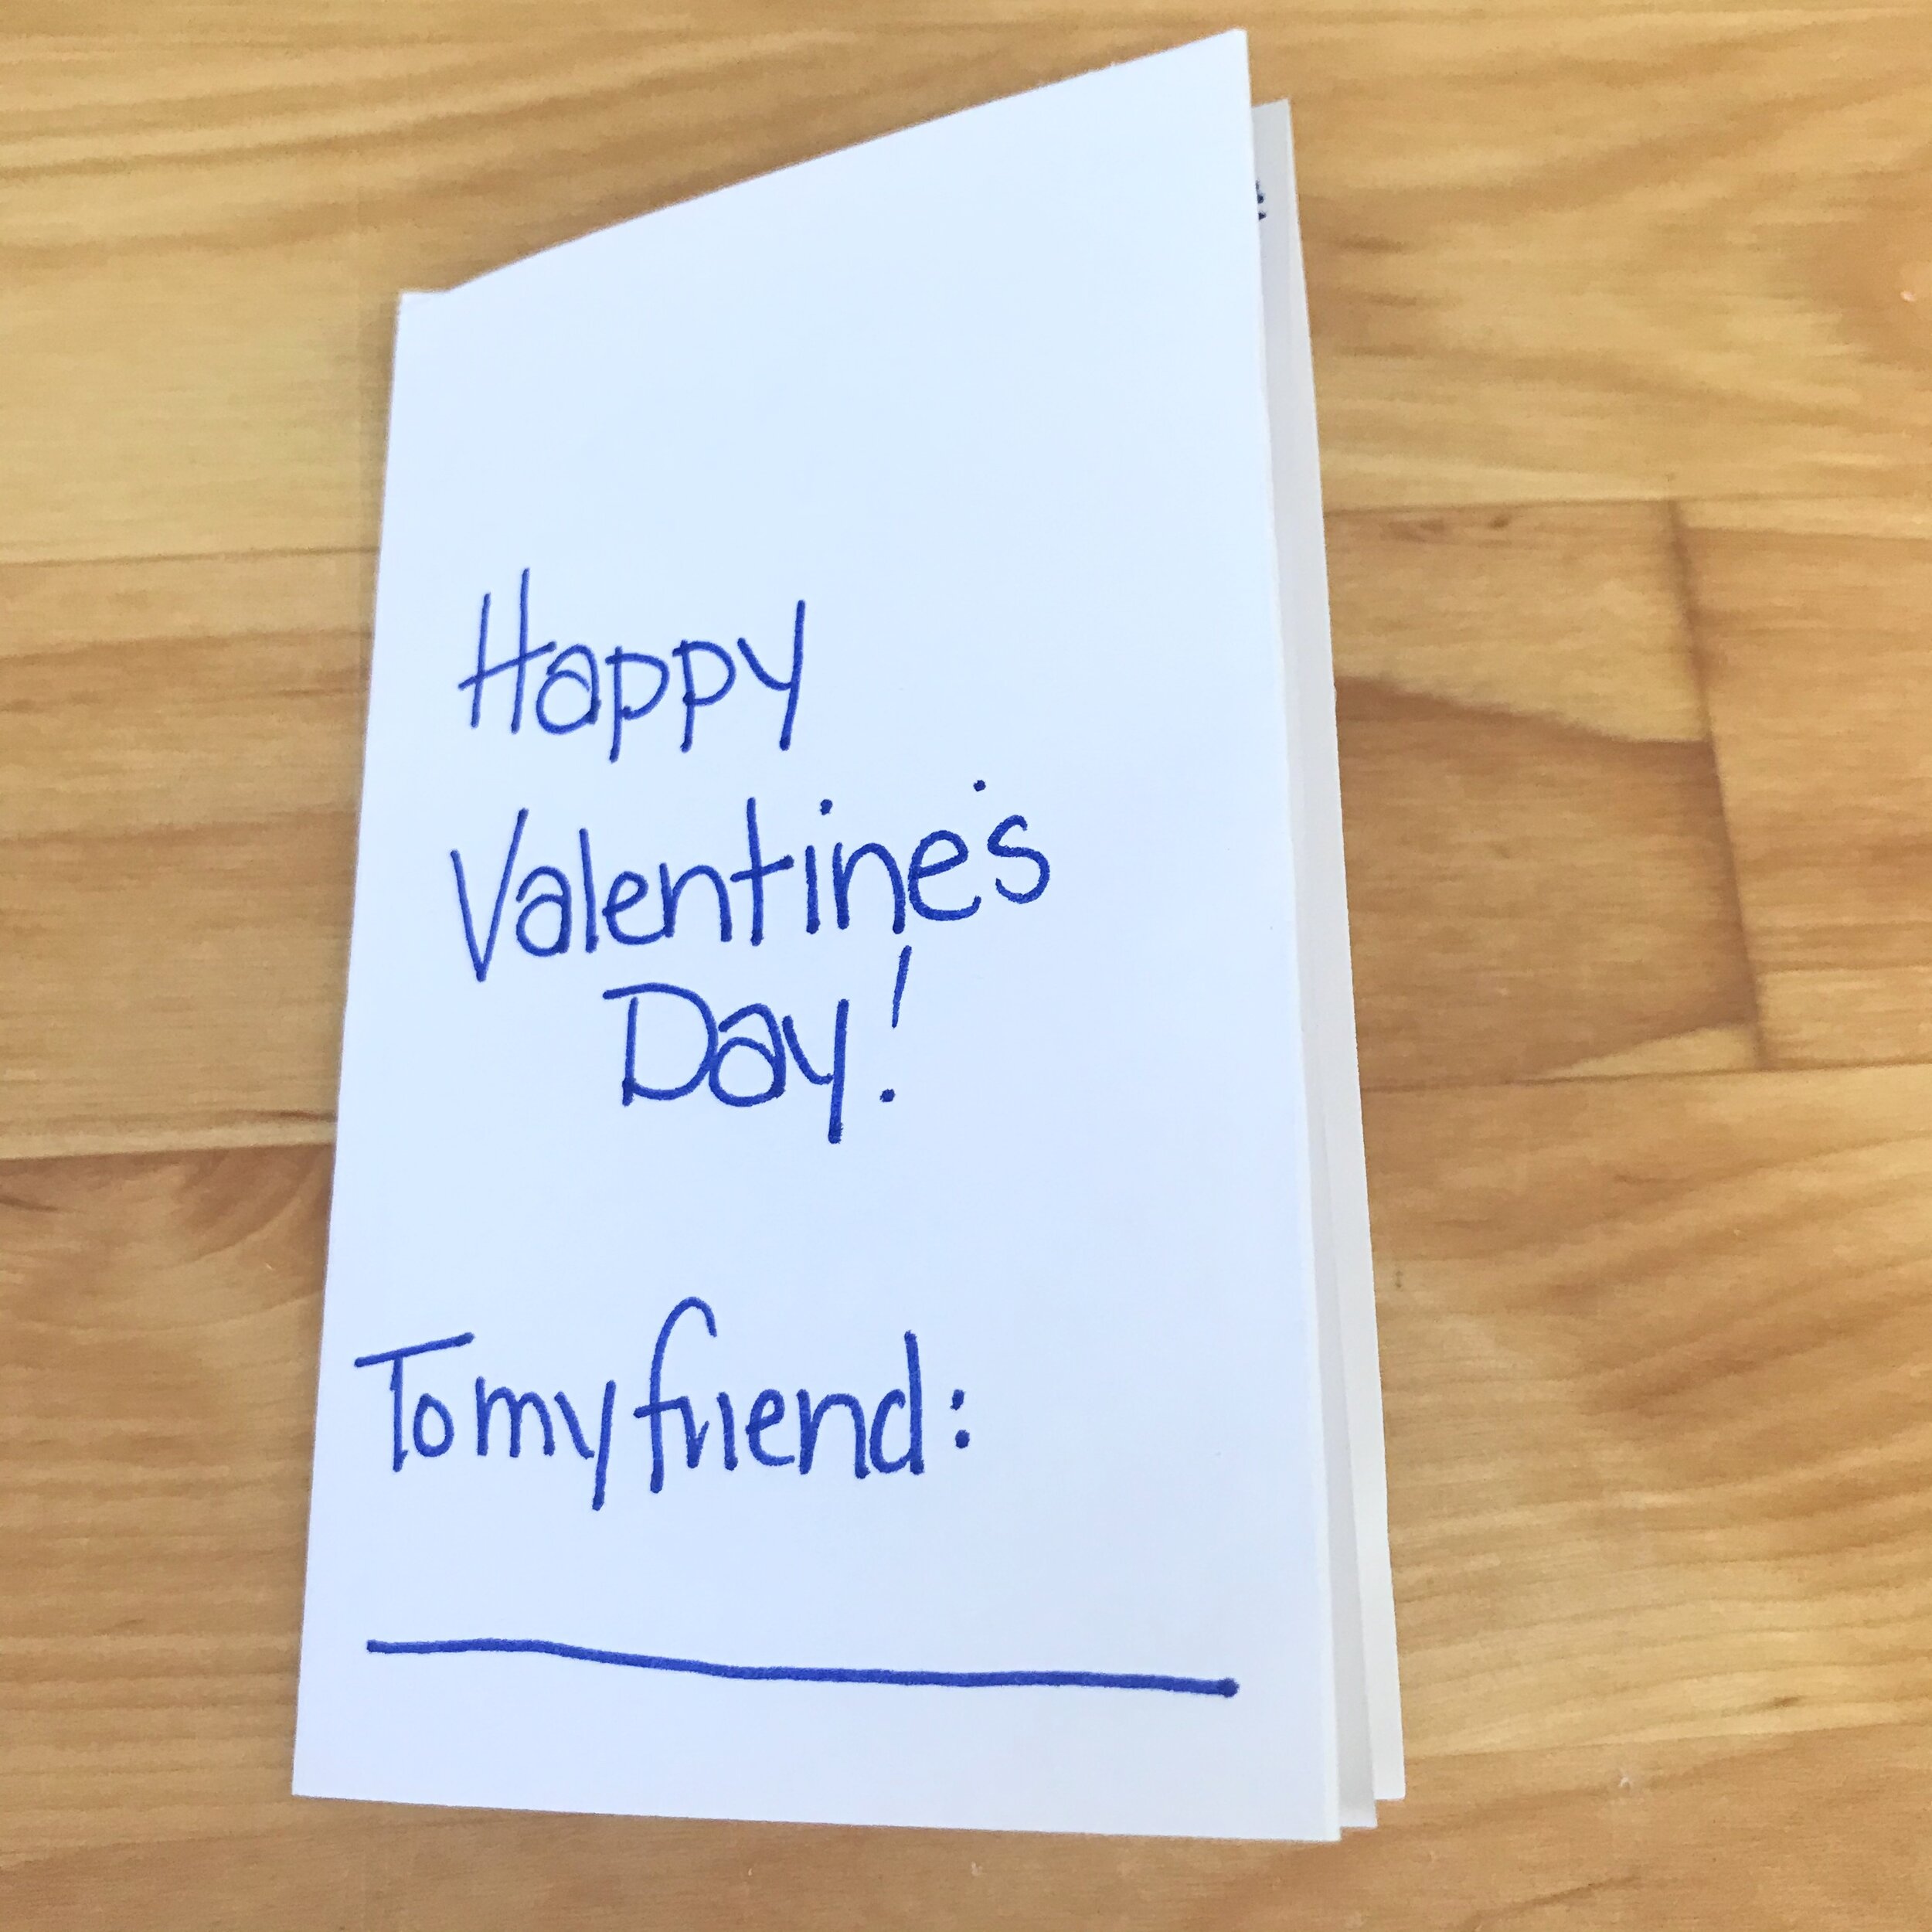
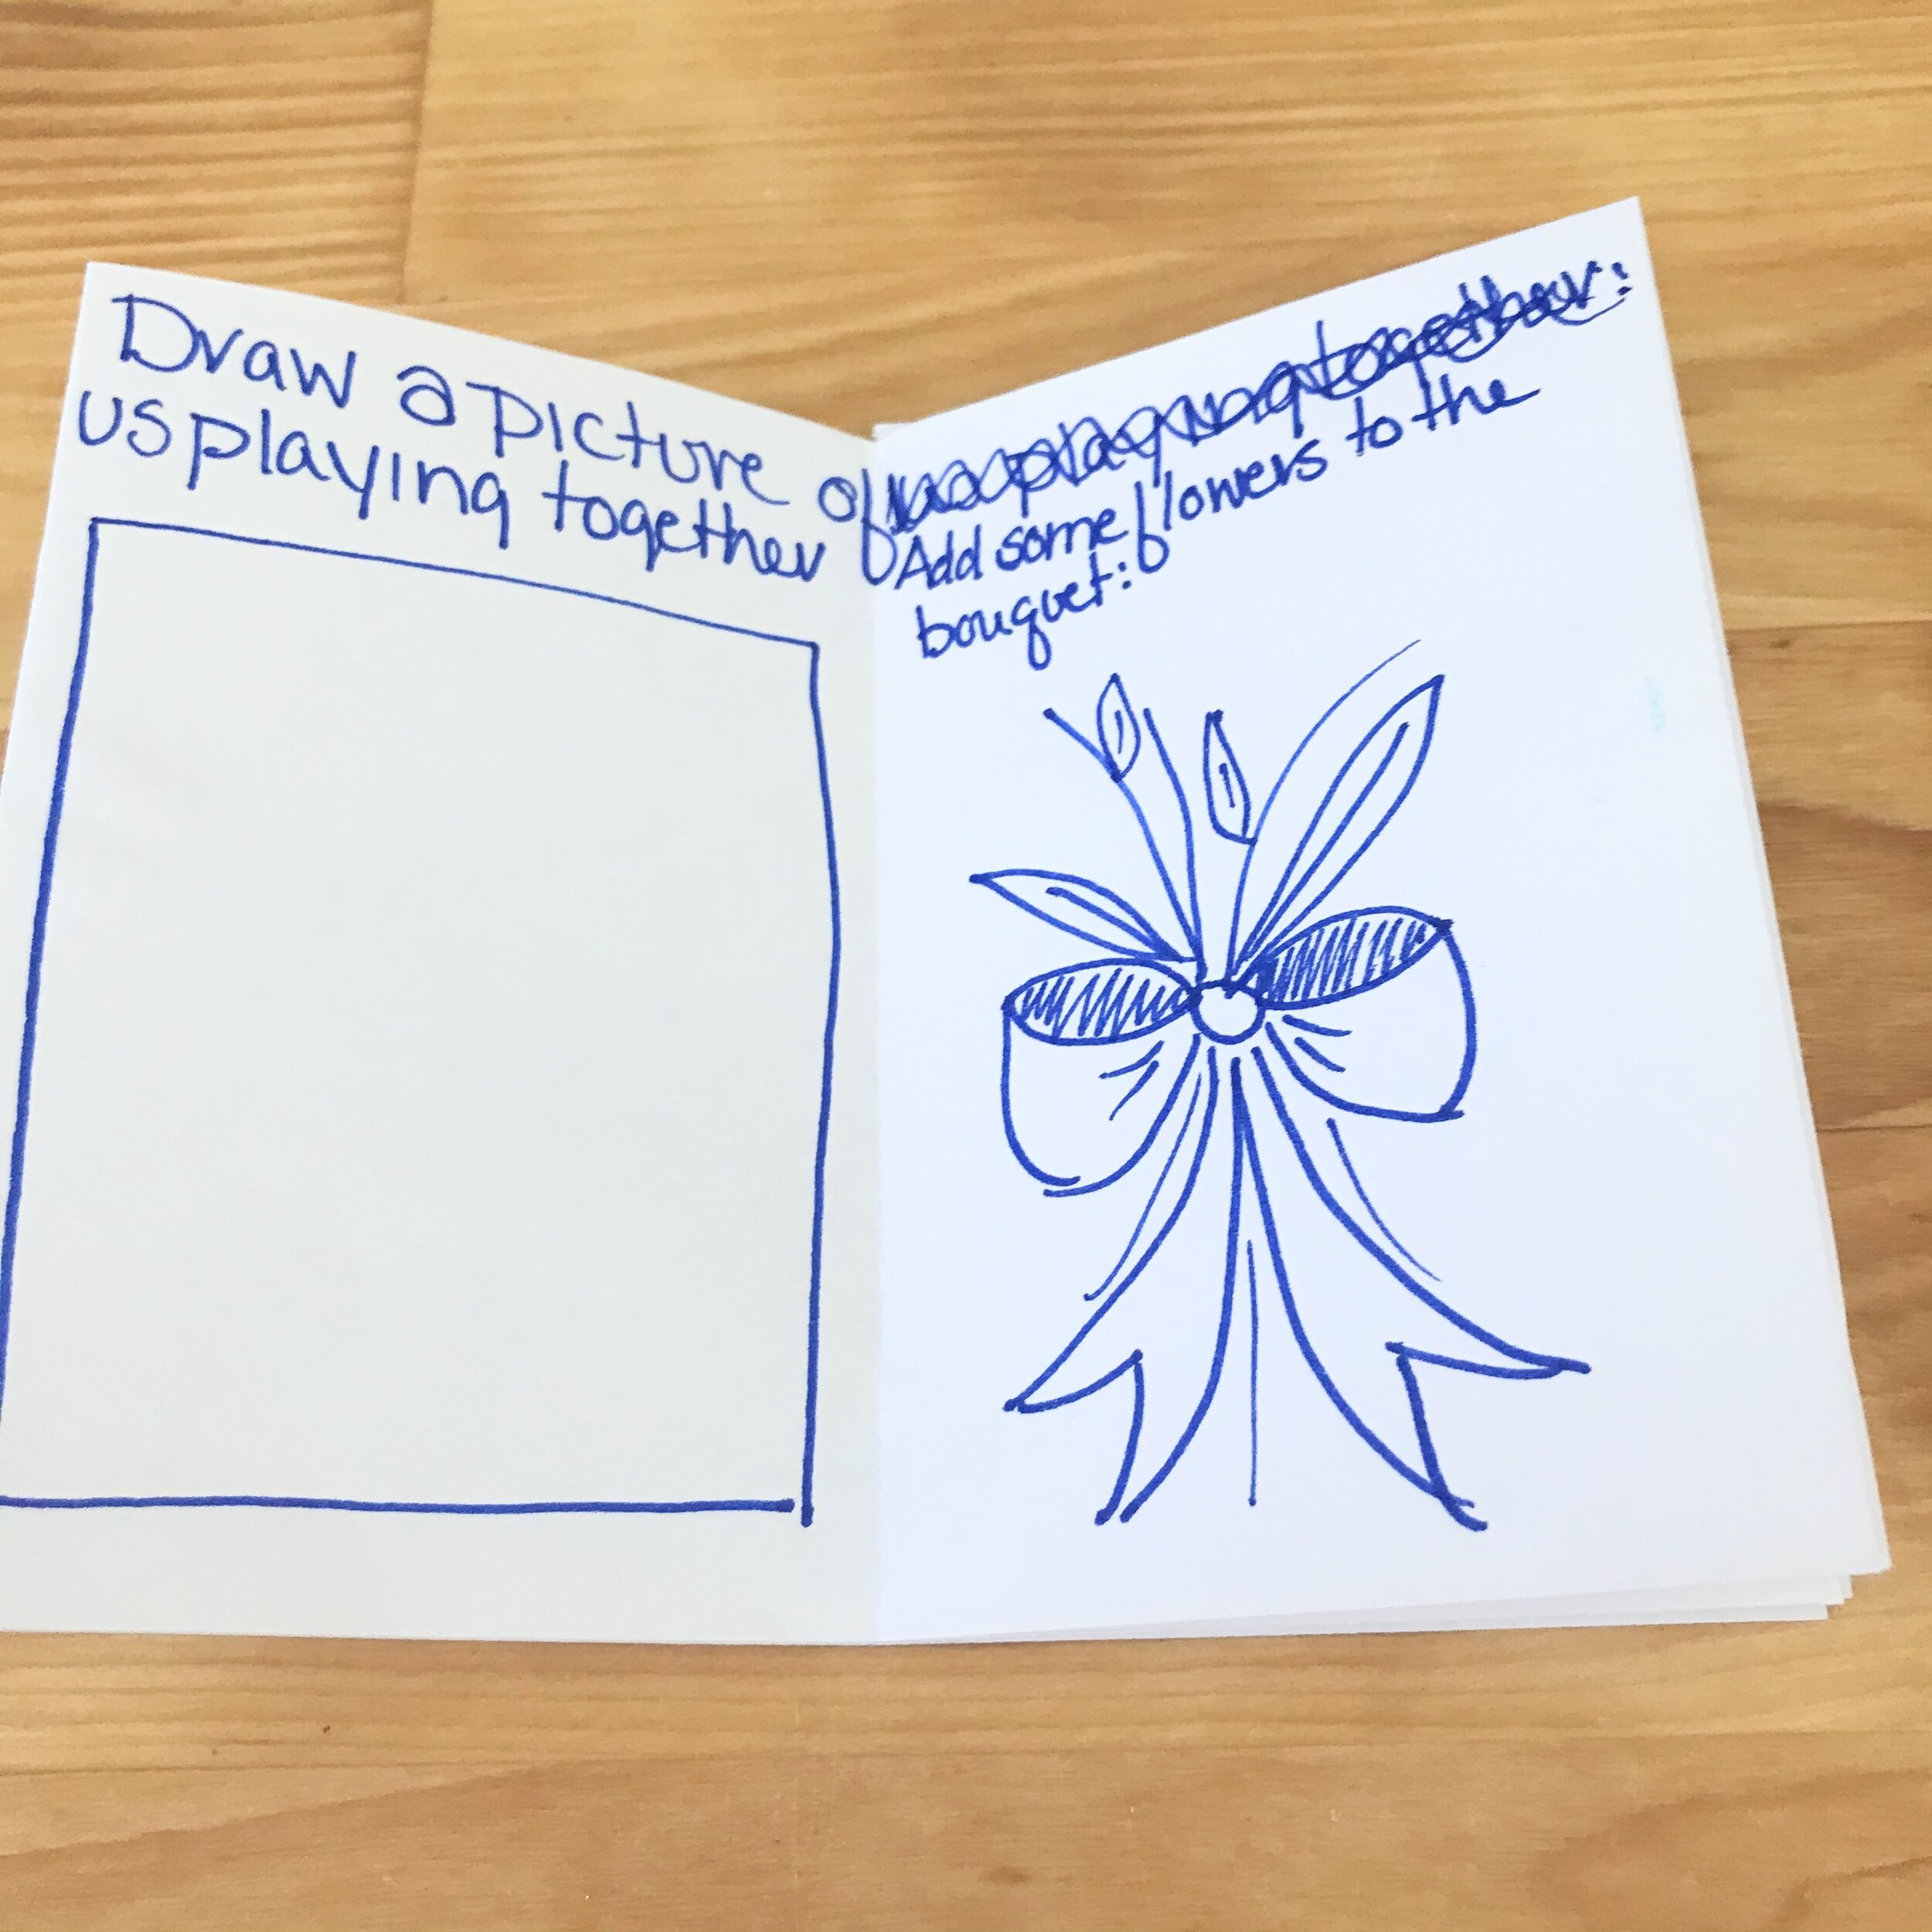
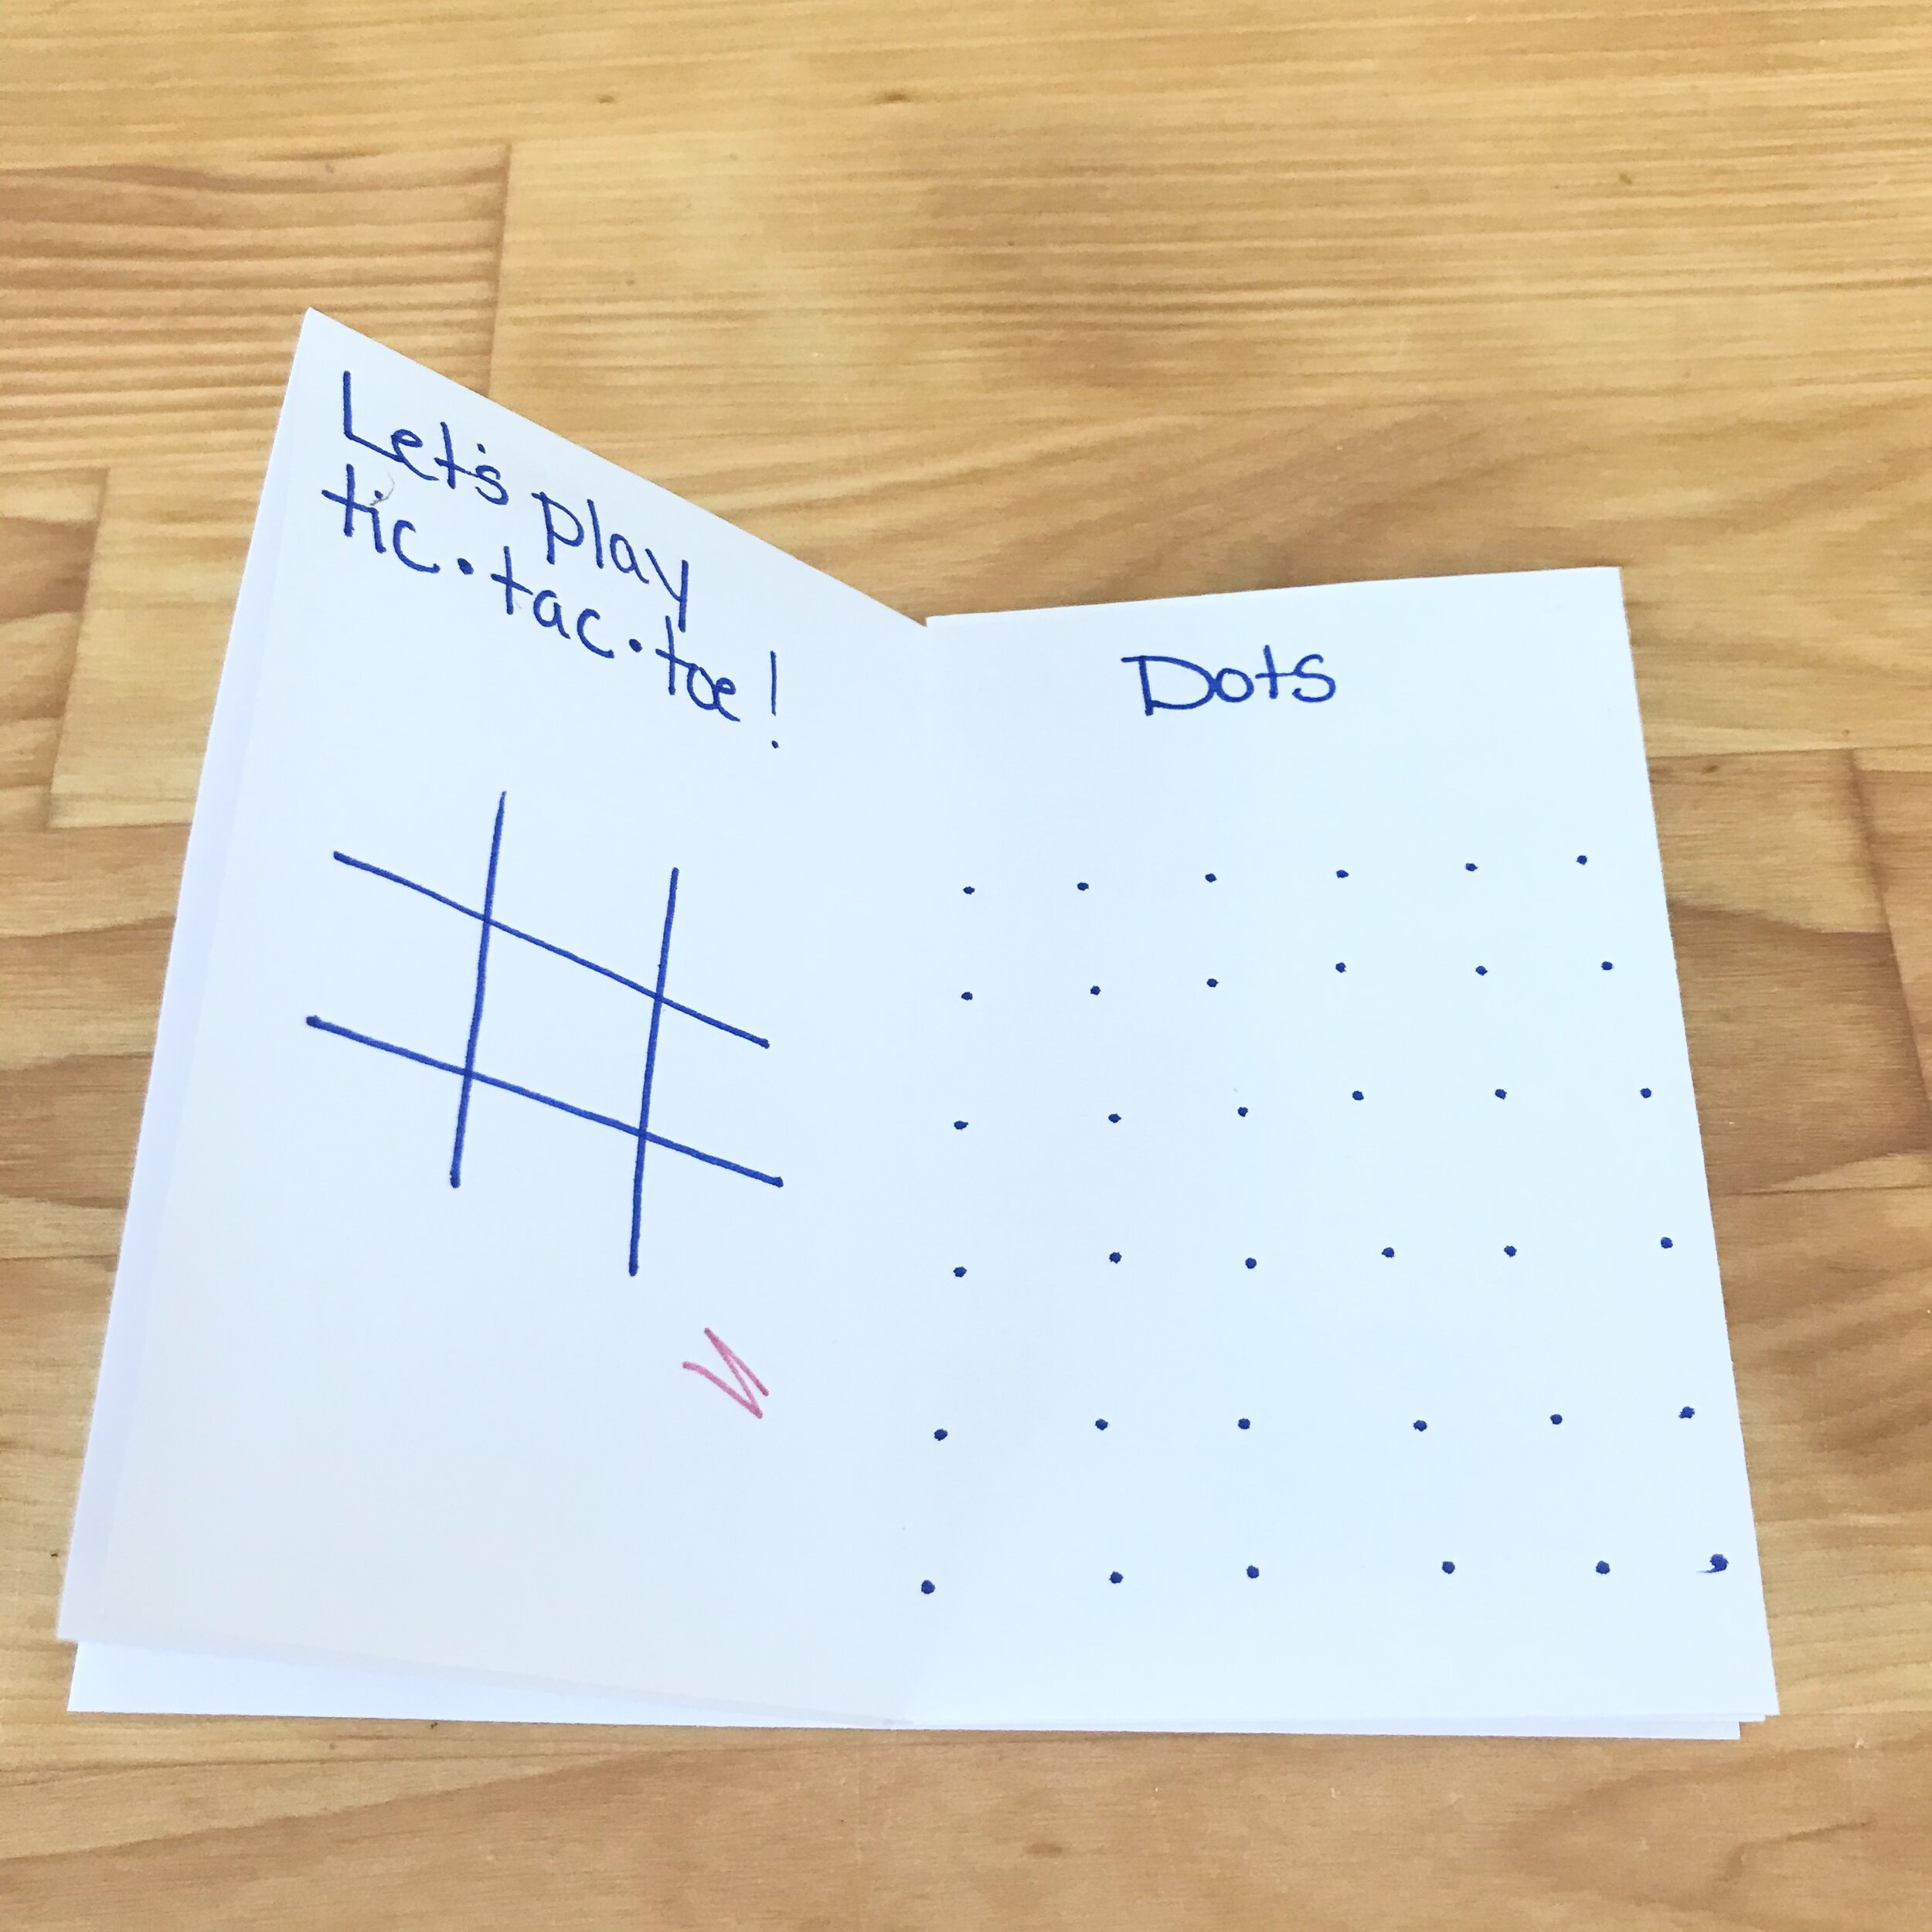
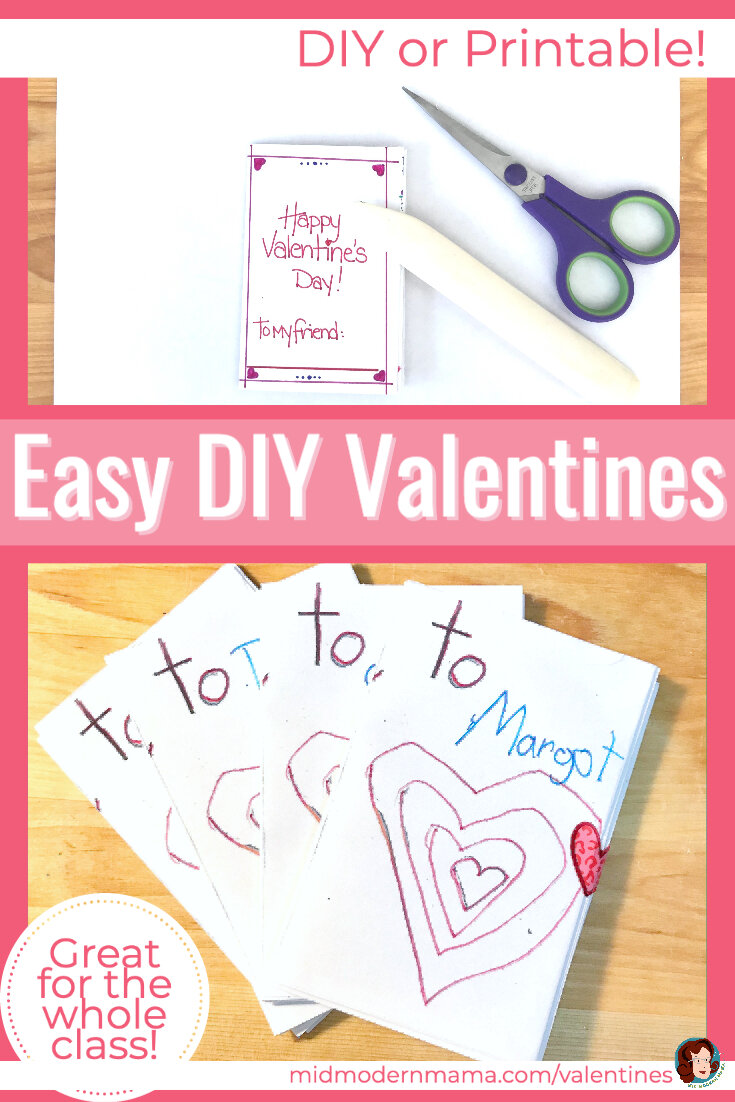
Valentines for your child’s class don’t need to cost a fortune! And they don’t have to take hours upon hours of work, either. This project can be as simple or as complicated as you make it. I have a free download which you can print, copy, fold, and be done! Or follow the directions to make your own activity book Valentine. Better yet: help your child make their own! Bambino’s version of this activity is so cute, and his classmates will love their Valentines this year.
Materials
Paper: cardstock or good printer paper (either will work)
Bone folder (helpful, but a credit card will also do the trick)
Scissors
Markers, pens, colored pencils as desired
Printer or copier
The basic instructions are the same whether you are designing your own booklet or using the free printable — scroll down for both versions of the instructions. Once your copies are made, it is just a matter of folding the paper, making one cut, and assembling the little booklets. This is a great Valentine’s Day project to do with your children or a last-minute Valentine for the whole class.
Folding the Single-sheet Booklet
Whether you are making your own or using the printable, you’ll need to be able to fold a booklet, so here are the instructions. This booklet uses a single sheet of 8.5” x 11” of paper — medium-weight card stock or good printer paper will work best.
Step 1
Start with a single sheet of 8.5” x 11” paper.
Step 2
Fold the paper in half length-wise.
Step 3
Without unfolding it, fold the paper in half along the width.
Step 4
Unfold only the last fold made. Bring one end of the folded paper in toward the middle and crease. Repeat with the other end.
The paper is now folded in half and then folded into quarters.
Step 5
Unfold the entire sheet of paper. The page should now be folded into eight equal rectangles.
Step 6
Using the fold already created, fold the paper in half across the width.
You will now make the only cut in this project — up from the fold in the middle of the paper to the intersection of the two fold lines.
Step 7
Cut along the center fold line to the intersection. Do not cut all the way through.
Step 8
Unfold the entire sheet of paper. You should have a cut through the center of the paper bisecting two sets of rectangles.
Step 9
Pinch the paper together as shown and smoosh the pages together a bit until…
Step 10
Now you have a book!
Step 11
Use a bone folder, a credit card, or your finger nail to make the folds perfect.
Video Tutorial
Using the Free Printable
Note: by downloading this or any file from the MMM Library, you are agreeing to the Terms and Conditions.
Download the Simple Valentine Printable in the Mid Modern Mama Library. It’s free for your personal, non-commercial use!
Print it out as many times as you need. Then follow the directions above for folding and cutting to create the individual books.
Scroll down for some cute presentation ideas!
Making Your Own Booklet
Step 1
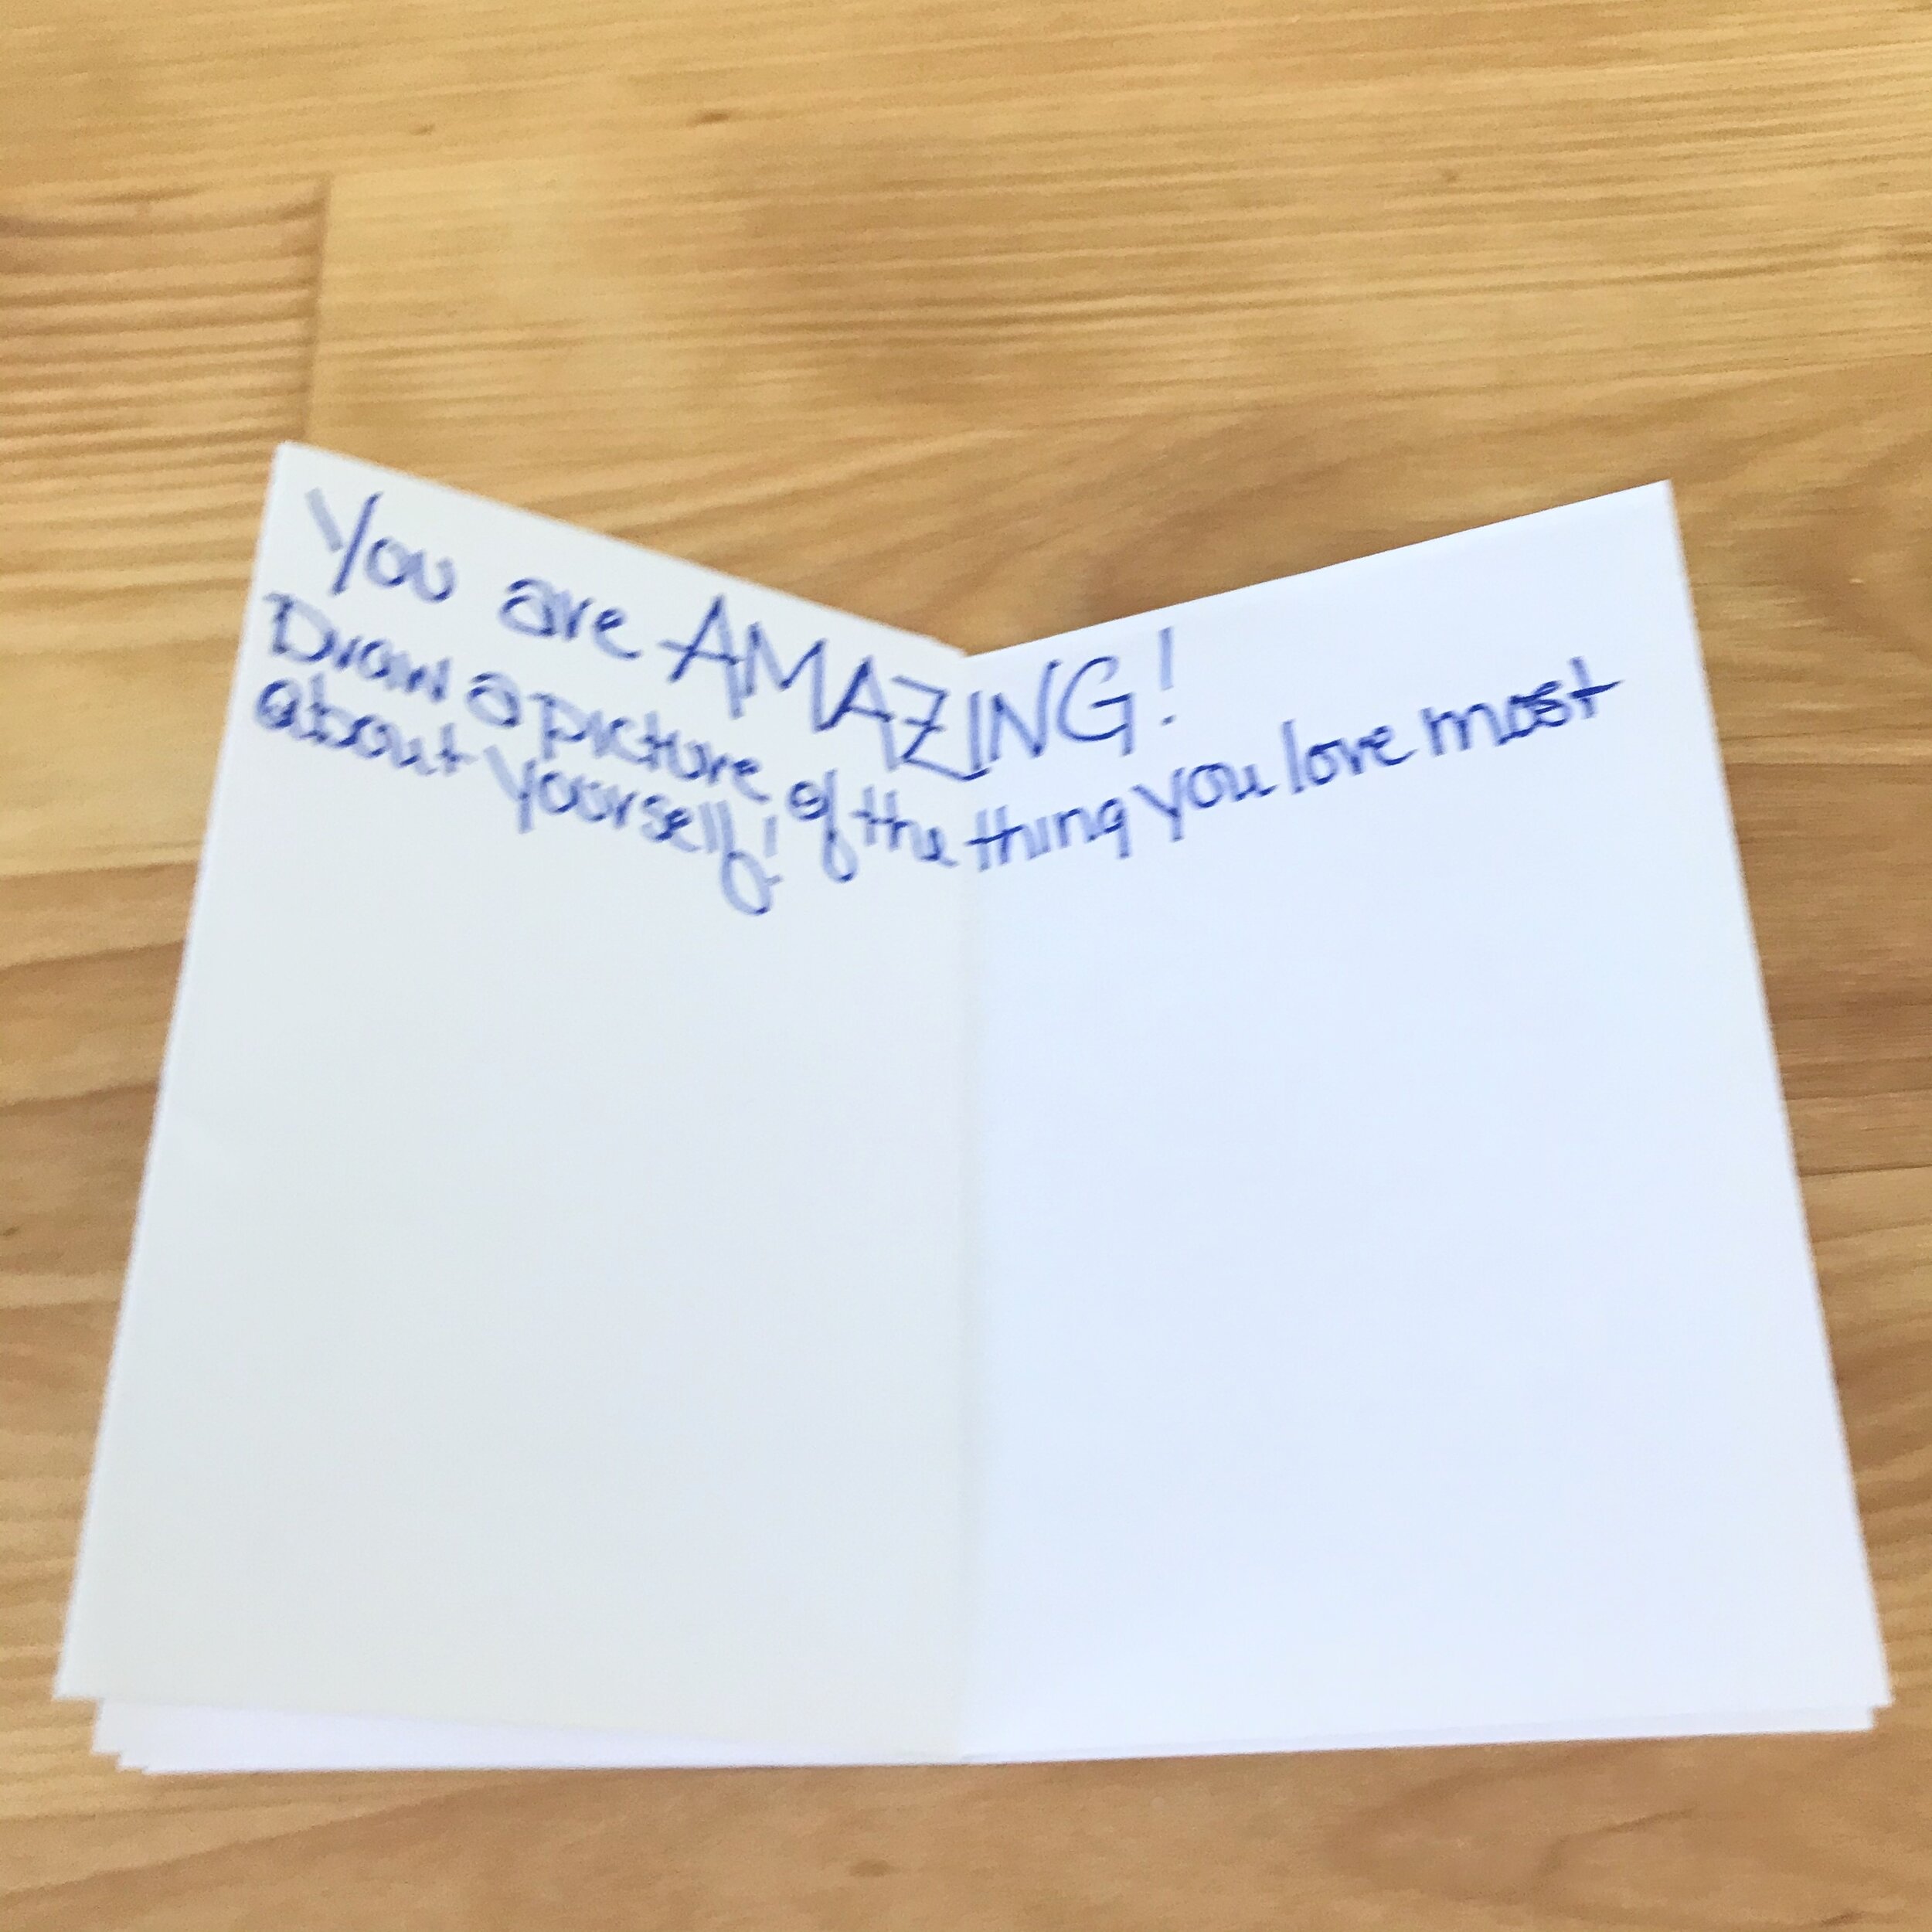
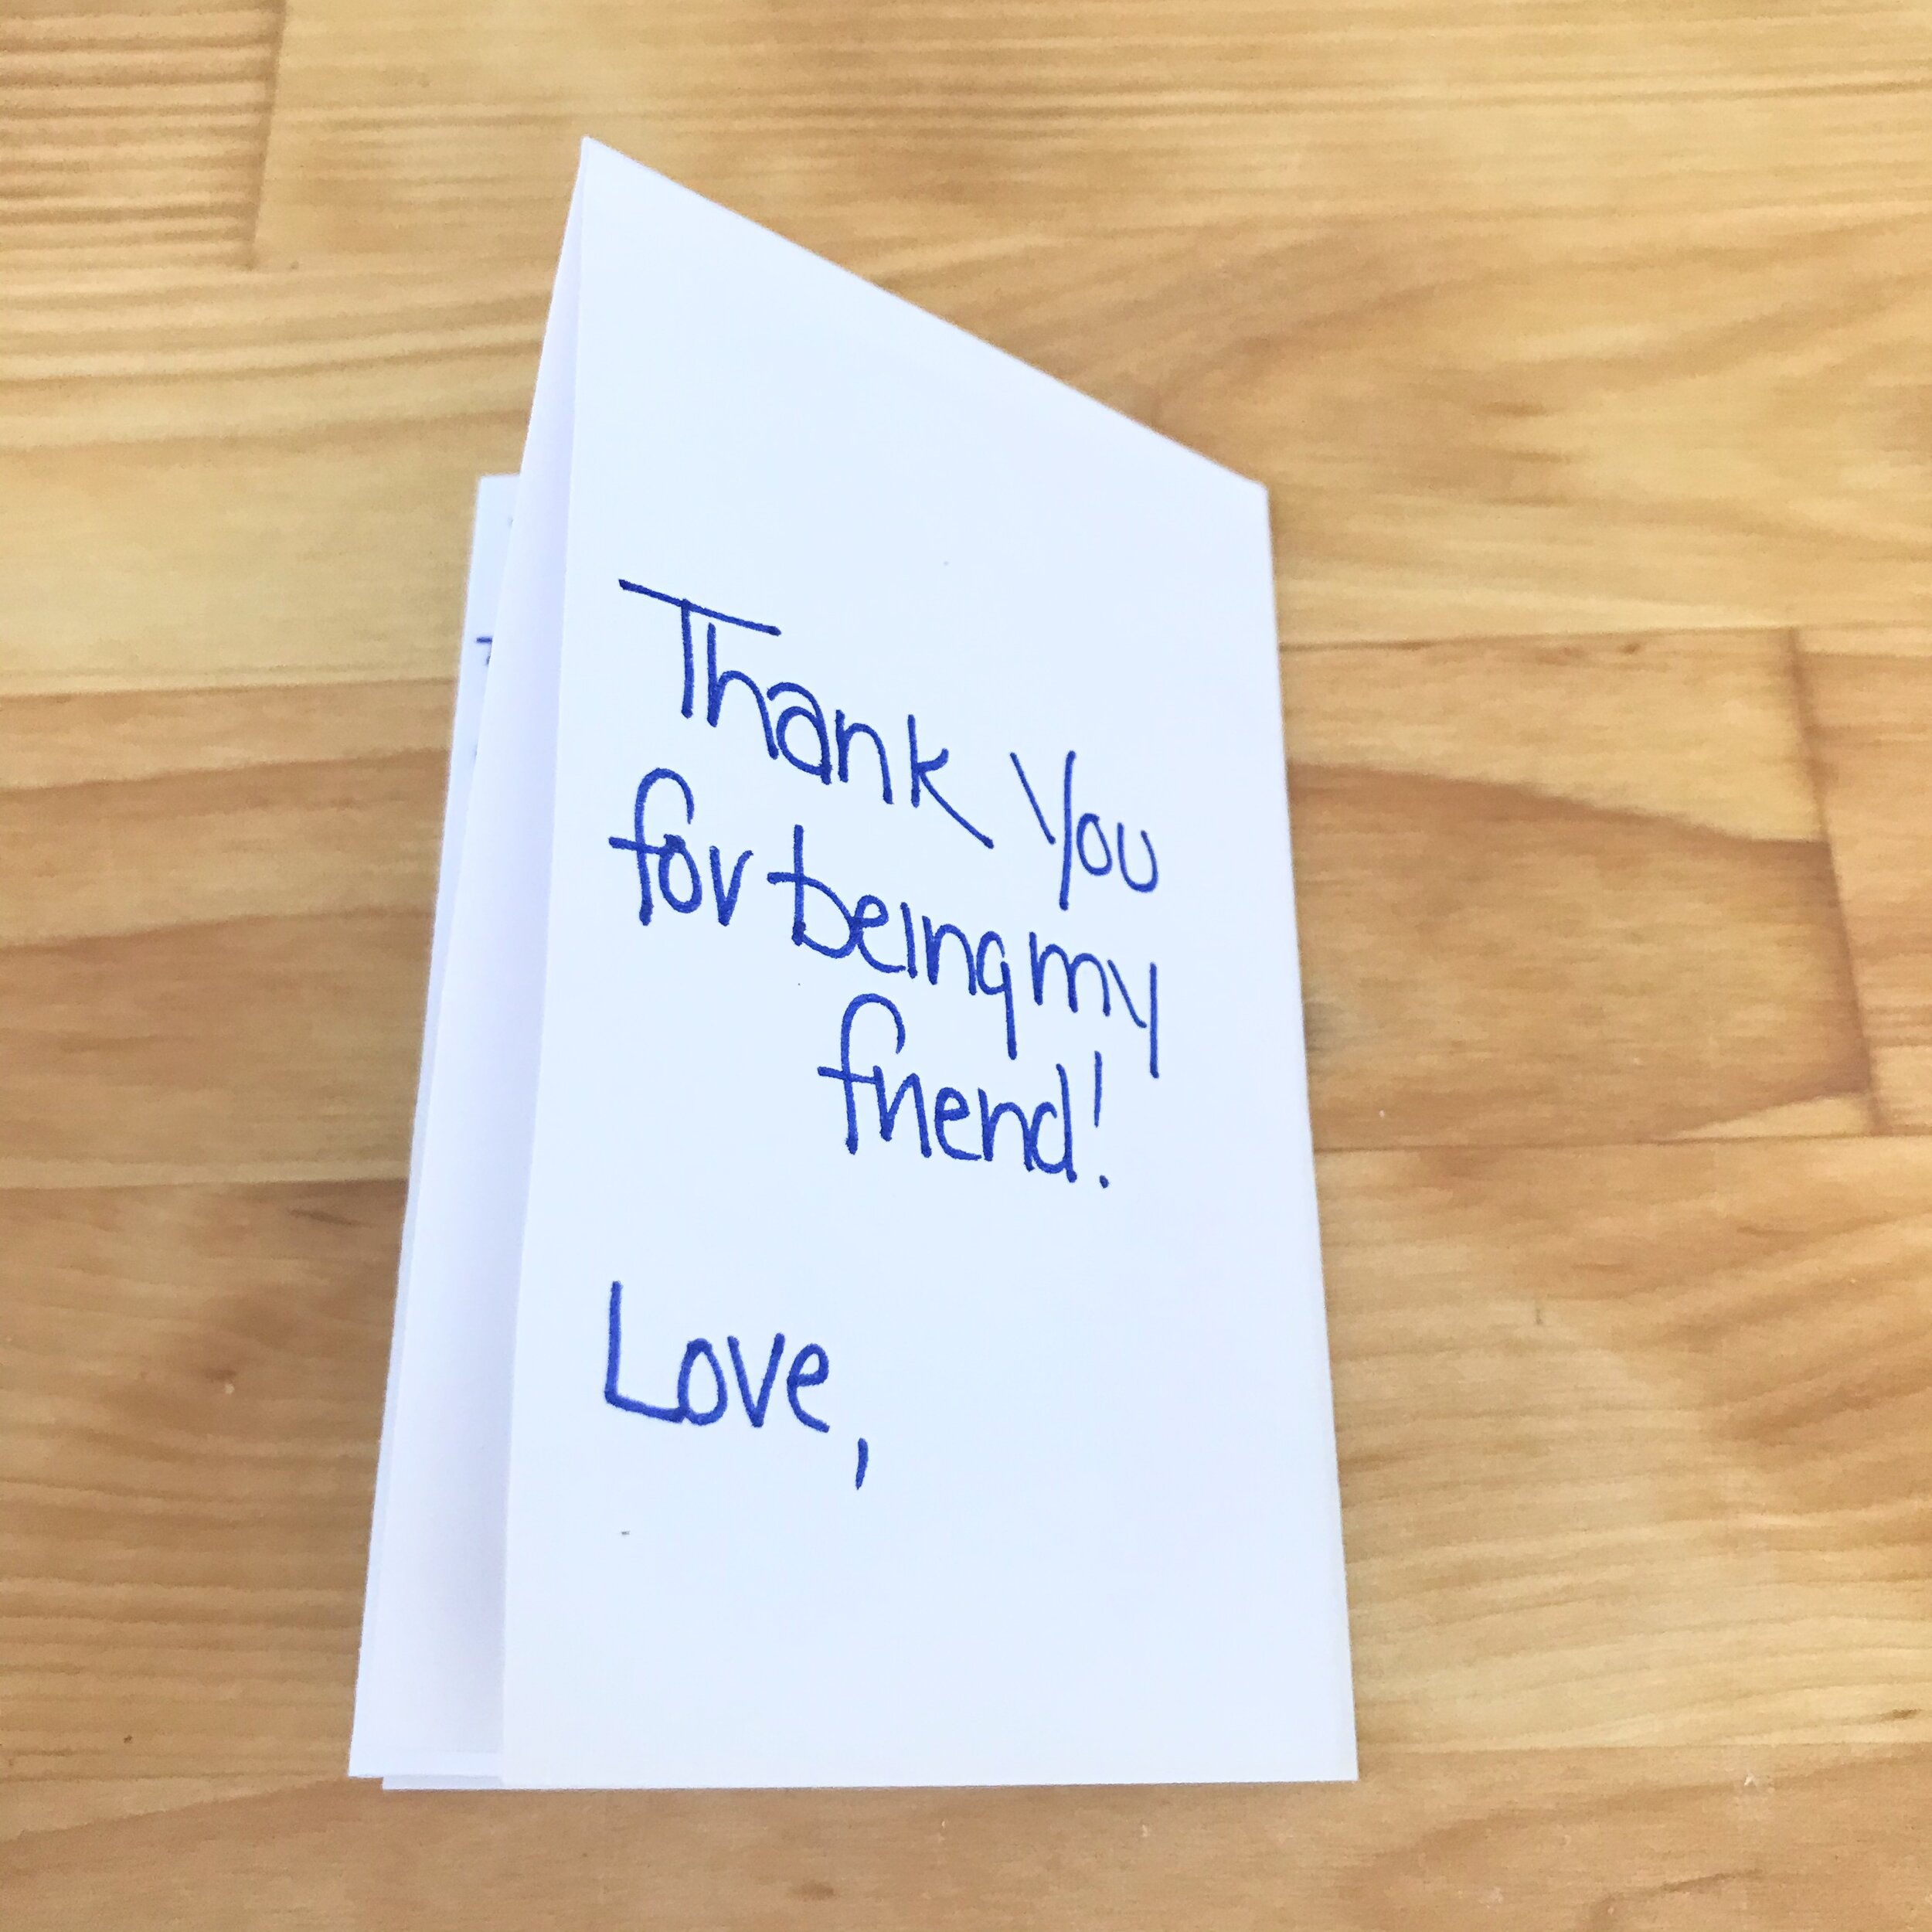
Start with a blank book folded according to the instructions above. Create a rough draft of the document while the pages are still folded.
Step 2
Unfold the entire sheet of paper. Use this as a map for your final copy so your pages are in the right order.
Step 3
Fold another sheet of paper but DO NOT make the center cuts. Unfold it and write or draw for your final copy. The center cut won’t copy well, so I don’t advise cutting before you copy.
Step 4
Once your final copy is prepared, scan or copy it as needed. Fold the copies and finish the process by making the cuts and assembling the book.
Presentation
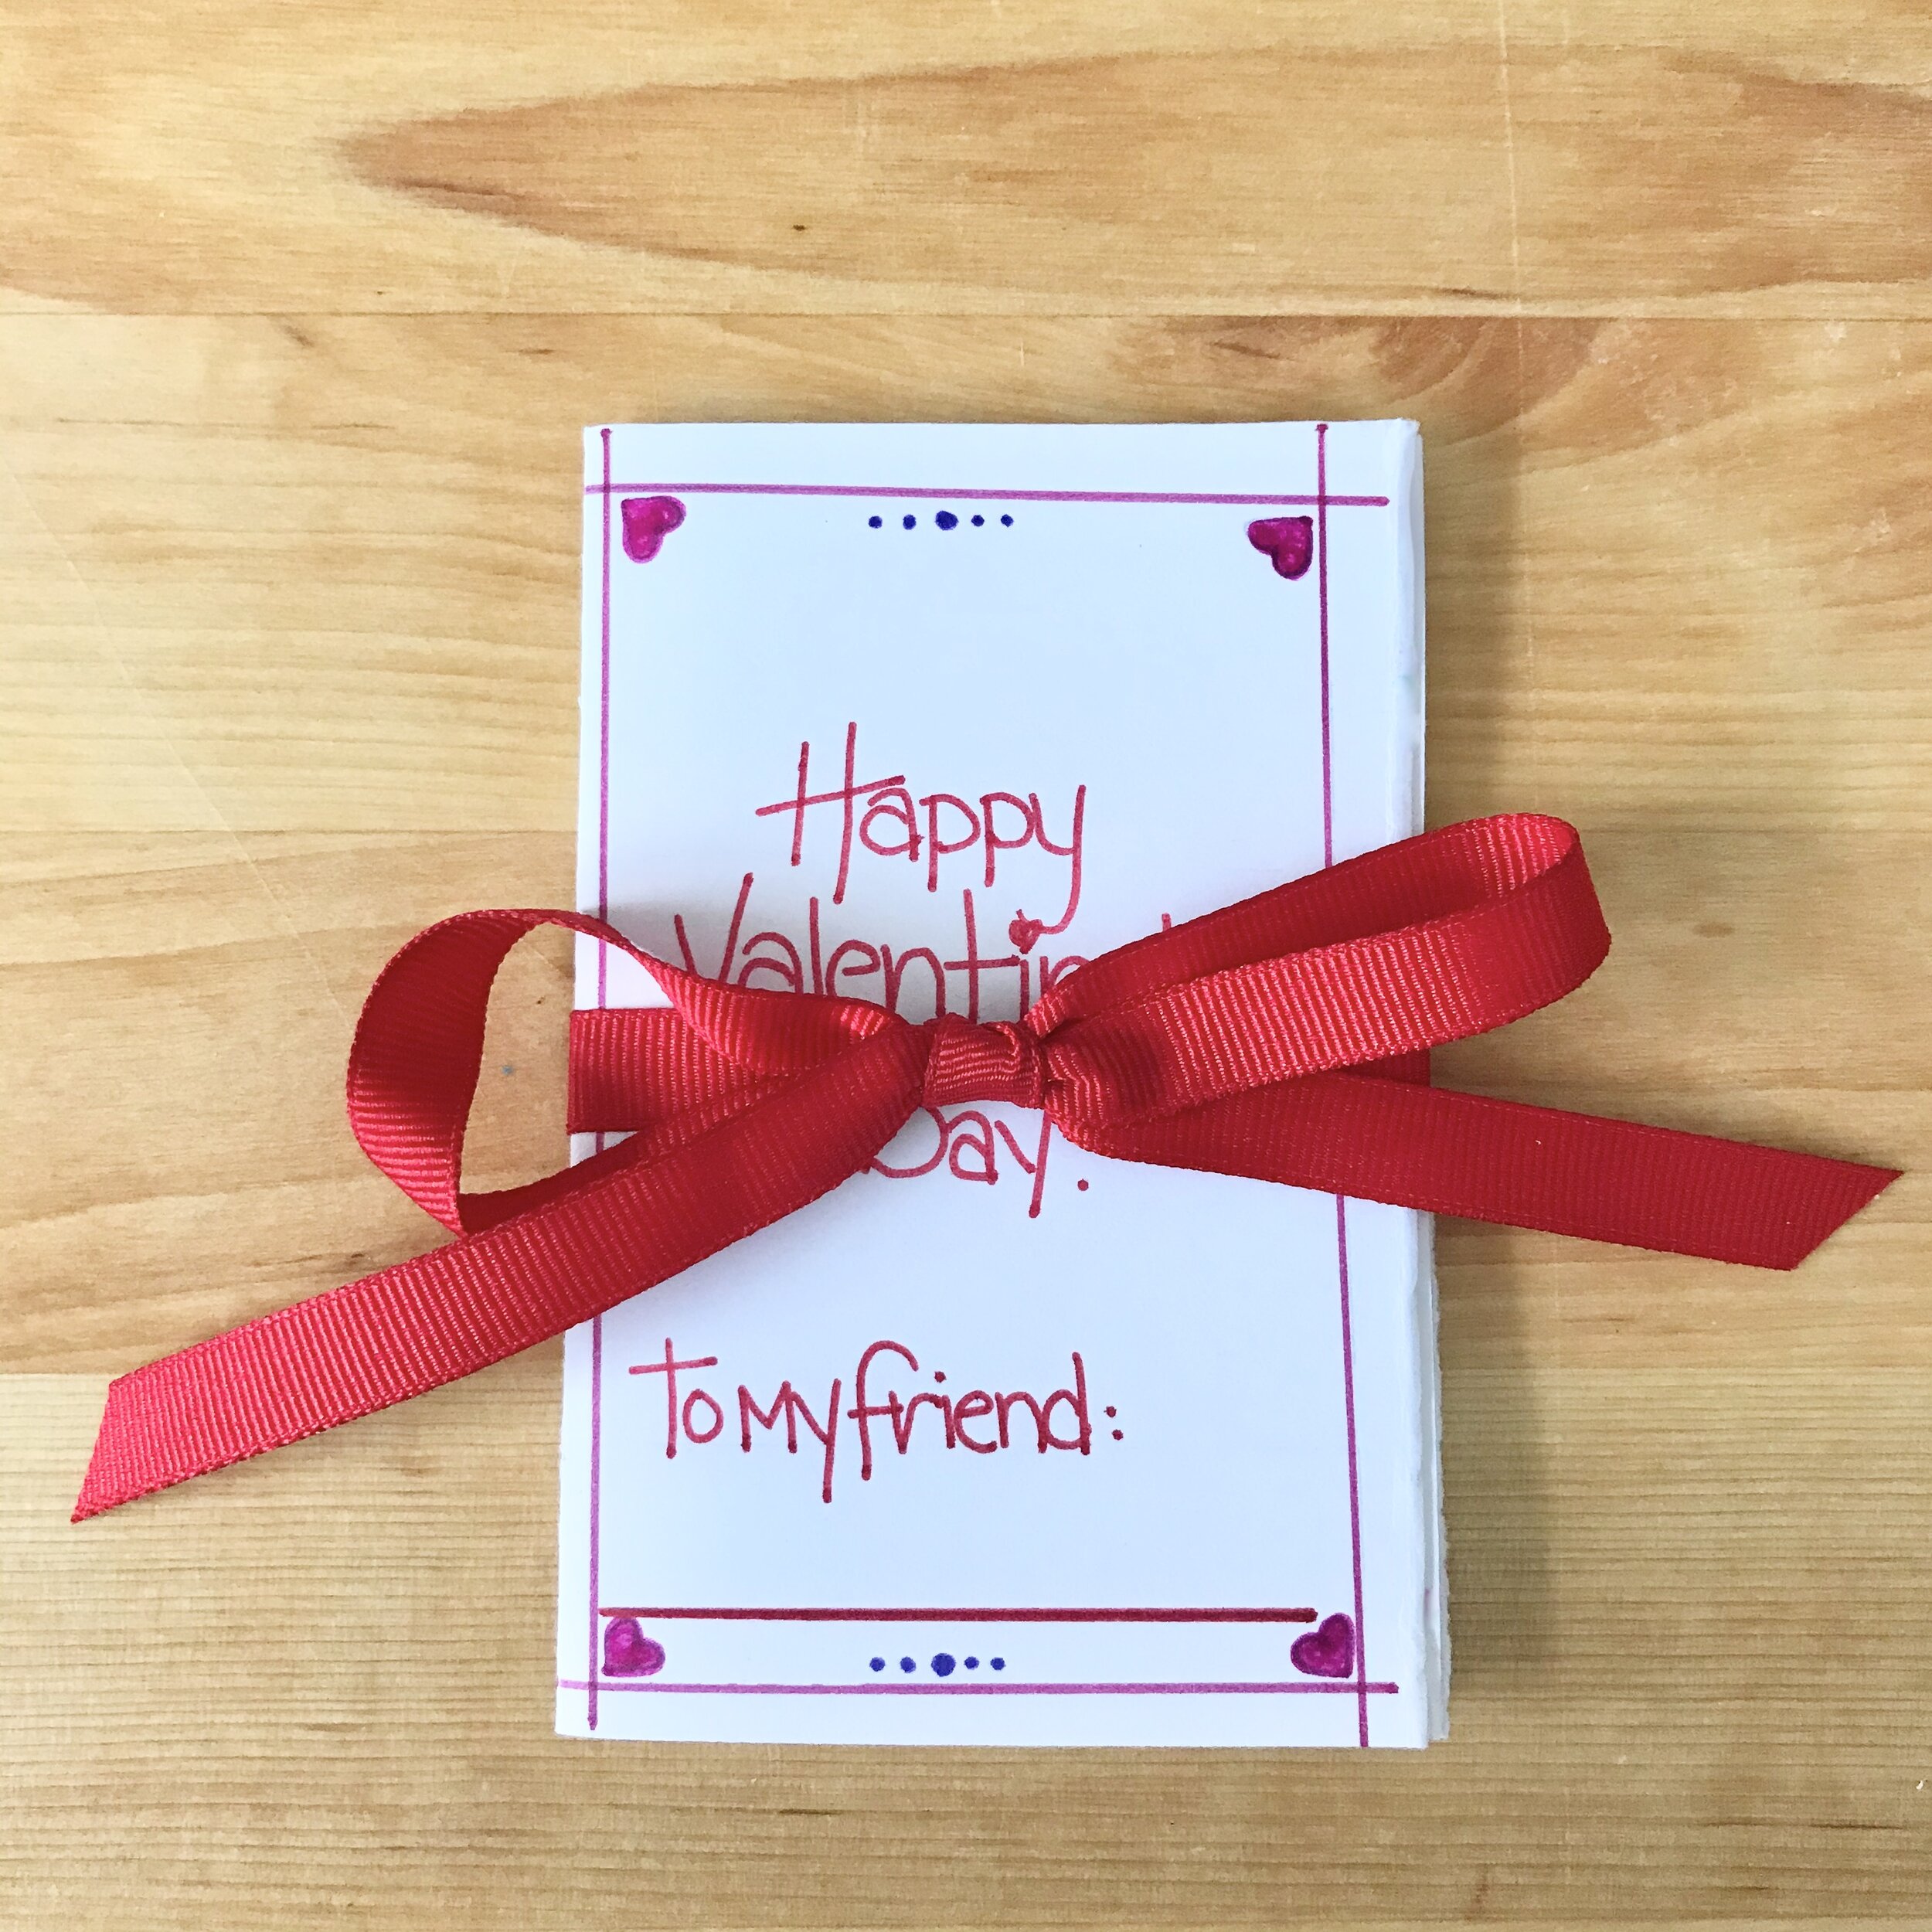
Add a simple bow! Use good ribbon that the recipient can reuse, too.
Create an envelope using two doilies held together with a touch of double-stick tape or glue.
Combine the doily envelope with a bow for an elegant presentation.
Add a small heart-shaped sticker for a simple touch.
Combine this simple Valentine with the Valentine’s Day Bookmark project and slip a bookmark over one corner.

