Week Three | April 18 | Lighting & Windows
Let there be light! The Guest Room windows are at ground level, so I have brought in lots of light and window treatments that take advantage of the sun, too.
Week Three! More than halfway done, and I am inspired every single day by all of the One Room Challenge projects. There are more than 300 of them, and every room of the house is well-represented. It’s really fun!
Now that the wall color is up and the furniture is in place, I’m focused on smaller details. This week: light. As I have mentioned before, the Guest Room is at “garden level” — a fancy way of saying it is in the basement. The windows themselves are at ground level, and they are relatively big windows. However, because they are so close to the ground, the light in this room fades early in the day, and the house next door casts a shadow into the room by afternoon most of the year. So even during the day lamps are important.
Guest rooms are also all-purpose rooms, so lighting needs to be good as well as flexible for all kinds of guests and configurations. Guests may retreat for a rest and reading during the day. They may be suffering from jet lag and need good lighting in the evening or early morning. Guest rooms often have multiple purposes, too. I fold clothes frequently in this room, because it is across from the laundry. And it is where I do a lot of ironing, too. Additionally, on the hottest days this room is the coolest in our house, and sometimes our family sleeps down here when we need to escape the heat. So not only does the lighting need to suit my guests, it also needs to meet our family’s needs.
To cover all of that, I considered three light sources: the windows, the light fixture, and lamps.
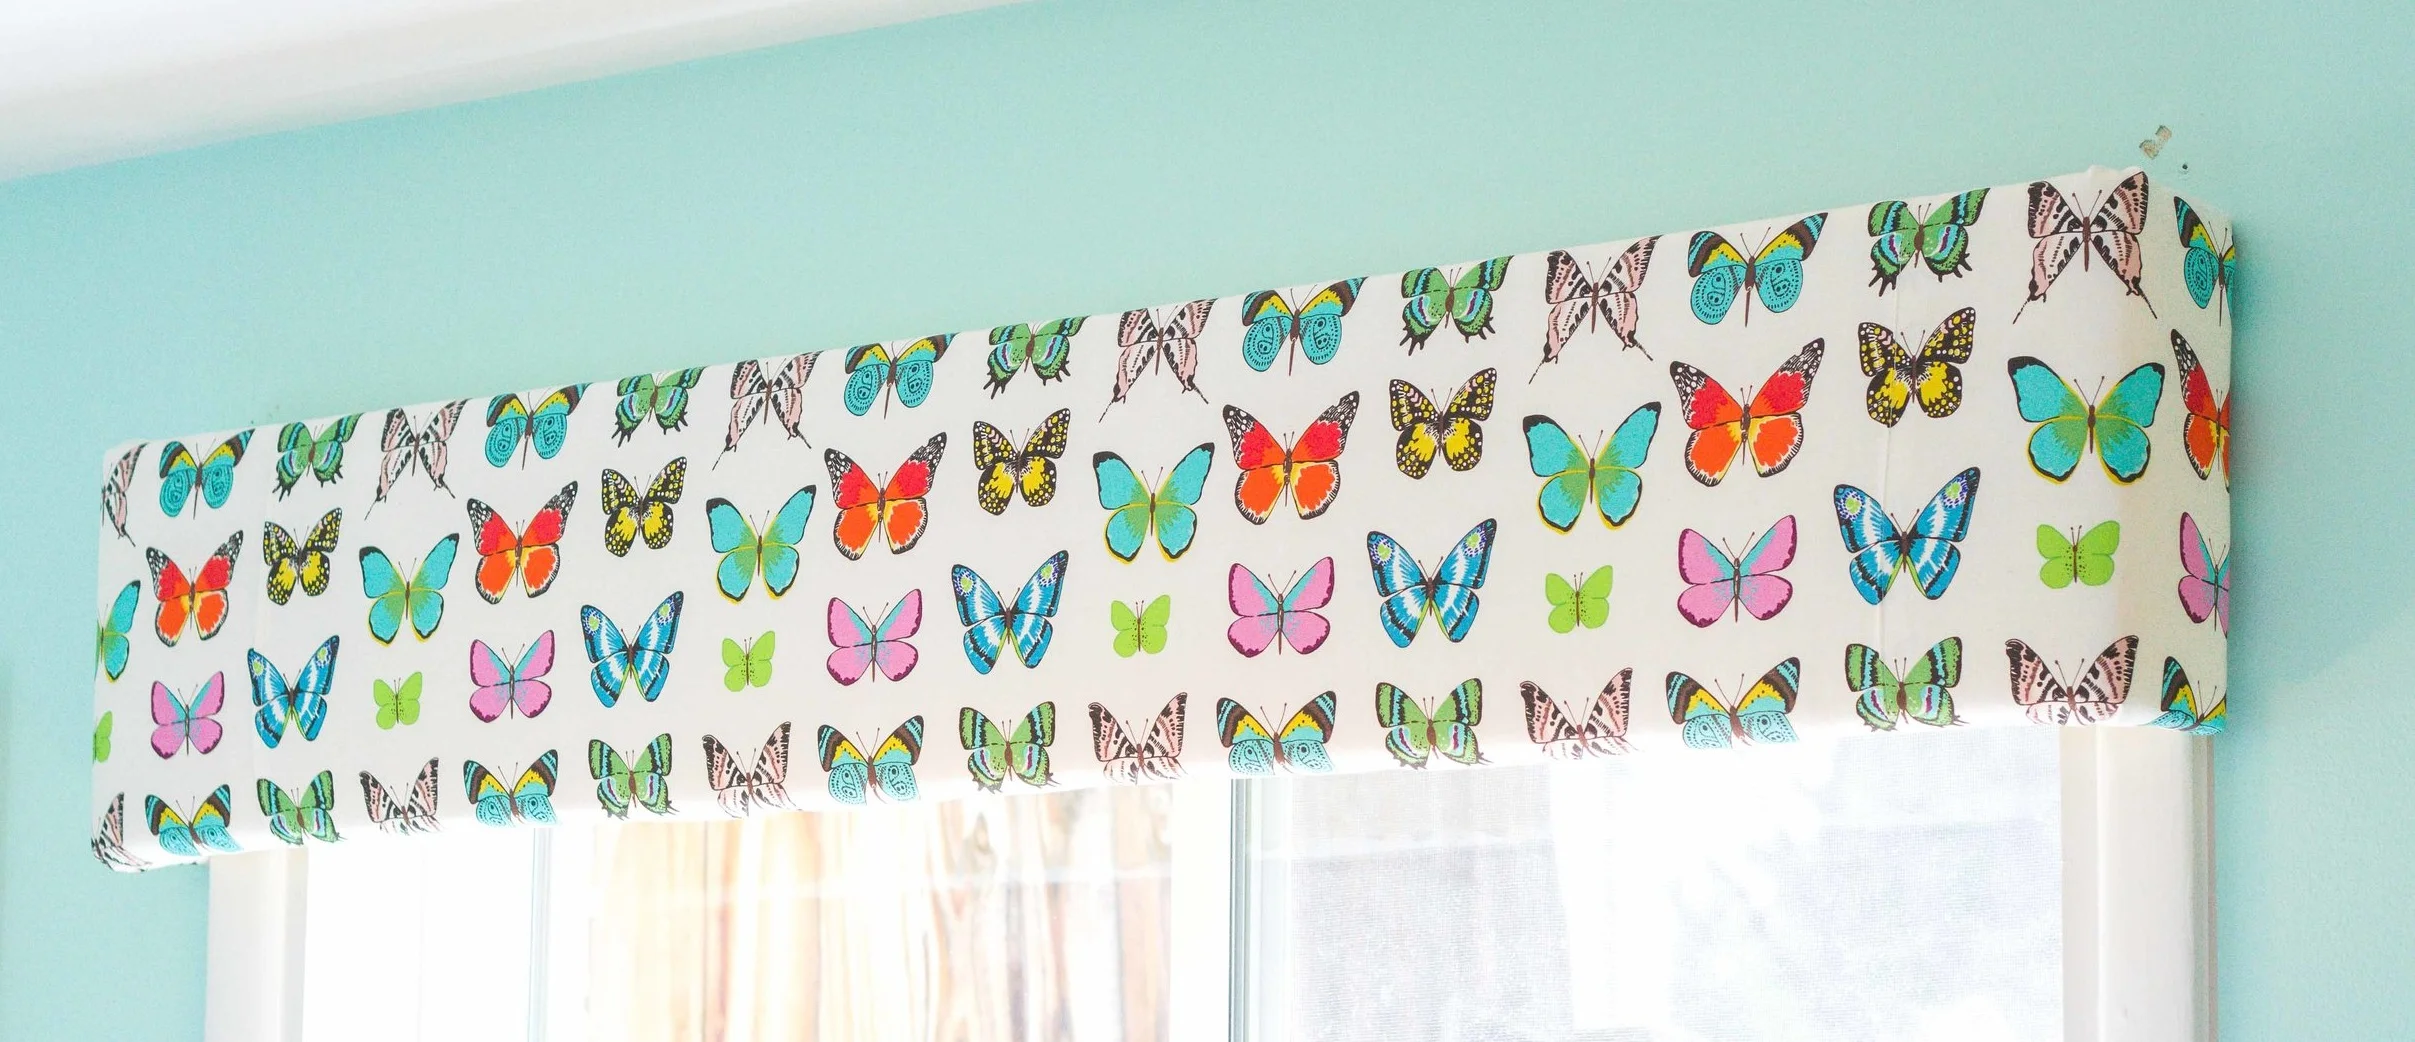
Easy DIY window valances allow the maximum amount of light and conceal shades for privacy.
Windows
This room is 11’ x 14’ with a small jog on one wall. Because I prefer two twin beds in a guest room for flexibility, the beds are clustered around the windows which makes curtains impractical. So I needed window treatments that are simple and yet allow for light control and privacy. I turned to an easy and inexpensive window treatment option that I have used before: upholstered valances with roller shades.
The valances are an easy DIY project that can be done with just a drill if you have the wood precut at the lumber yard. The only trick: getting your measurements just right! I chose this beautiful Alexander Henry fabric for the valances. Called El Tiempo de Mariposa, the print recalls vintage book illustrations and pulls together many of the same colors that appear in our vintage map inspiration piece.
Coincidentally, last week The Metropolitan Museum of Art’s Costume Institute posted photos of this Elsa Schiaparelli dress from 1937 in a gorgeous print that must have been a touchstone for El Tiempo de Mariposa. Art, history, travel, and design… all meeting in my little guest room!
In the past I have used a heavier upholstery fabric for this kind of valance. But I fell in love with this print, so I just made it work, and they are beautiful!
Behind the valances we installed Ikea’s Tupplur blackout roller shades. I must note: I don’t recommend these shades. They are very inexpensive ($25 per window), but the rolling mechanism is imprecise at best. Since we don’t use this room that often, replacing them will be low on the list, but we won’t be installing them anywhere else in the house.
I put together instructions for making upholstered window valances including photographs of them installed in our other homes. They are an easy and inexpensive way to dress your windows.
Window Treatment Costs:
Fabric: $30 (3 yards at $10 per yard)
Batting: $5 (I used 1/4 of a $20 bag)
Shades: $50 (2 shades at $25 each)
Total: $85
Before: the boob light
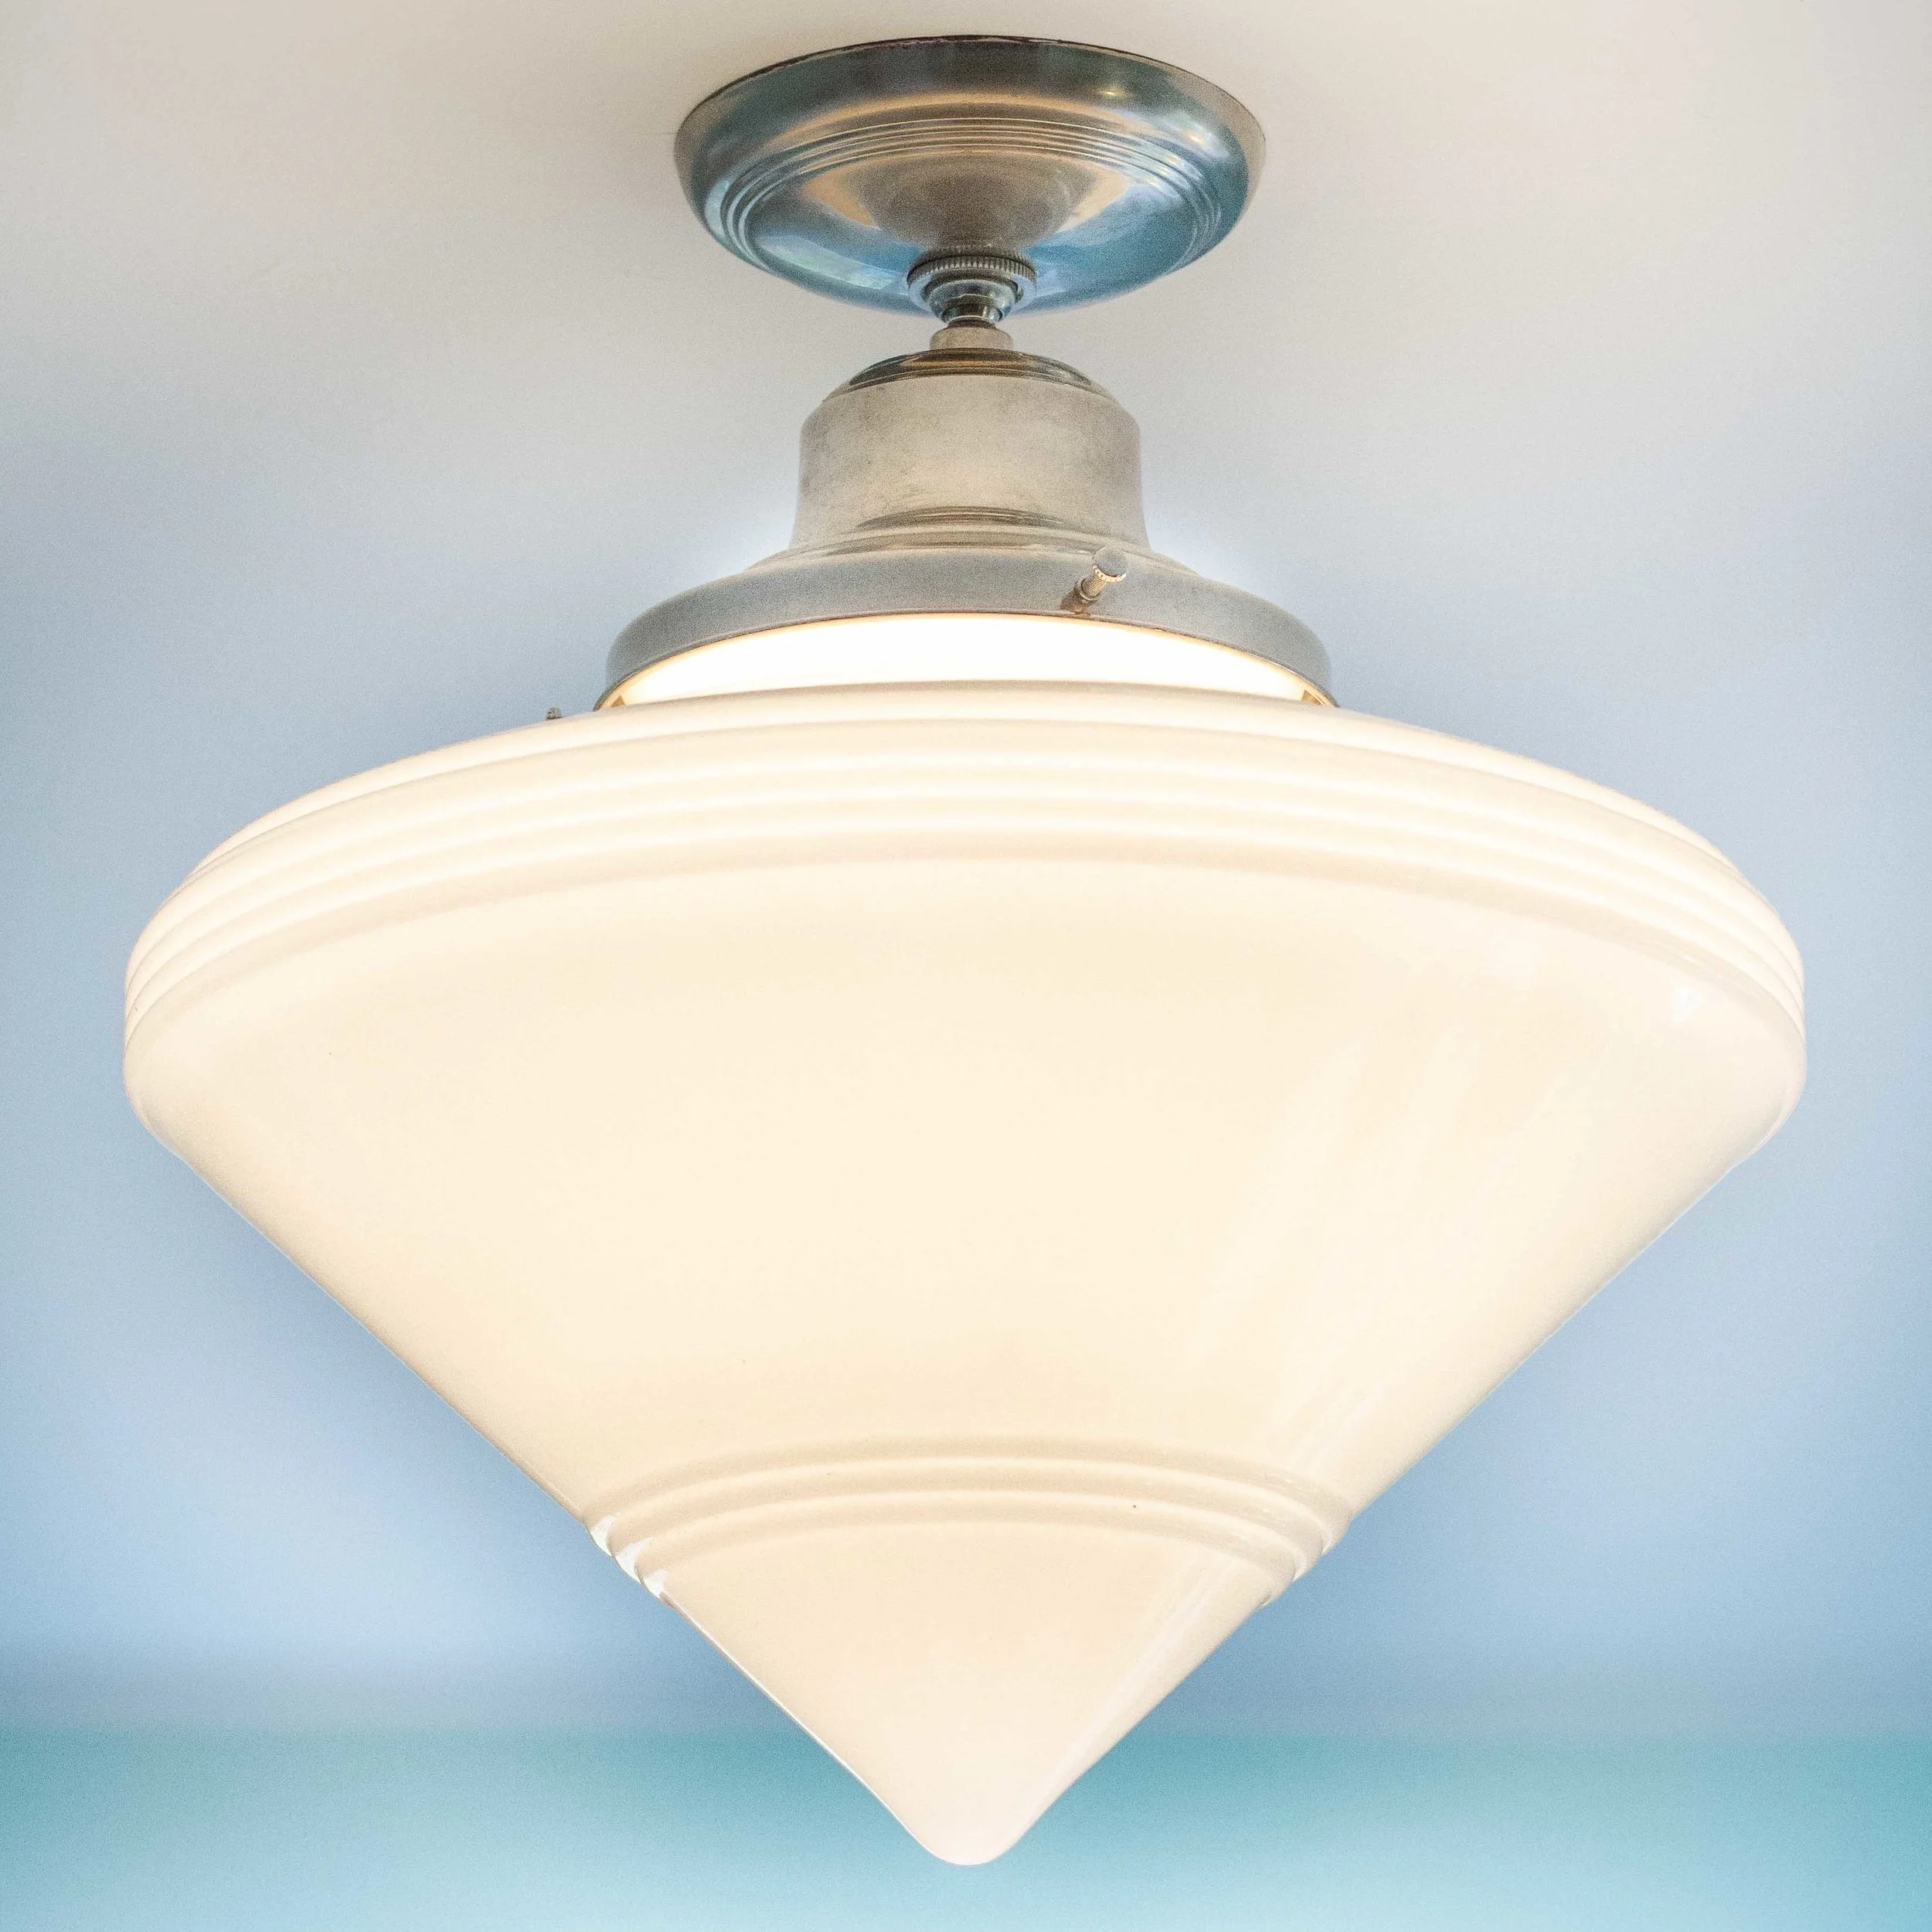
After: a retro-inspired Marketplace find
Light Fixture
This room is wired for one overhead light — centered in the room. The existing fixture was an inexpensive and characterless “boob” fixture (seriously, once you see it… you can’t unsee it!). Lighting can be very expensive, but I always check Facebook Marketplace, Craigslist, and vintage shops for fixtures. A few weeks ago I scored this retro-inspired fixture from Rejuvenation on the Marketplace for $50, and at last check, the seller, Industrial Lane, still had two of them left.
I have paid full price for Rejuvenation fixtures before (ouch!). We used them in both the kitchen and the living room of the 1948 Subdivision Sweetheart. I absolutely love their vintage vibe, and they are beautifully made, so I was thrilled to find this fixture pulled from a restaurant. It has a milk glass shade which coordinates with my milk glass collection — one of the inspiration pieces for the room. After cleaning it up, I installed it, and it looks great — a little 1950s diner vibe.
I thought these would work… but alas. It was not to be.
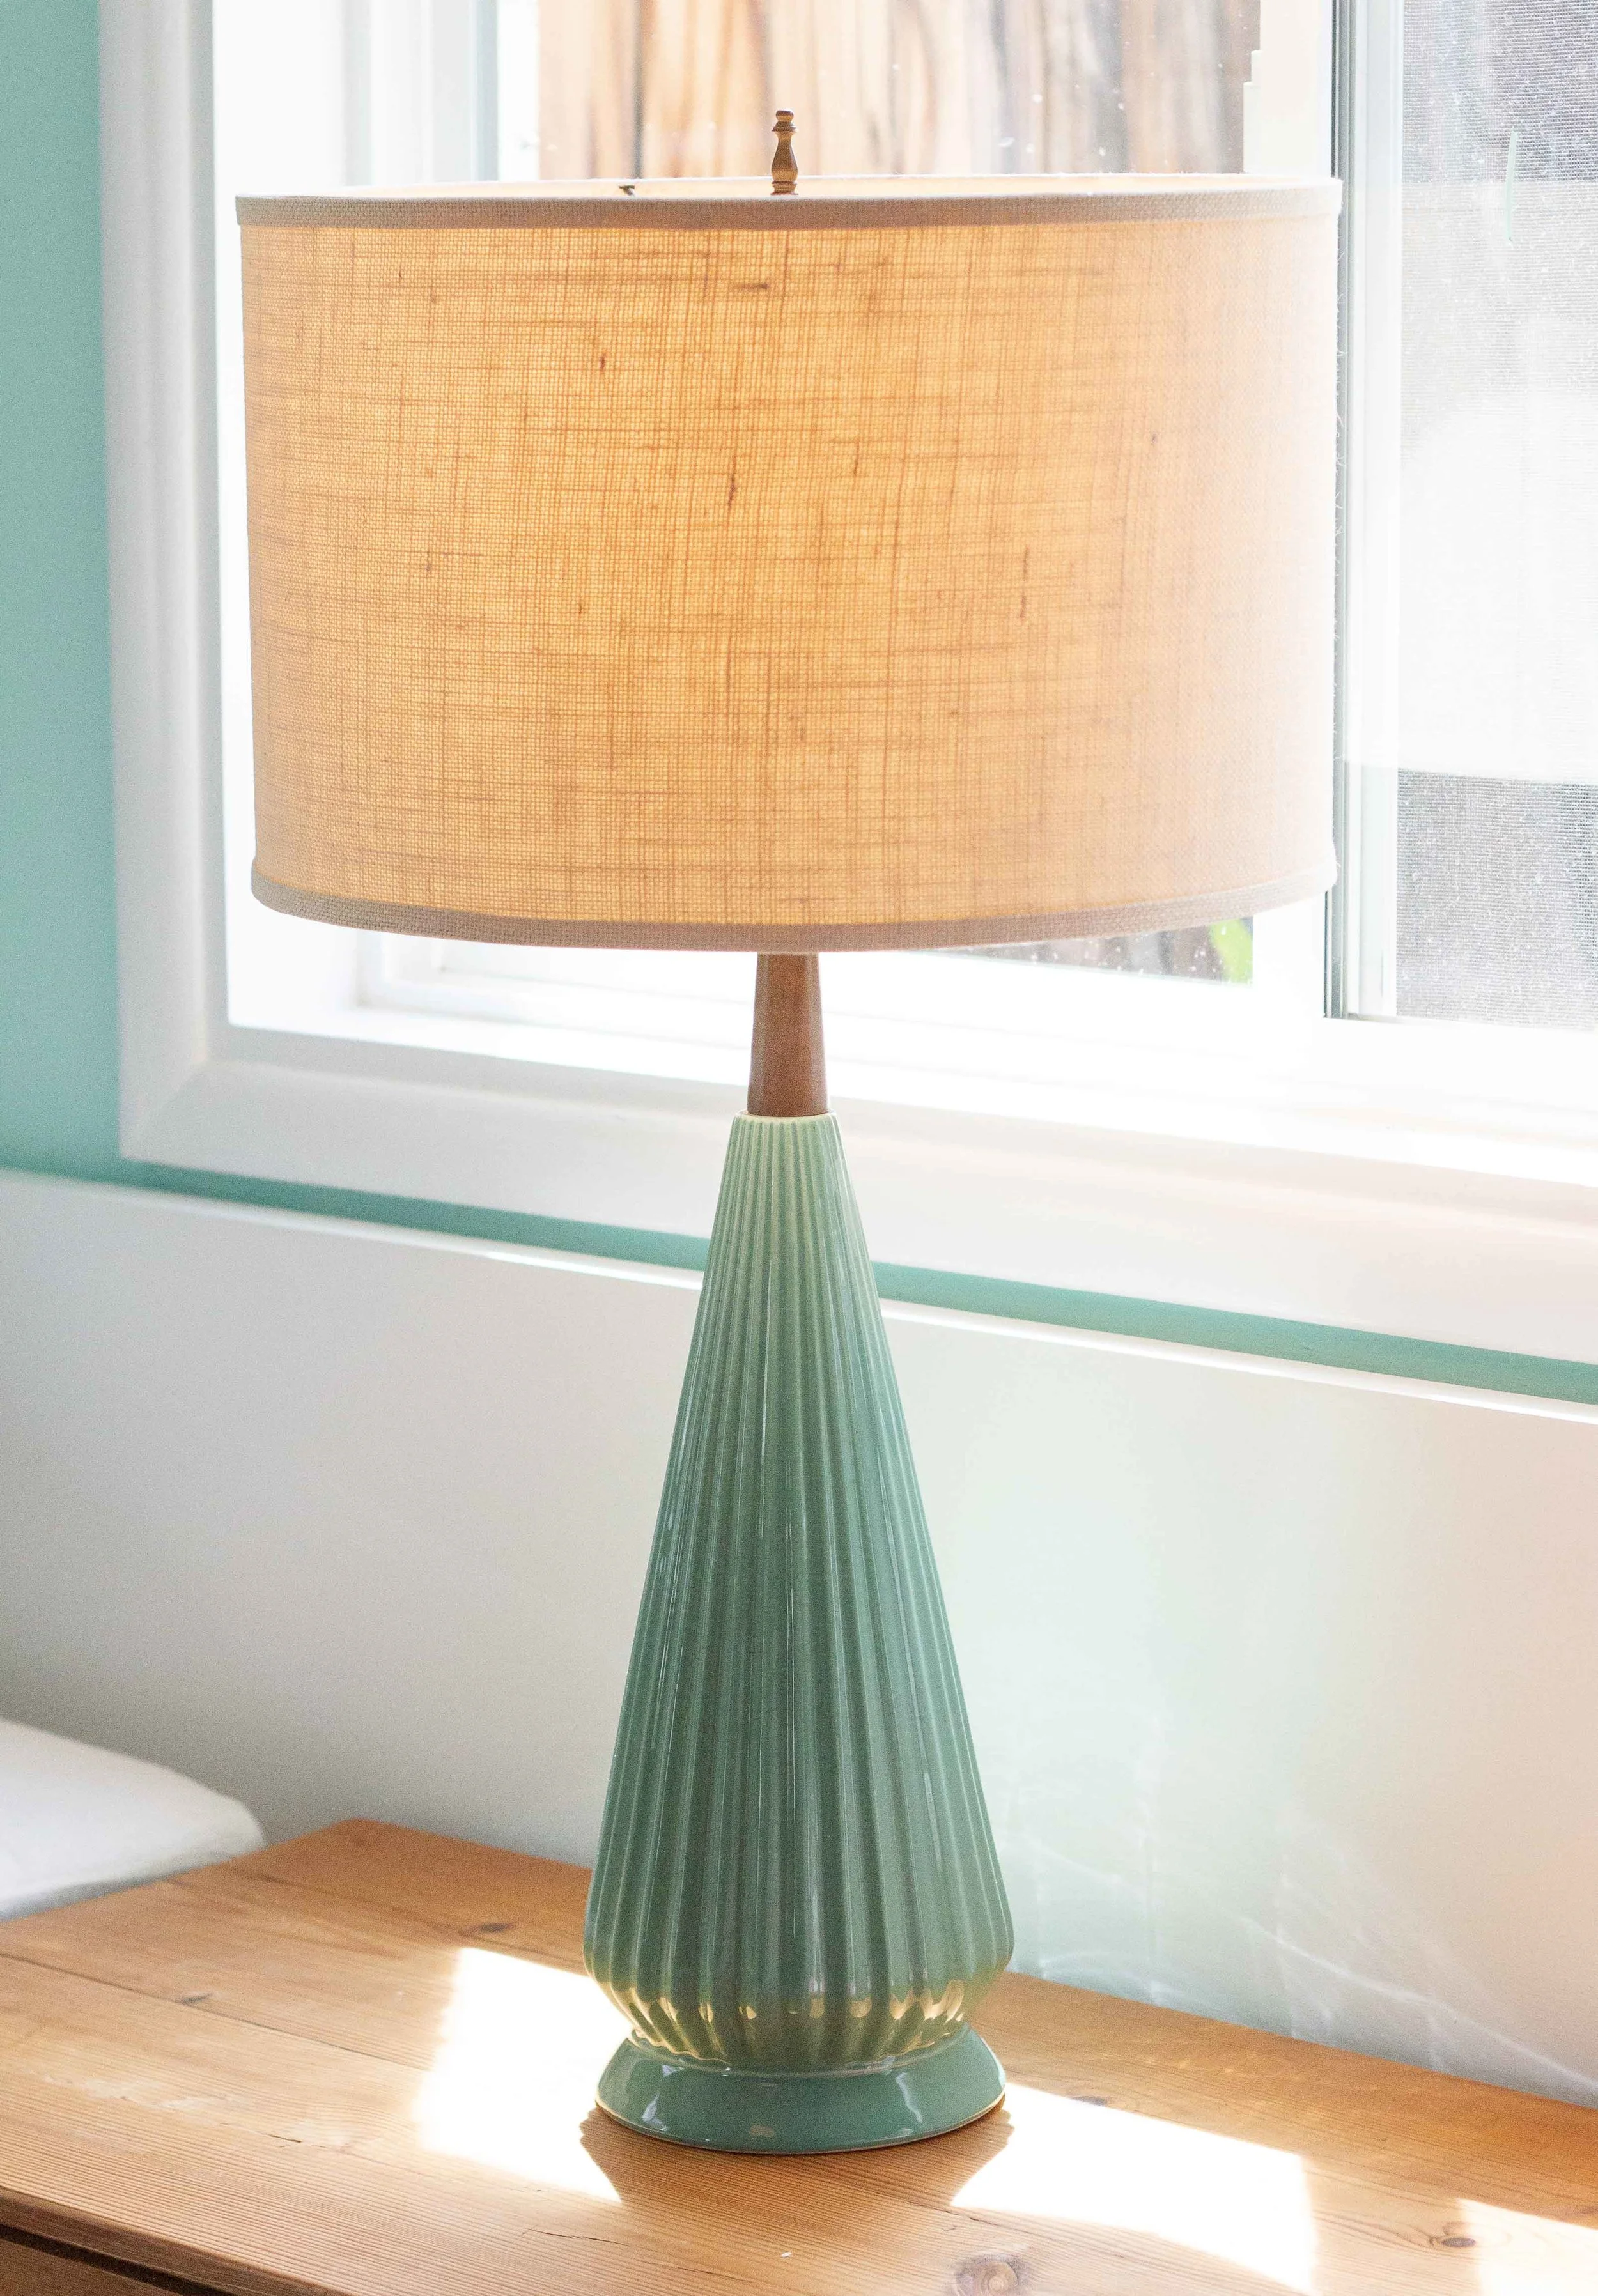
Our new MCM lamp from Craigslist with a shade stolen from the living room.
We have had this lamp for a looooong time, but it has never looked better!
Lamps
No comfortable room is complete without lamps, and I was also on the hunt for vintage beauties. A few months ago I found a pair of vintage iridescent blue lamps on Etsy, and I was just sure they were going to be perfect on the bedside table. However, as the design evolved, it became clear that they weren't right in the room, so I have tucked them away for another project — maybe my office.
Last week I found a tall, teal ceramic lamp without a shade on Craigslist for $28. It is a vintage Mid Century Modern lamp. The wiring was original and showed signs of wear, so I rewired it at a grand cost of $15 — lamp kits rock and are super-easy to use! Then I had to find a shade which took me as far as the living room. One of our lamps has had an ill-fitting shade for more than a year. Now that lamp is naked, because that shade is perfect on our new vintage lamp!
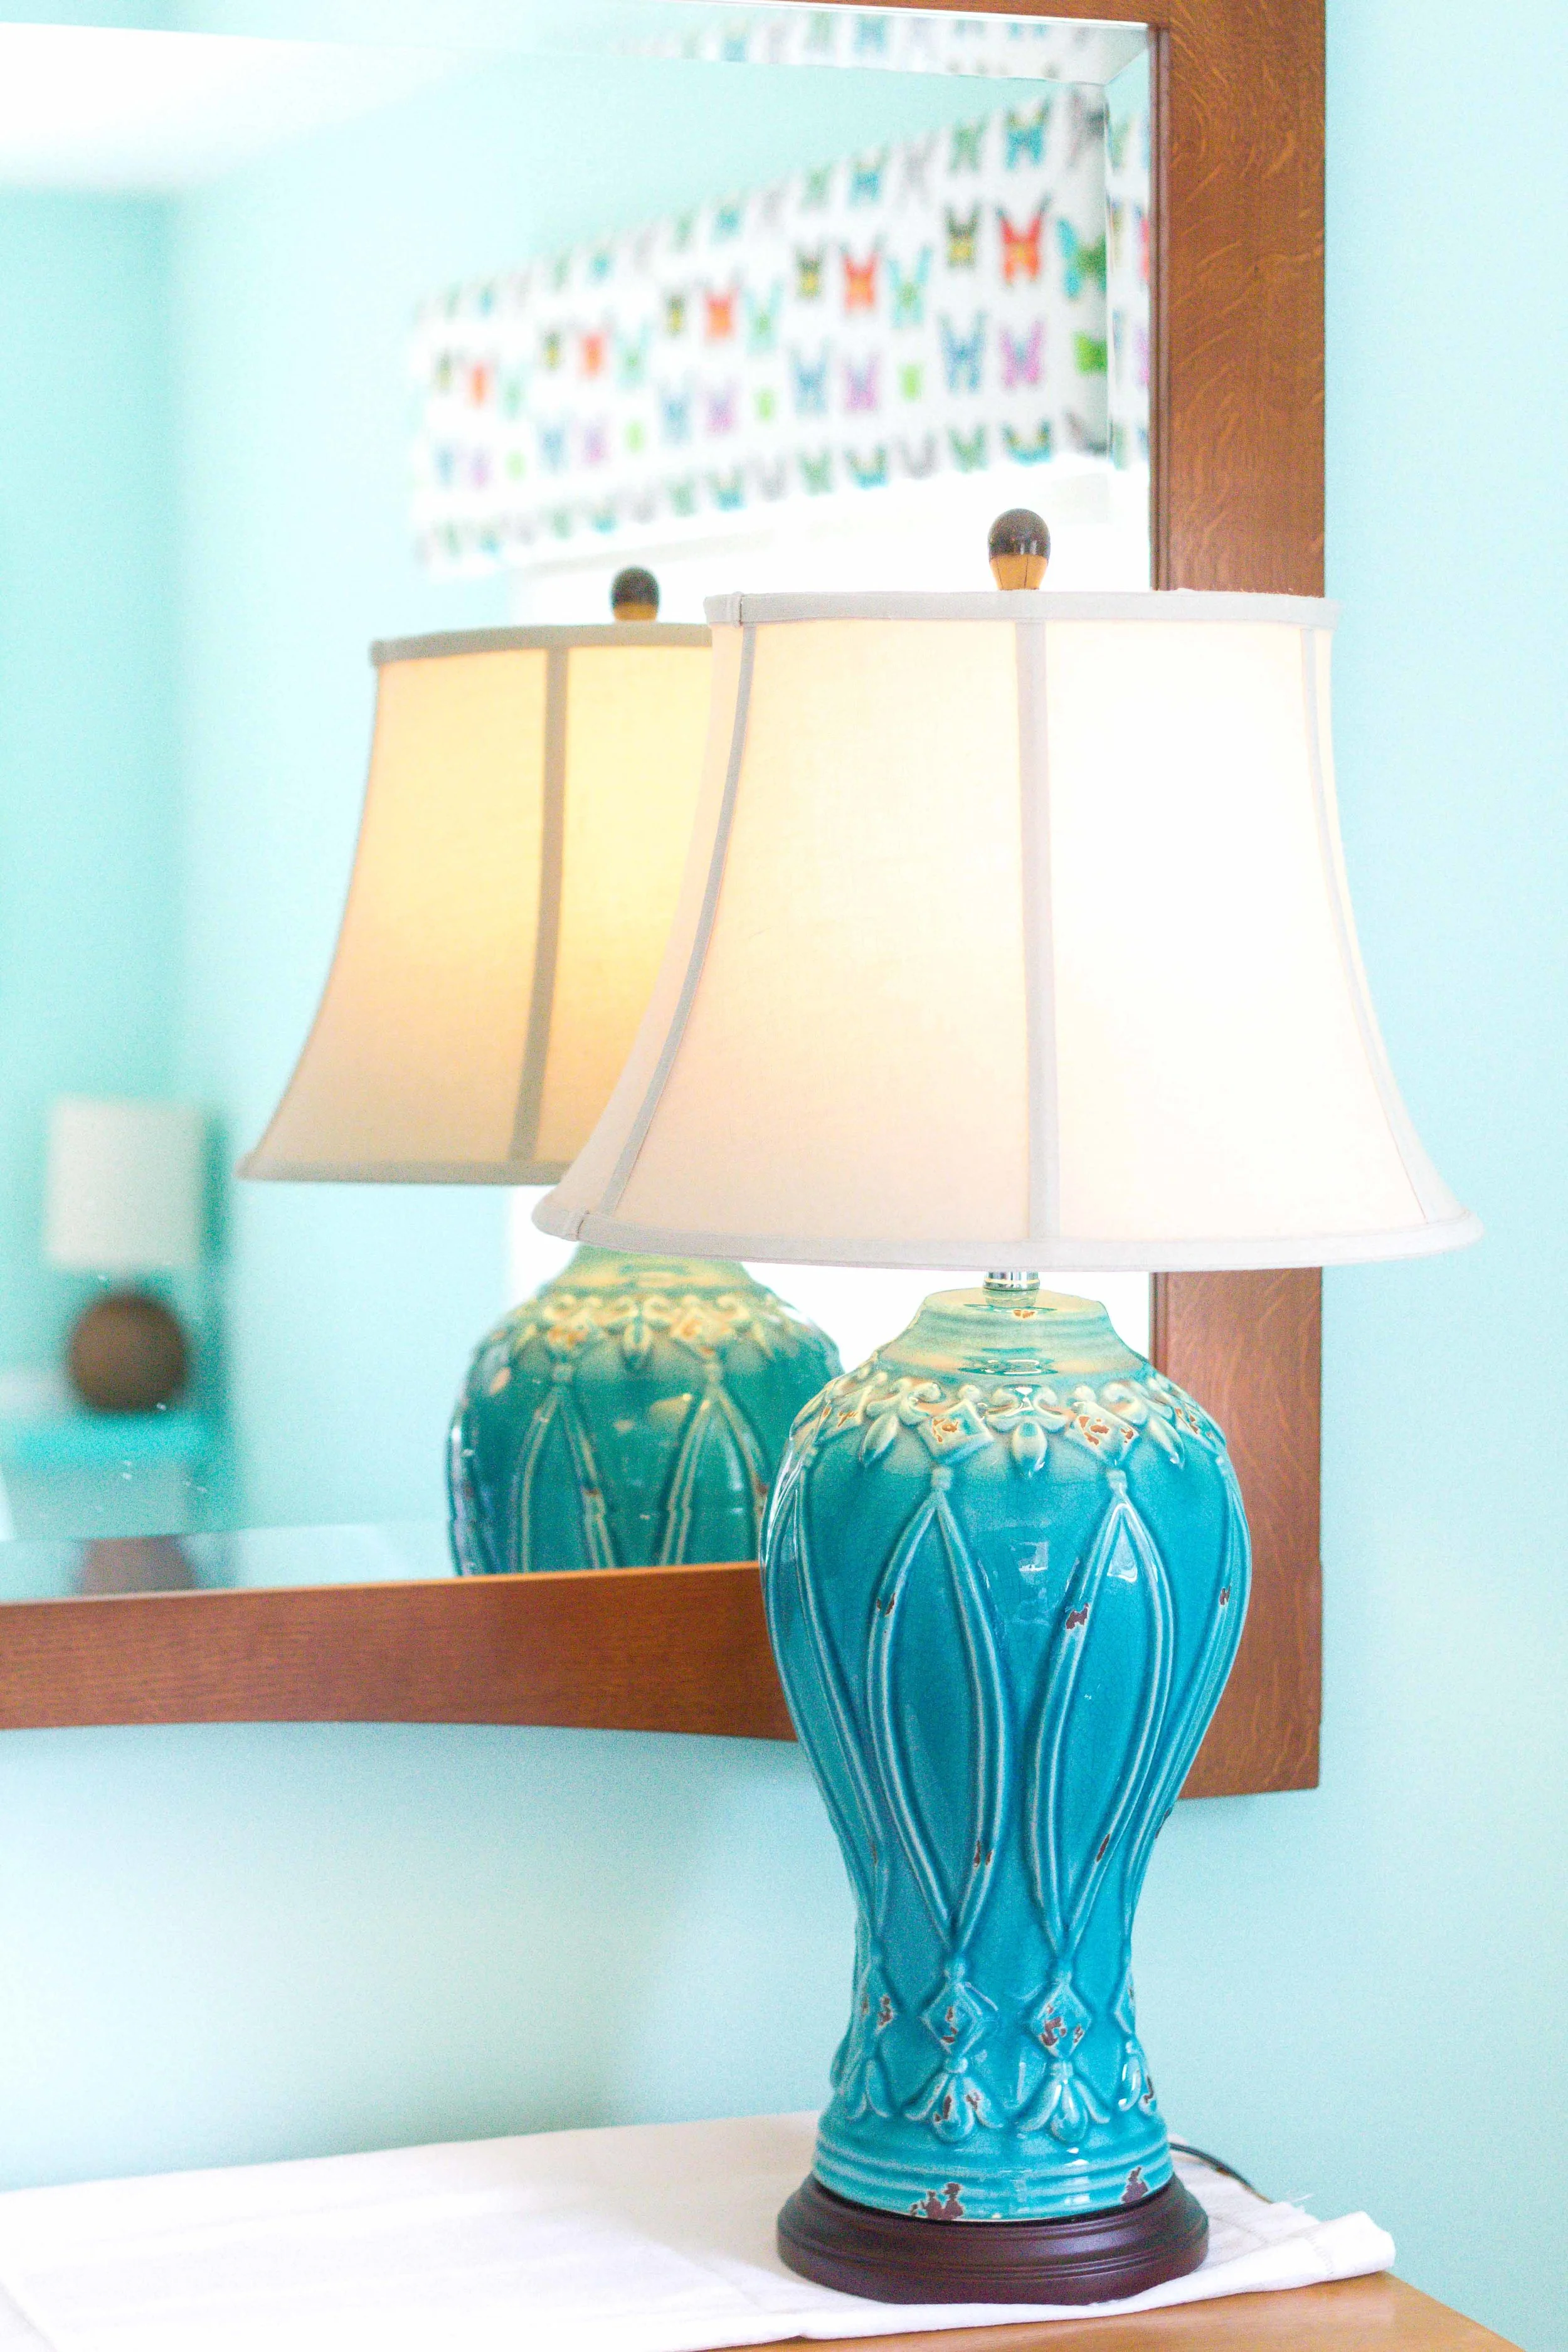
I also repurposed a turquoise Chinoiserie lamp from the living room which clearly belongs on the dresser in this guest room and looks far better here than on top of the piano. So, I am now on the hunt for another lamp and a shade for our suddenly-dark living room, but that seems to be the story of my life! #shopyourhouse
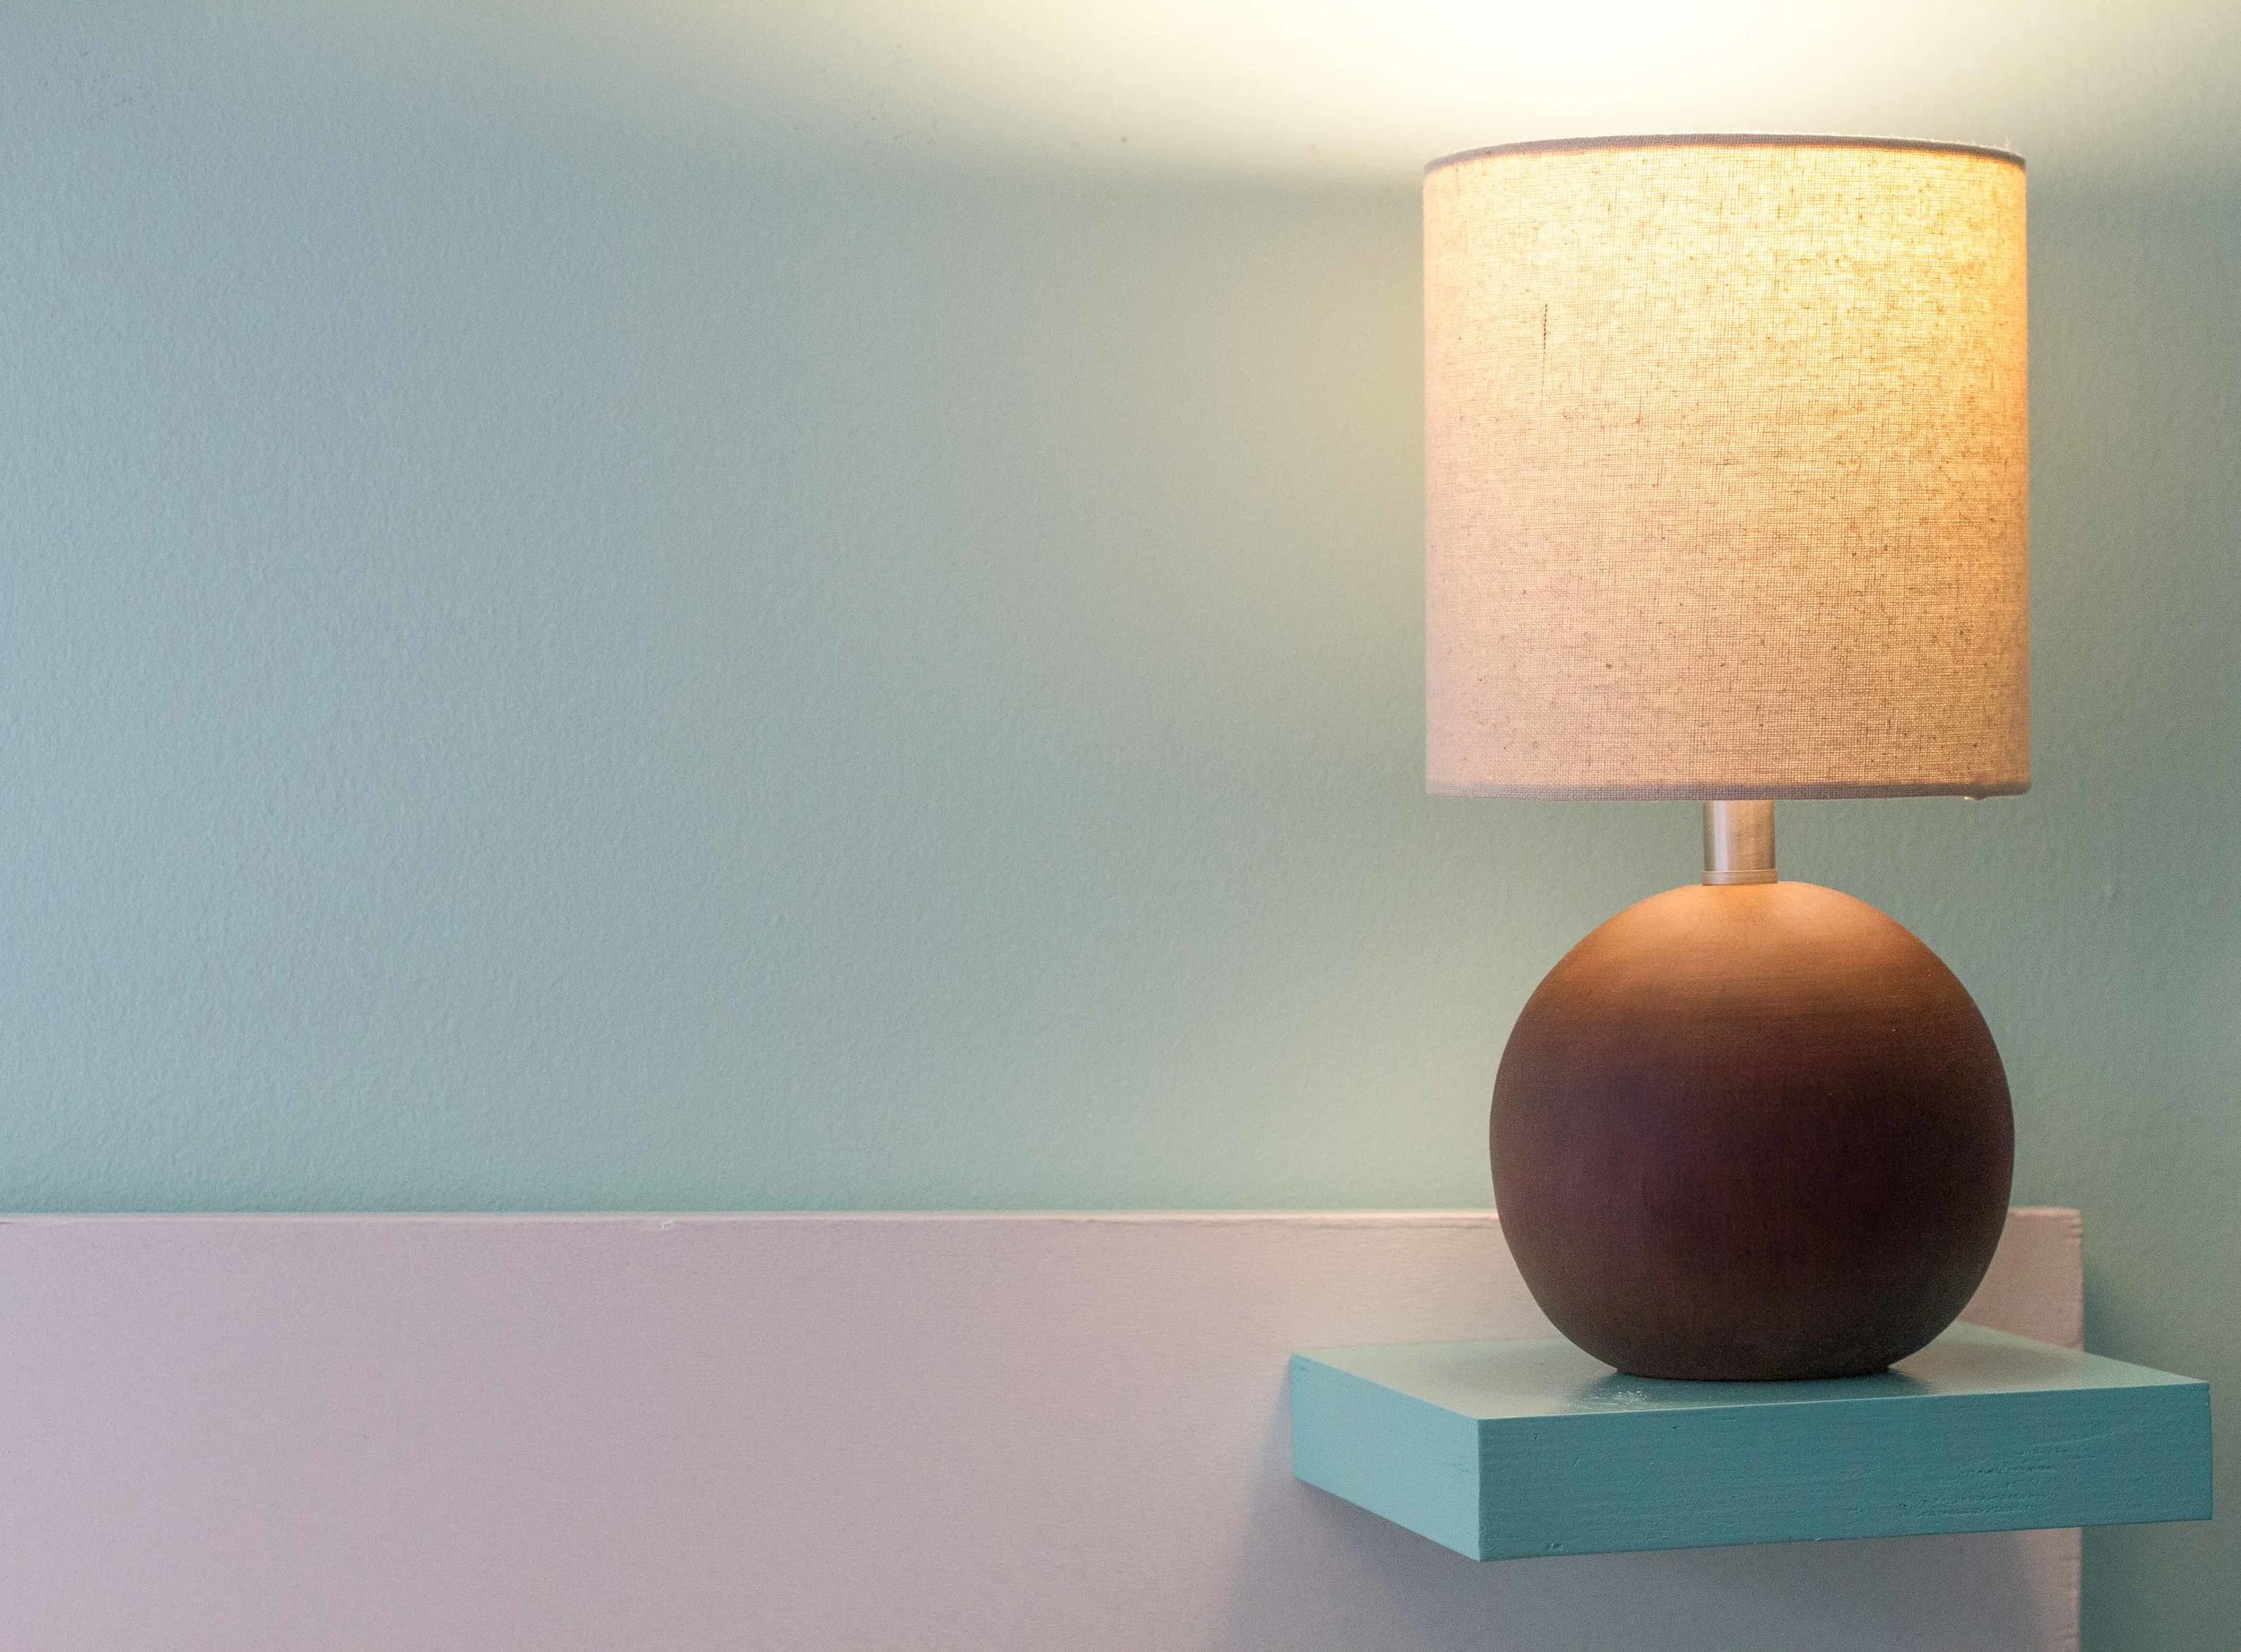
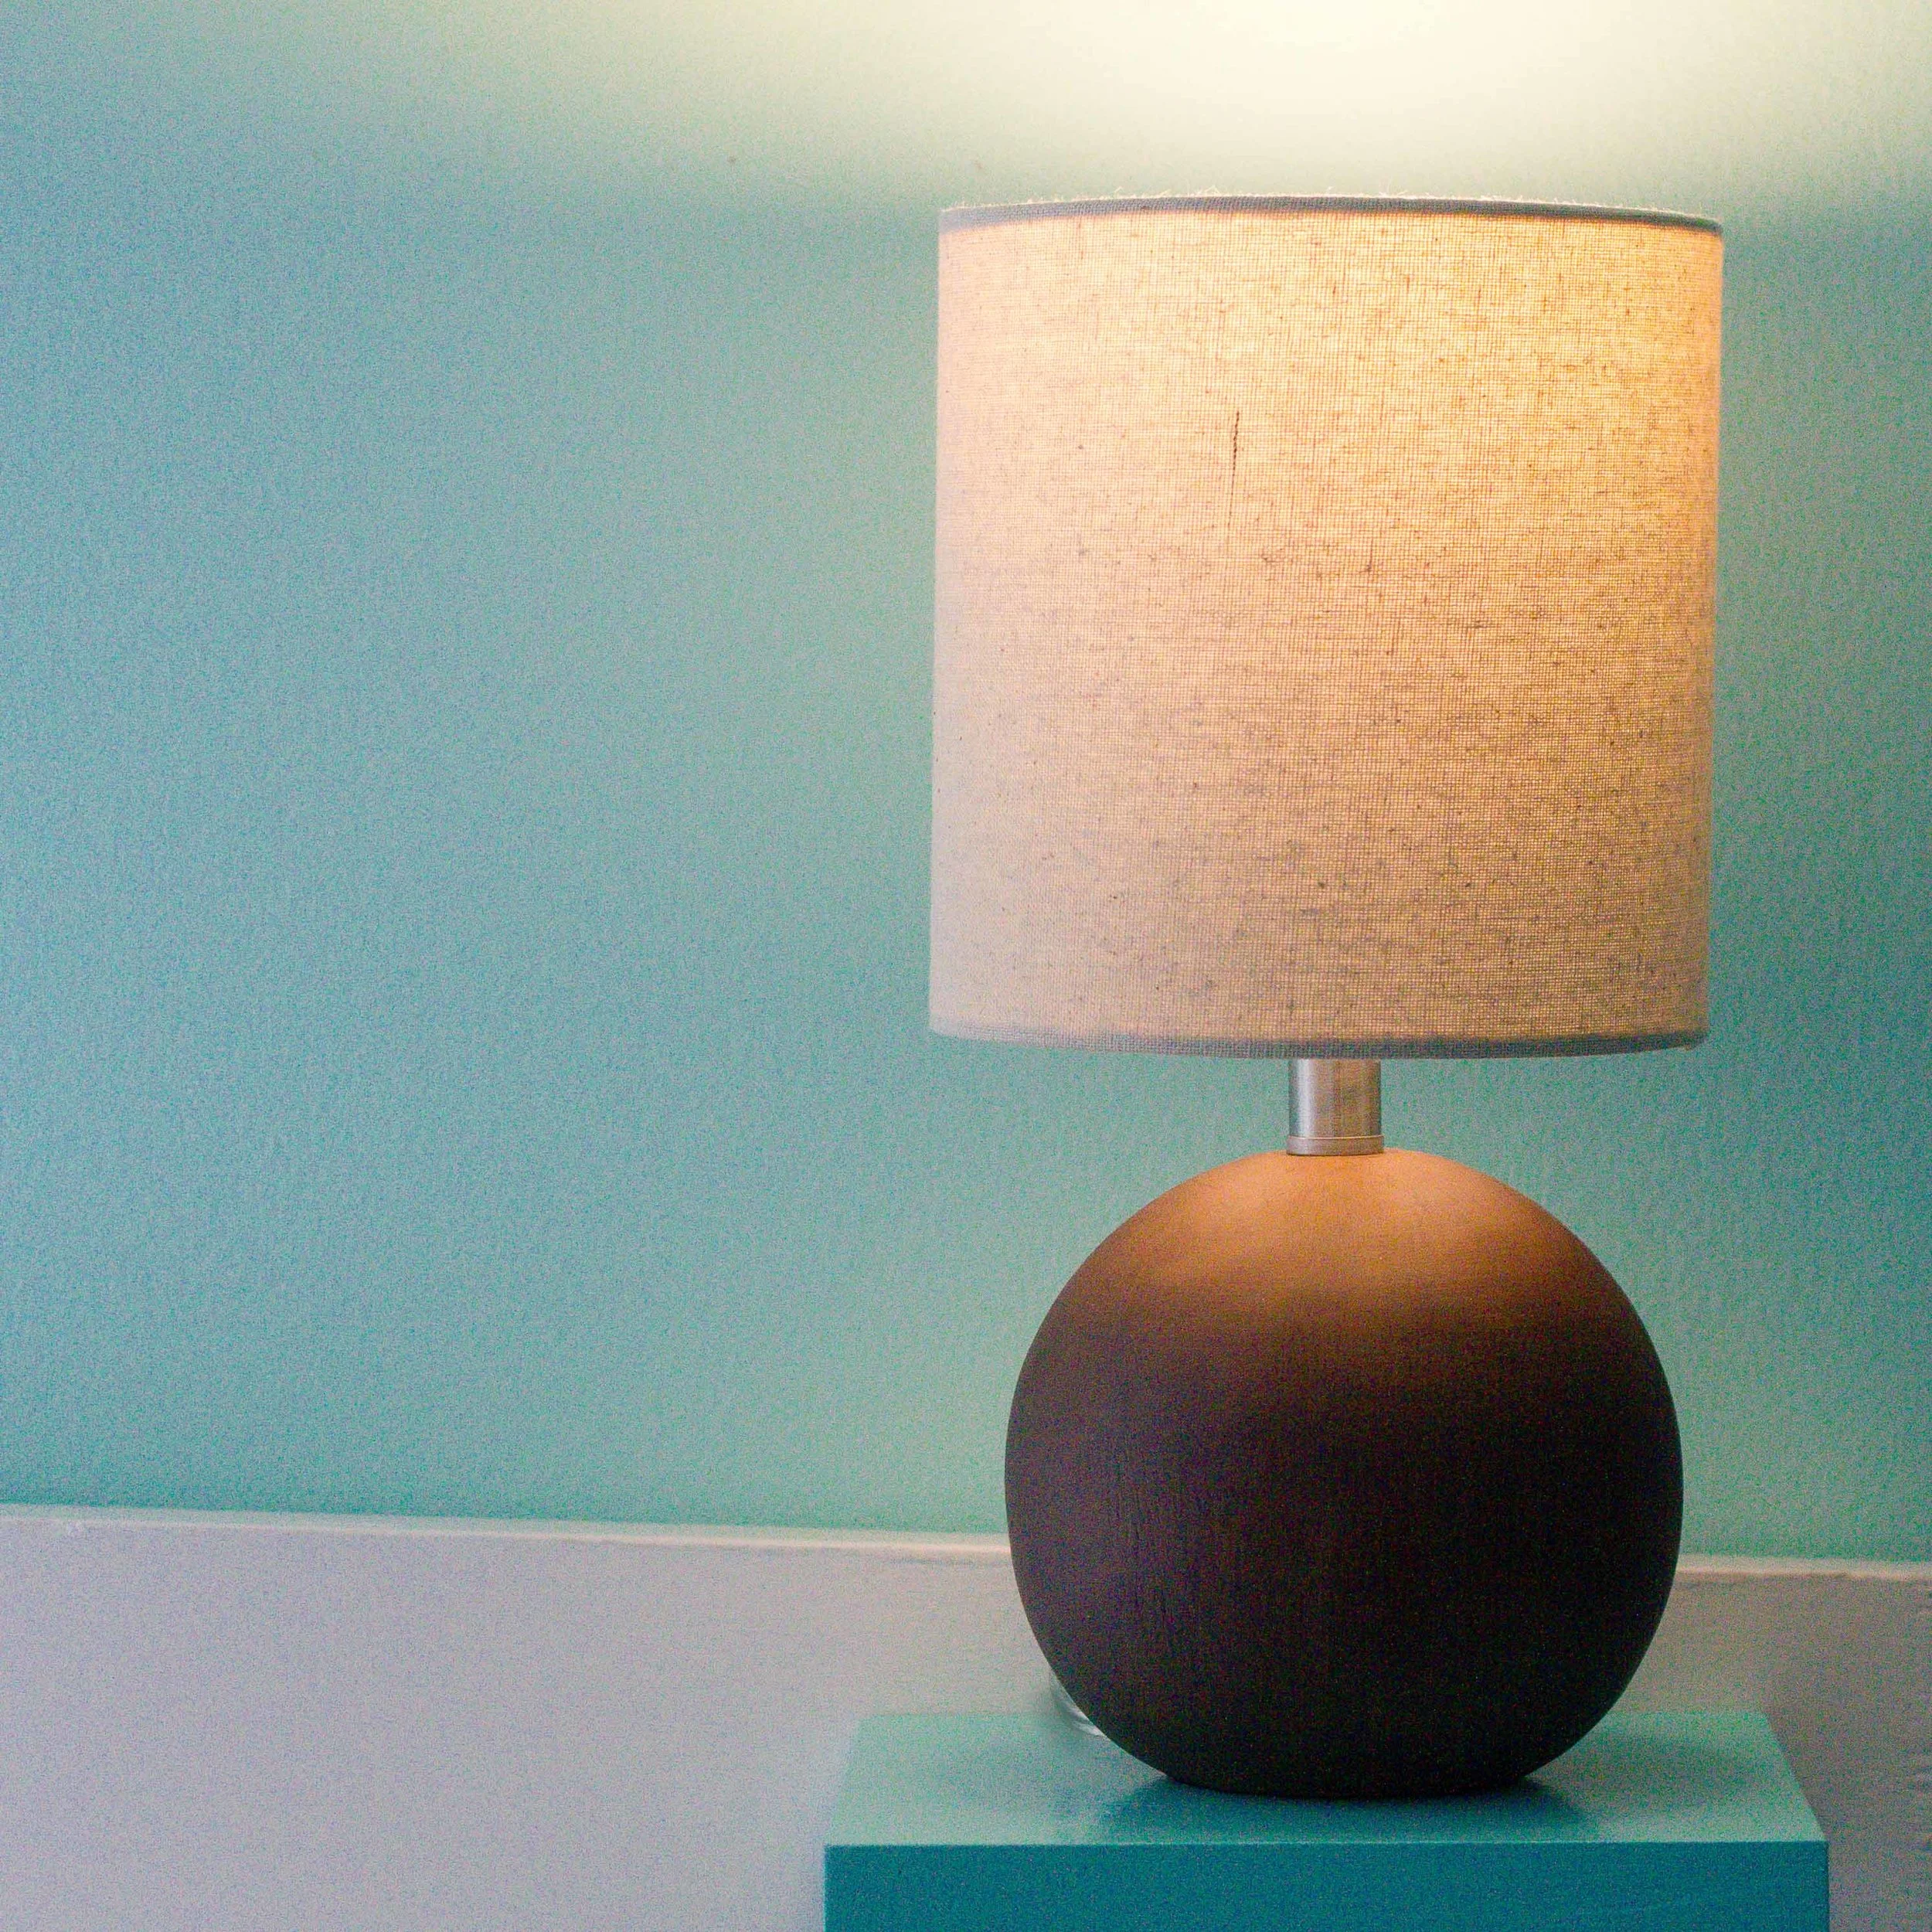
Finally, while on a Target run, I encountered the most miraculous find: these cute little lamps that look to me a lot like… coconuts! They are the perfect size for the bedside shelves on the headboard. And they were only $10 each!
Check out these cute $10 coconut lamps! Aloha!
So, that’s it for this week’s roundup. Next week it is all about bedding. I have a lot of sewing ahead of me! Be sure to check out the how-to post for the window treatments, and check in on Instagram where I have peeks into other parts of this Guest Room Refresh.
Aloha!
A
Lighting Costs:
Ceiling Fixture: $50
MCM Lamp: $28
Lamp Kit: $15
2 coconut lamps: $20
Total: $113
Sources
Pin it!
El Tiempo de Mariposa
from the Alexander Henry Folklorico collection
Threshold
Faux Wood Table Lamp Brown
Don’t miss a single update: sign up and each installment of the One Room Challenge will come directly to your email on Thursdays! And be sure to stop by the One Room Challenge Blog to check out the other creative renovations happening across the country. You can also follow #oneroomchallenge and #bhgorc on Instagram for more inspiration! Be sure to follow me, too!


