
Toja Grid DIY Pergola Kits
Build a Pergola in an Afternoon

I’ve written before about how much we love our patio furniture from Toja Grid, so when the Canadian company offered to send us pergola kits for our new deck project, I jumped at the opportunity! Most people actually know Toja Grid for their pergolas. They are easy to assemble, durable, and can be put together in a million different combinations. But we had never used the pergola kit before.
Well, that’s now changed! On our new deck we have two Toja Grid pergolas — one large pergola for shade over the seating area and the other which we configured to create a changing room for our pool. As impressed as I am with their furniture — I am equally impressed with their pergola kits. You can truly assemble a pergola in just a few hours and only using a few simple tools! But I will say this: having a friend or two is helpful!
Disclosure: This post is sponsored by Toja Grid, but all ideas and opinions are my own. AKN
Getting Started
Before you place your pergola order on the Toja Grid website, you’ll need to design your pergola. Measure your space, and use their guidelines to choose your kit. Or if you are ambitious — and you know this is my family — design your own and order your parts accordingly.
You can choose to use 4x4 or 6x6 lumber for the wood structure. We used 4x4 for everything. If you aren’t familiar with Toja Grid, one of the ways they save shipping costs and — therefore greenhouse gas emissions — is by only shipping the essentials to you — brackets, sails, etc. You purchase and cut all of the lumber for your pergola. We had our wood delivered, too, which made everything even easier. It had already arrived when the Toja Grid shipments arrived, and we were ready to get to work.

Tools Needed
If you use standard lumber sizes, all you REALLY need is a good drill. However, there are a few other things that may be helpful:
Planer or sander: lumber isn’t always perfectly square, so having a planer or a sander on hand to ease the ends of your 4x4s comes in handy
Drill: get a good one for this project, and if you are working with friends, have them bring their drills, too. There are lots of screws to drive, and many hands make light work. You’ll need a philips head bit and a bit for the connectors when you attach the bottom plates to your decking or ground surface.
Sander or sand paper: most lumber comes with stamps on the wood — a sander or sandpaper will take that right off


Easy Assembly
If you are not using standard lumber lengths, you can have your lumber cut at the store where you purchase it. But if you are using standard lengths, even that step can be eliminated.
Once you have both your lumber cut to length and all of your Toja Grid pieces in hand, it’s time to assemble your pergolas, and honestly, the process is as simple as driving screws. The Toja Grid brackets have pre-drilled holes. Just insert your wood into the brackets and attach with screws.
“HOT TIP: Use a self-centering bit to pre-drill the holes for each screw which will save both time and frustration!”
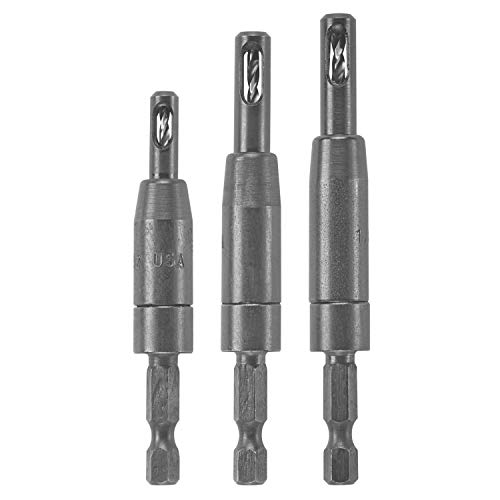
We pre-drilled all of our holes with a self-centering bit which made the whole process even faster!

Our Outdoor Changing Room
We have a stock tank pool which we LOVE, but I hate wet feet in the house. So I wanted an outdoor changing room — a place to hang up towels, change out of wet suits, and have a little privacy. Added bonus: it also blocks the patio and pool from our neighbor’s view which just makes for better neighbors, frankly.
For our Changing Room, we used a basic pergola kit for the frame. The structure is 4’x8’. Then we used the KNECT brackets to create walls through which we wove Wave Shade panels to create privacy. Finally, for the ends, we used the curtain brackets and hung curtains which can be pulled when in use.
Supplies List:
Any Size Pergola Kit for 4x4 Posts: 1
8’ Wave Shades: 5
KNECT 4x4 Rafter Kit: 26 total brackets
Curtain Rod Holder Kit: 2
The Main Pergola
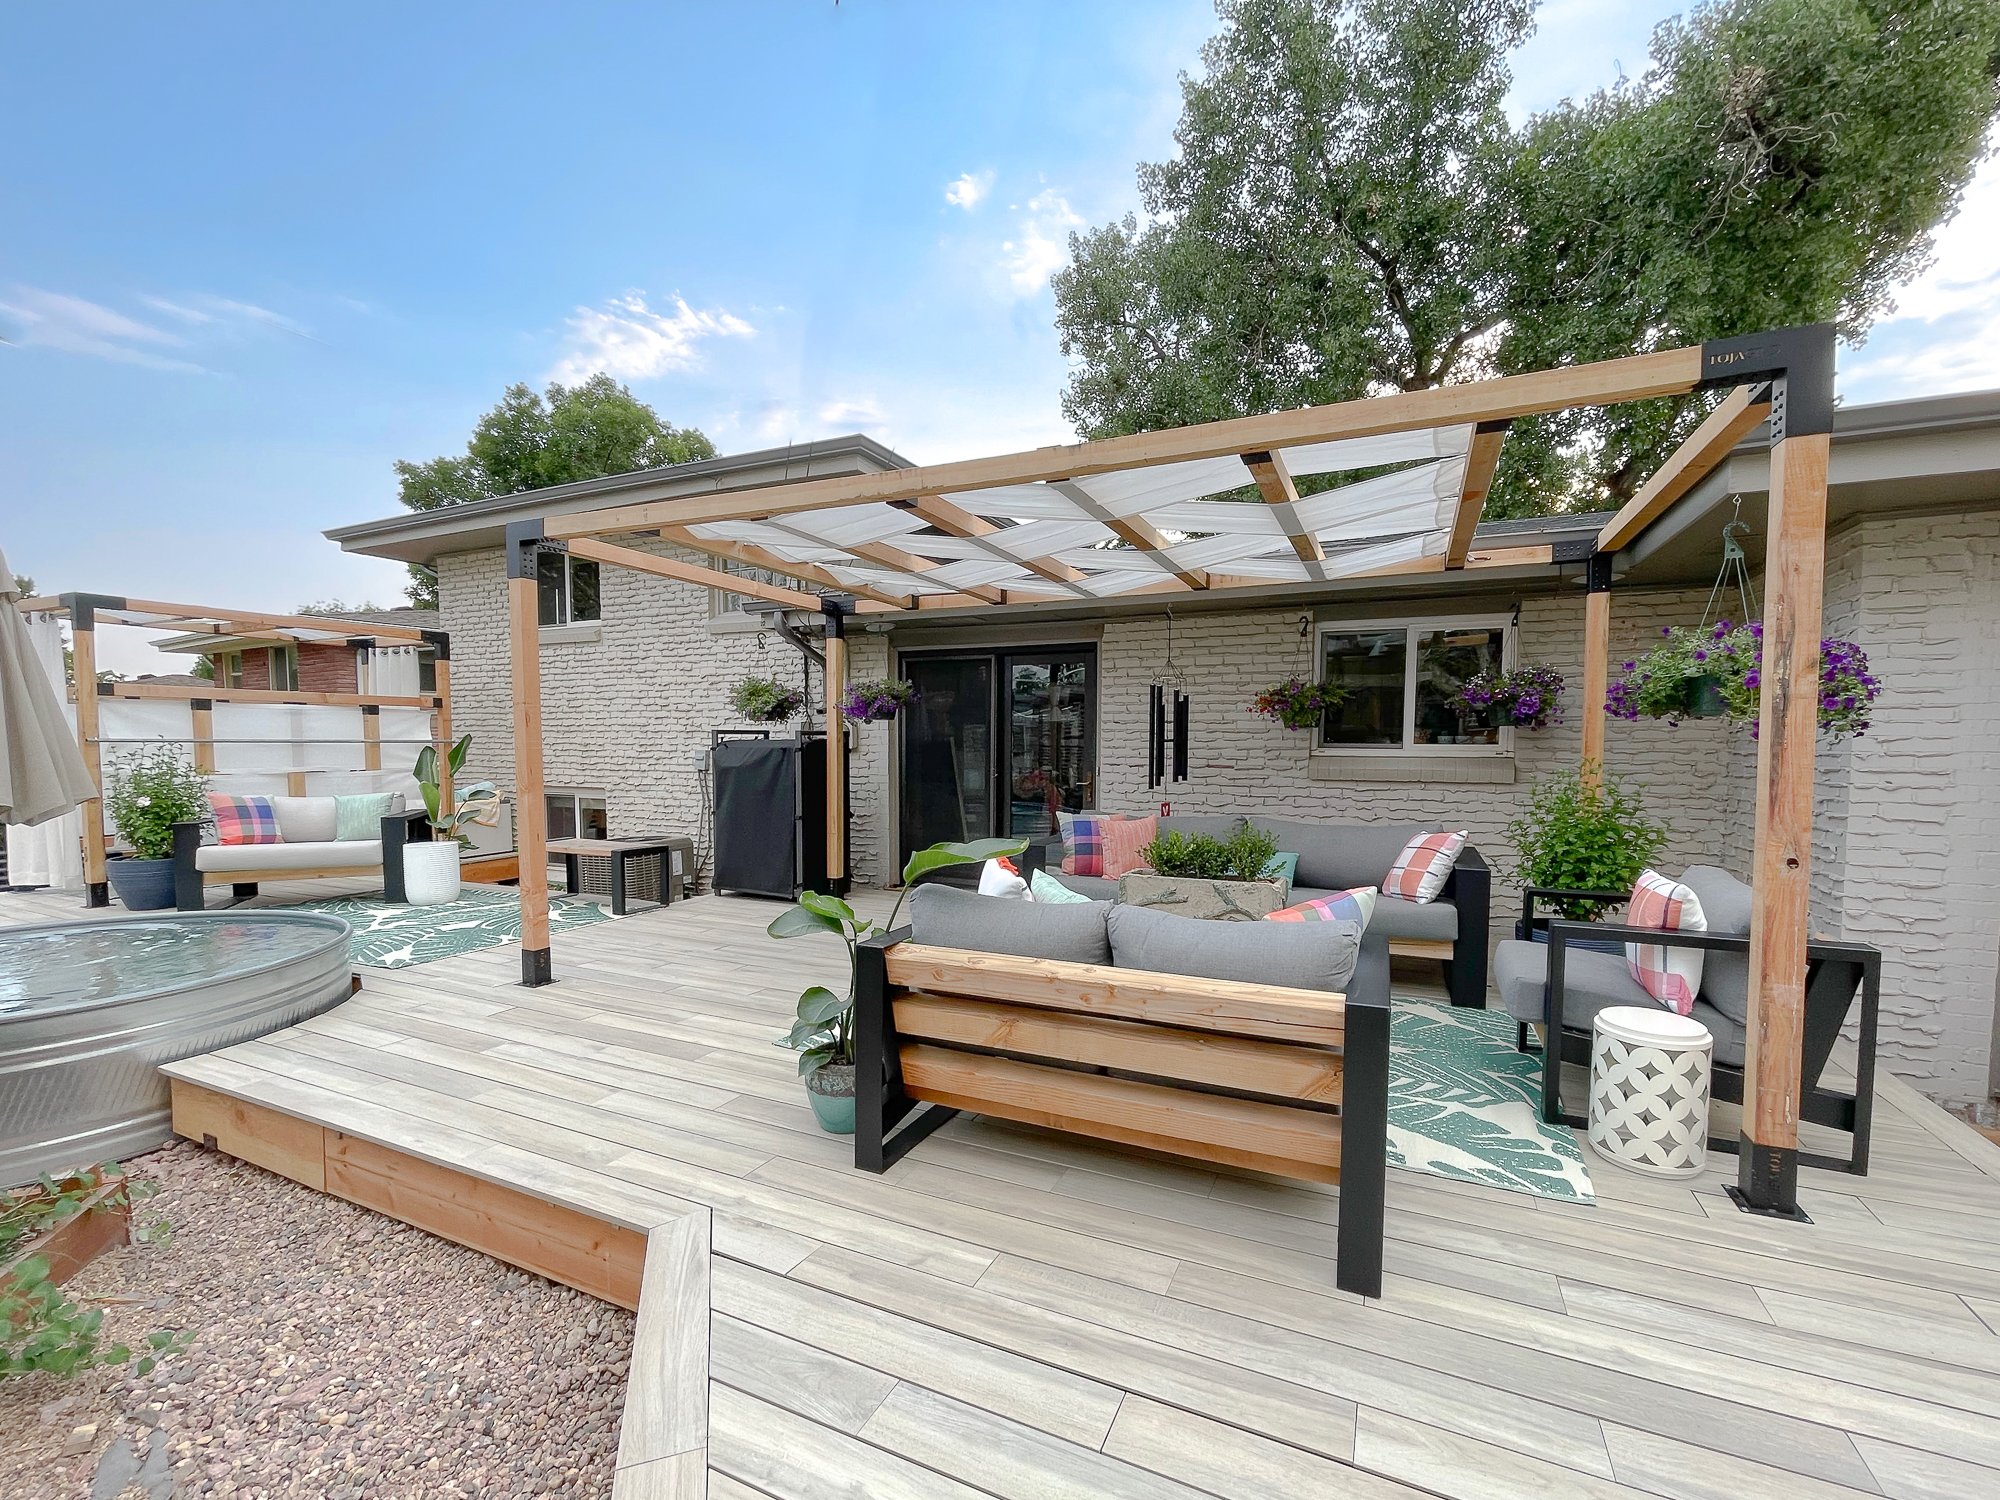
The main pergola on our deck is 8’ x 16’. It frames our primary seating area with shade positioned for the afternoon sun most of the year. Again, we used a basic pergola kit and the KNECT brackets together with Wave Shades in white. The main furniture in this area is also from Toja Grid.
We positioned the Wave Shades to maximize the shade at the peak of the summer, but we also wanted the pergola to fill the space — and to avoid having a post in the middle of the doorway. So the shades are 12 feet long while the pergola is actually 16 feet long.
This is a flexible conversation area and, frankly, is where we hang out A LOT!

Why choose Toja Grid Pergola Kits?
Honestly, there are so many good reasons! They are easy to assemble, eco-friendly, and well-designed. I have full confidence that our pergola kits will last for decades even in Colorado’s punishing sun and winds. And they look fabulous! So the real question is: why would you choose anything else?
