Week Six | November 4 | Seasons Change
For the Fall 2021 One Room Challenge we are building a whole room — a greenhouse! And we will be racing the snow to get it done, too. I’ll let you in on the inspiration board as well as plans for my dream greenhouse — a place for starting seedlings, overwintering tender perennials, and extending our short Colorado growing season. Be sure to check in on all of the other ORC projects on the ORC blog here.
Happy November! How did we get HERE already? Yikes, and here we are, so let’s get to it! I have lots for you today including, of course, an update on The Greenhouse. But I also have some other gardening tidbits and news as well.
I hope you all had a happy Halloween! Our big news: we grew and carved our own jack o’lantern! That was one of the coolest parts of Halloween this year, actually.
We grew three varieties of pumpkins this summer, but the jack o’lantern was a Big Bertha, and it lived up to its name. It made a wonderful carved pumpkin — and now the wildlife is enjoying it, too!
Our pumpkin patch was a bit of an experiement this year, actually. When we lived in LA, I learned about Urban Homestead in Pasadena, an incredible urban farm focused on sustainability and water conservation. They were teaching about using ollas in the garden, an ancient technique for watering crops used by native peoples in the Americas for millennia. I have been wanting to use ollas since, and this year I tested them out with our pumpkins and watermelons. I made some ollas, buried them, and then kept them filled all summer — usually twice per week. I didn’t do any other watering in those beds all summer.
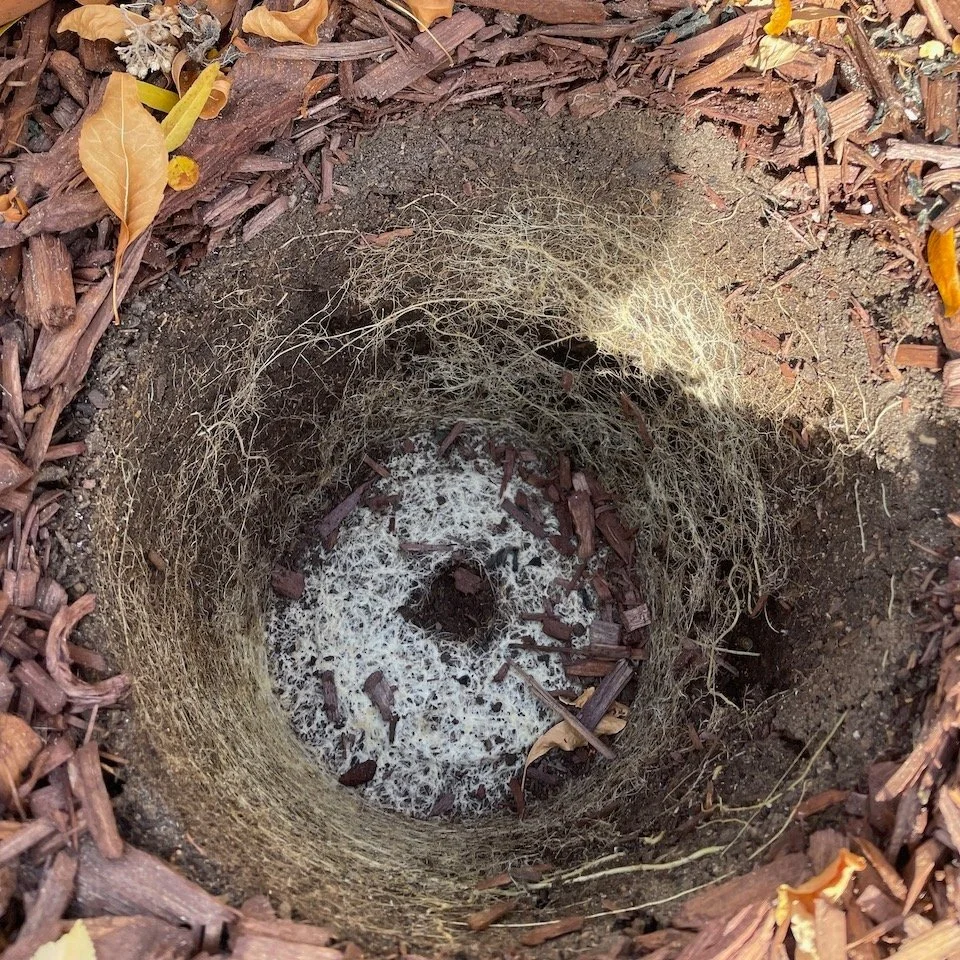
This week I pulled the pumpkin and watermelon plants out of the beds, and pulled the ollas out of the dirt. This is what I found:
Each olla was surrounded by a dense mat of roots from the melons and pumpkin plants. The wicking action of the water through the terracotta sustained each plant and produced multiple melons and pumpkins. Now that I know how well they worked at our altitude, I’ll write up a post about making your own ollas. And you can be sure that I’ll be doing LOTS of ollas from here on out! So often the low-tech solutions are the best, and that is certainly true in this case!
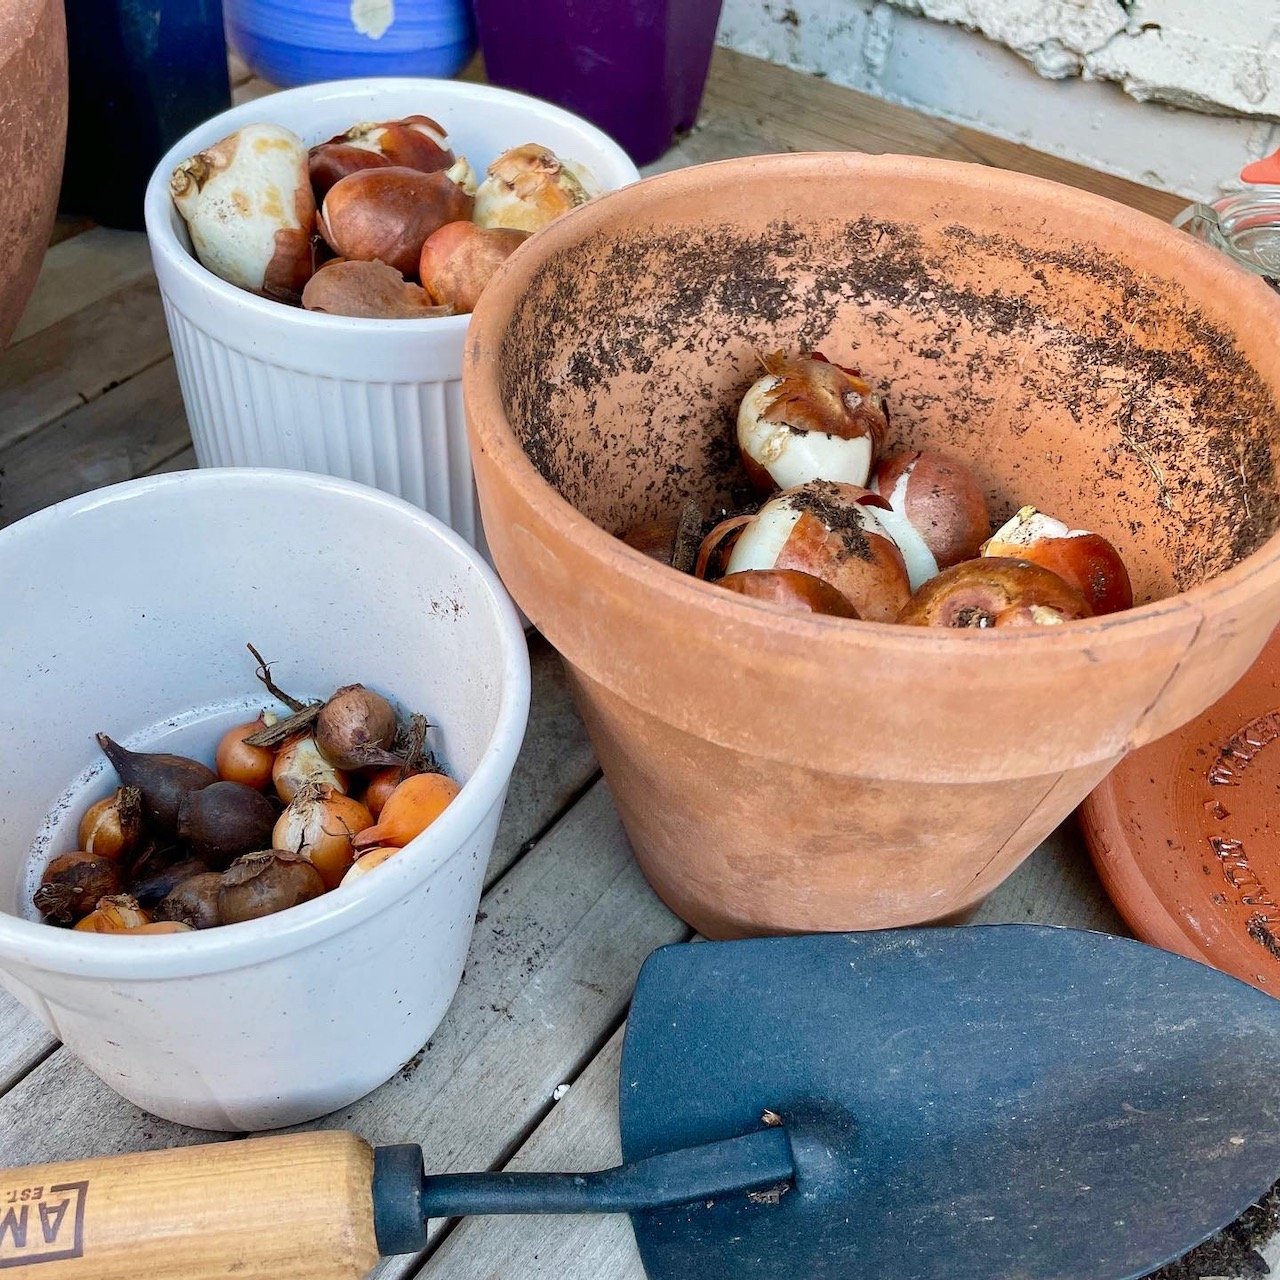
In other gardening news, I am waiting for my big shipment of bulbs, but I potted up some bulbs in containers this week. I’m excited to have a little early spring color — something we haven’t had yet in this yard.
And I planted out peonies! Honestly, peonies might be my favorite flower (don’t tell the others), and I’m so excited to try them next year. I bought some from SheGrows over in Arvada. Gina has an incredible, sustainable flower farm not far from us. And when we picked up our tubers, she gave us a crash course in planting and growing peonies in Colorado. I learned a ton, and I’m excited to get going.
Gina’s office at SheGrows Farm. The smell was amazing!
No matter where you are, there are probably small-scale farmers like SheGrows and Urban Homestead near you. Supporting local farmers and learning from them might be the best part of Instagram! Here are a few of the flower farmers I’m learning from lately:
I don’t intend to become a flower farmer! But I appreciate all of the guidance, tips, and ideas these gracious people — and so many others — share.
The Nice List
I am just going to tuck this right here in the middle: The Nice List is now available! Buy a copy! Give a copy! It makes a great gift, and there are gift packs available with 3 and 5 bundles, too.
The Greenhouse
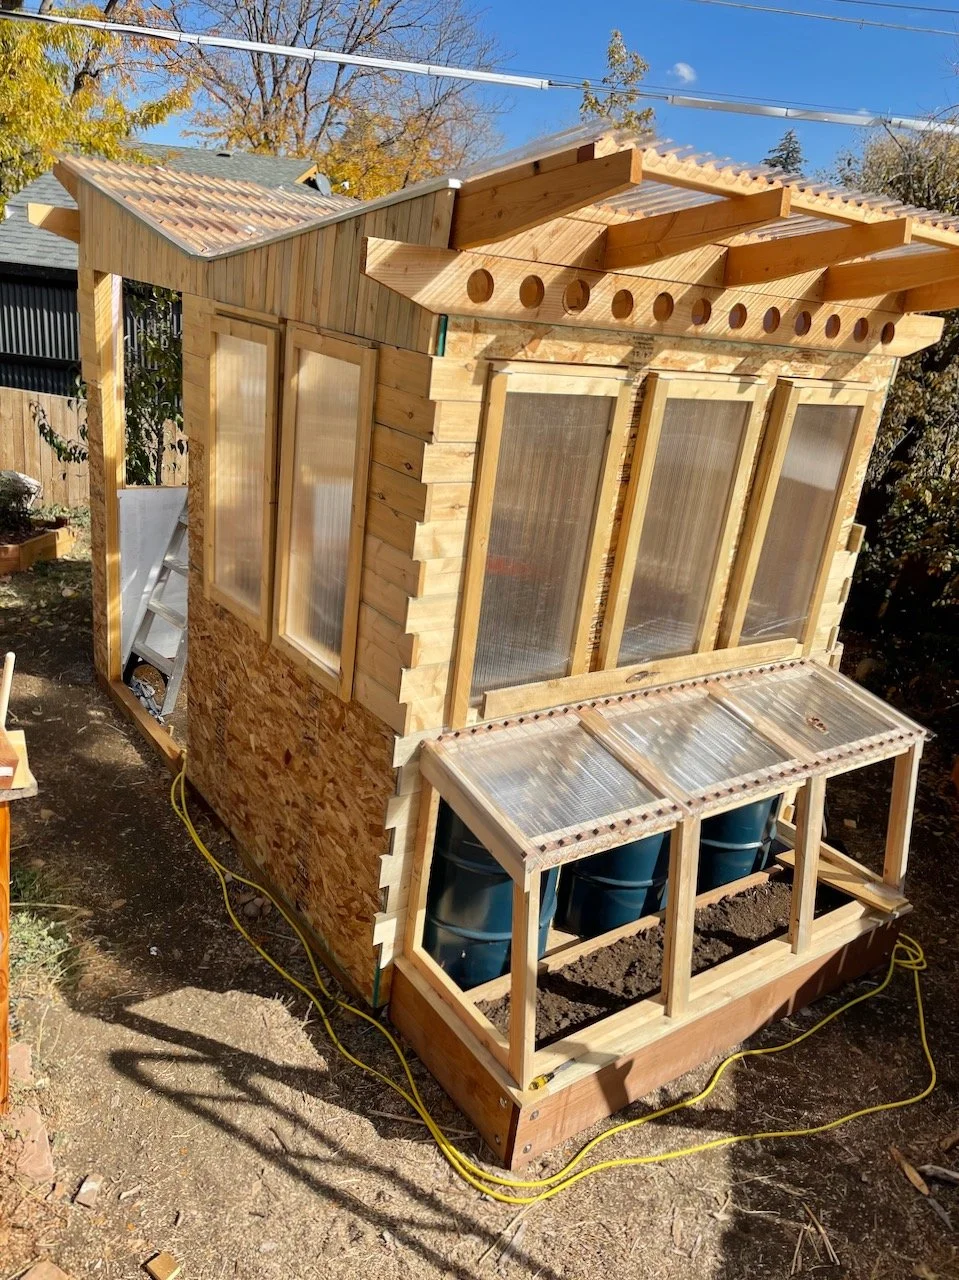
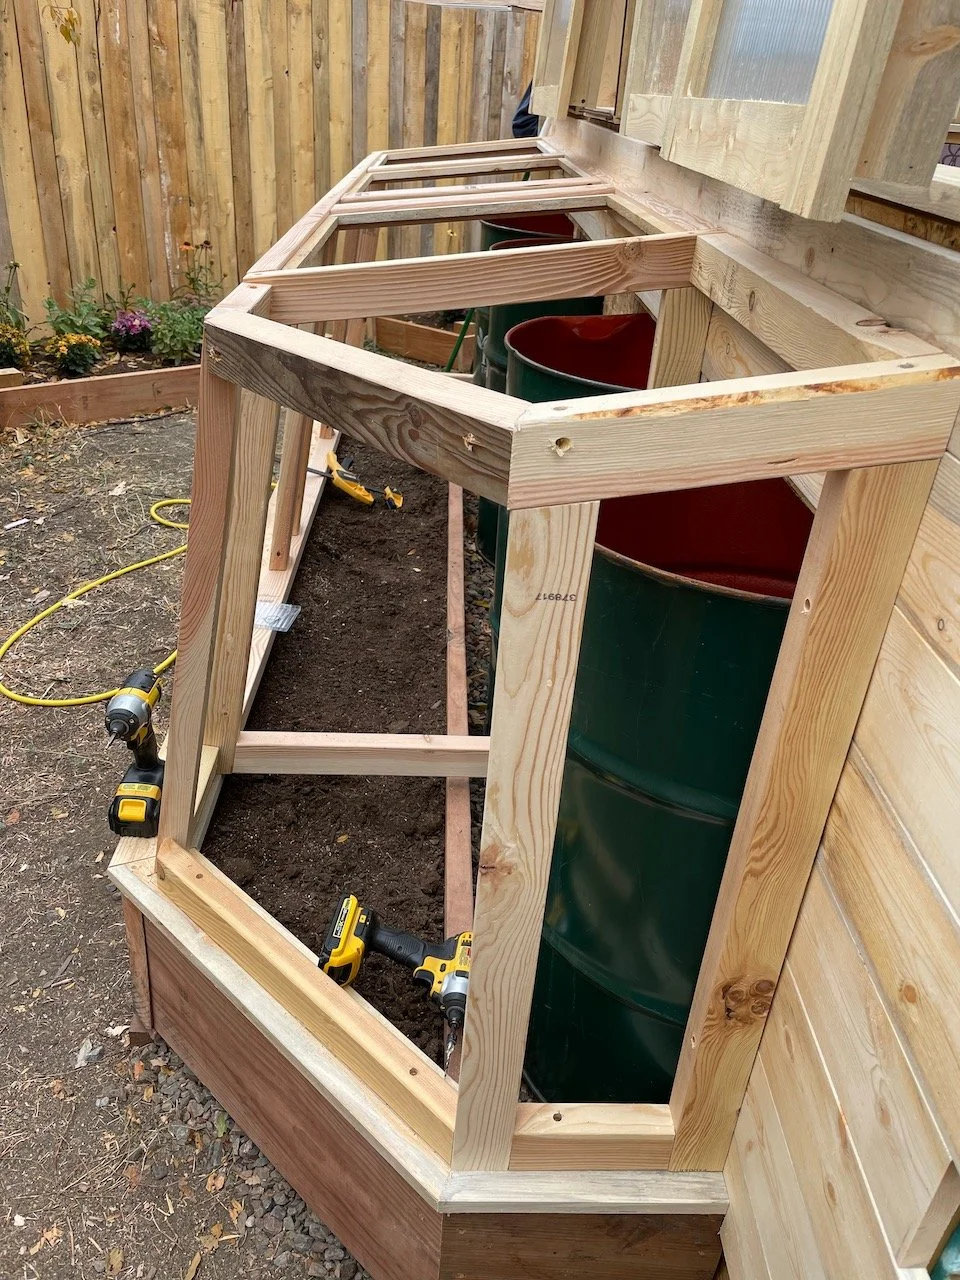
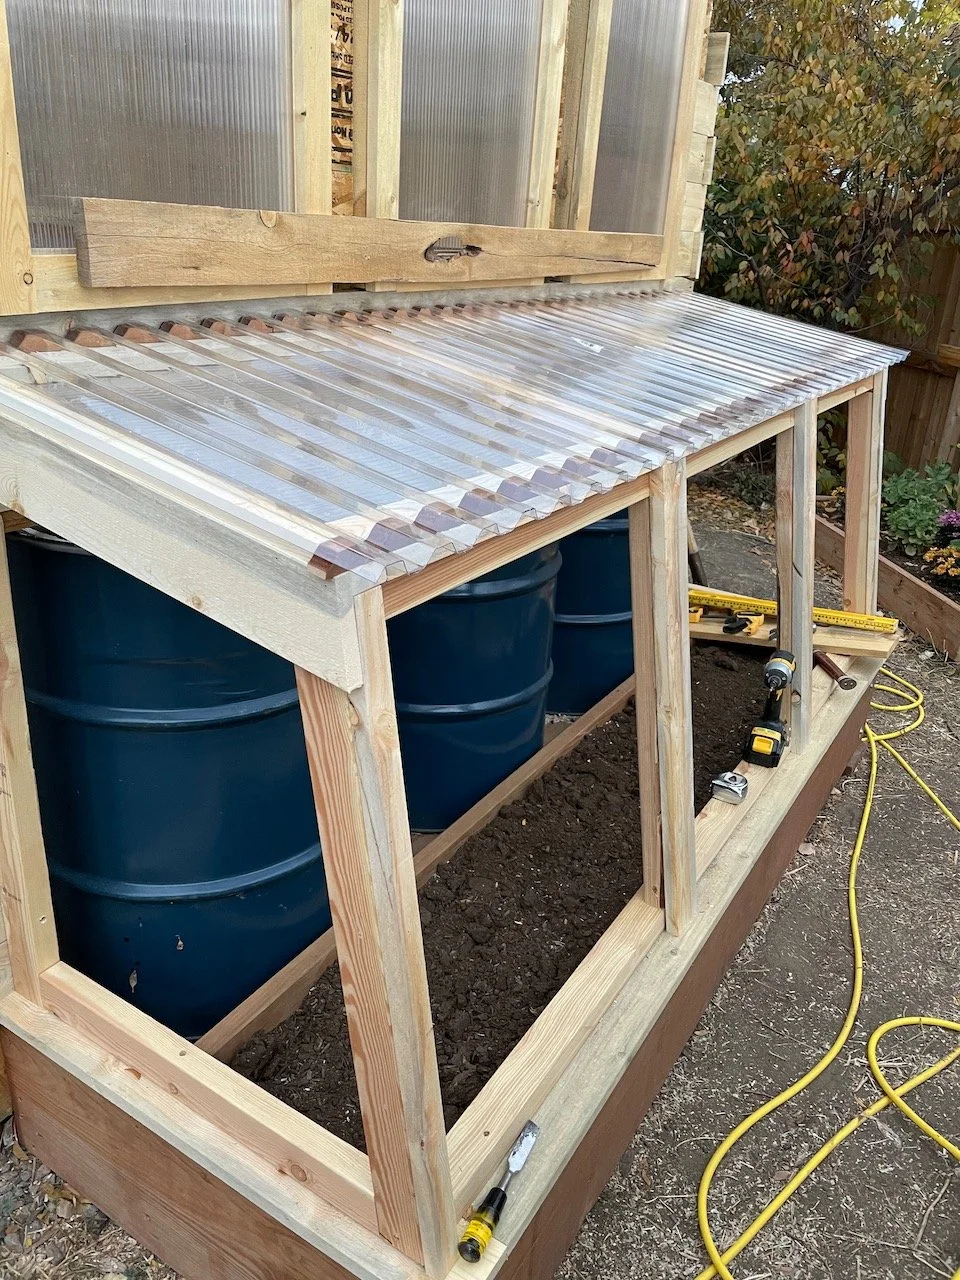
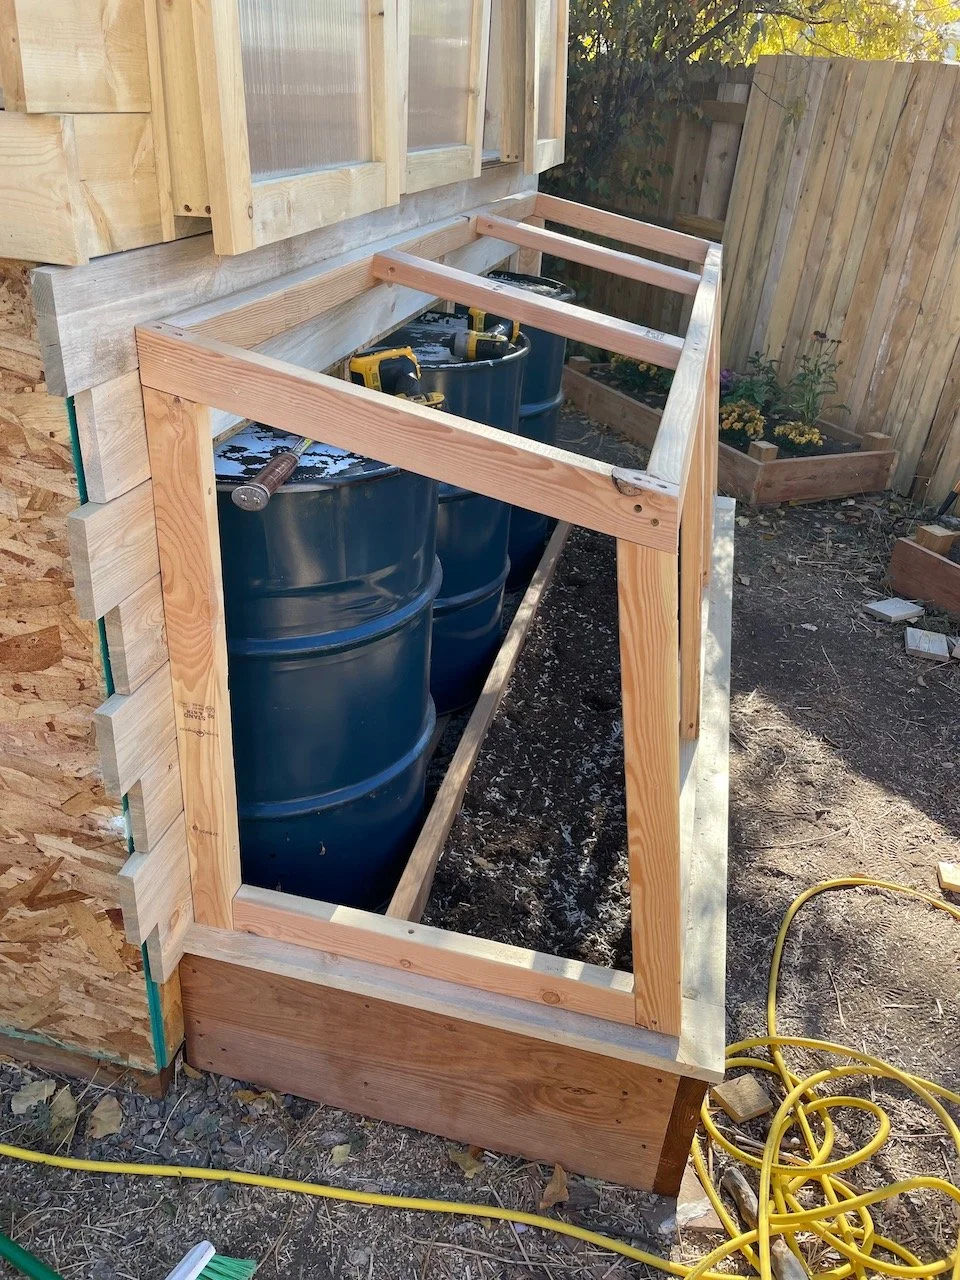
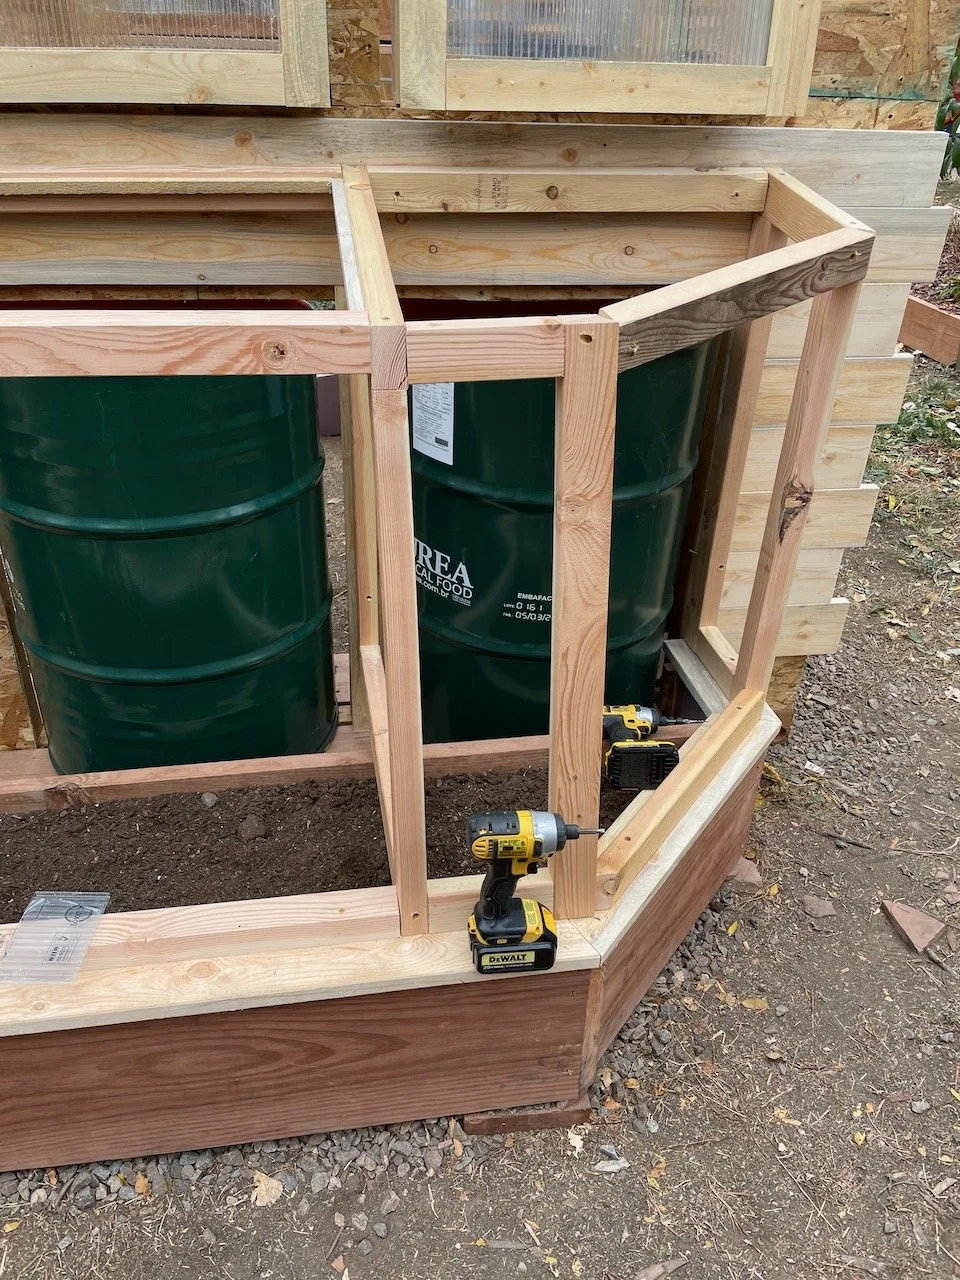
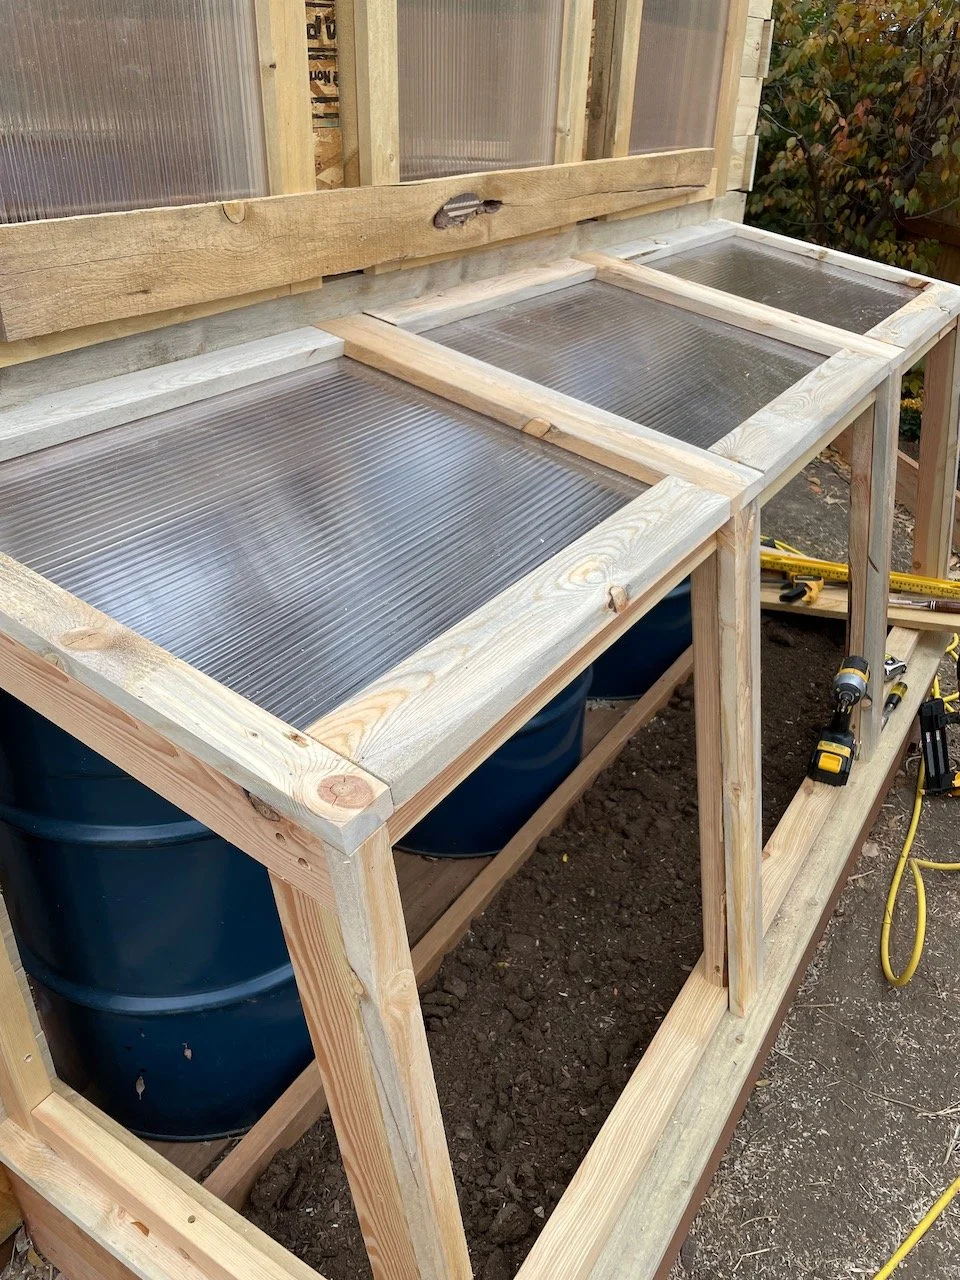
And The Greenhouse! Heavens! It has been a busy week! While I write, my husband is outside working on The Greenhouse, so this won’t even be accurate when I hit “publish.” But he has been focused on the cold frames which includes doing the siding behind them as well. It feels like the same story over and over — they are nearly done. But they are nearly done as are so many other elements of the Greenhouse. I can’t wait to get things inside, but we still aren’t there yet.
We decided to ease one of the cold frame corners which makes for some complicated geometry, but it will allow me to get one of our garden carts into this back corner of the yard, so I think it was worth it in the end. That funky corner won’t open, but I’ll be able to get to it through the next bay. I’m thinking a bigger plant will just live there permanently.
As we are putting the tops on the cold frames, they get two layers: one of the same polycarbonate we’ve made the windows from and then over that a layer of the roofing material. The polycarbonate will keep it warm. The roofing will keep it dry.
Goals for this Week:
Finish the roof.
Finish the windows.
Build the cold frames along the back and side wall.
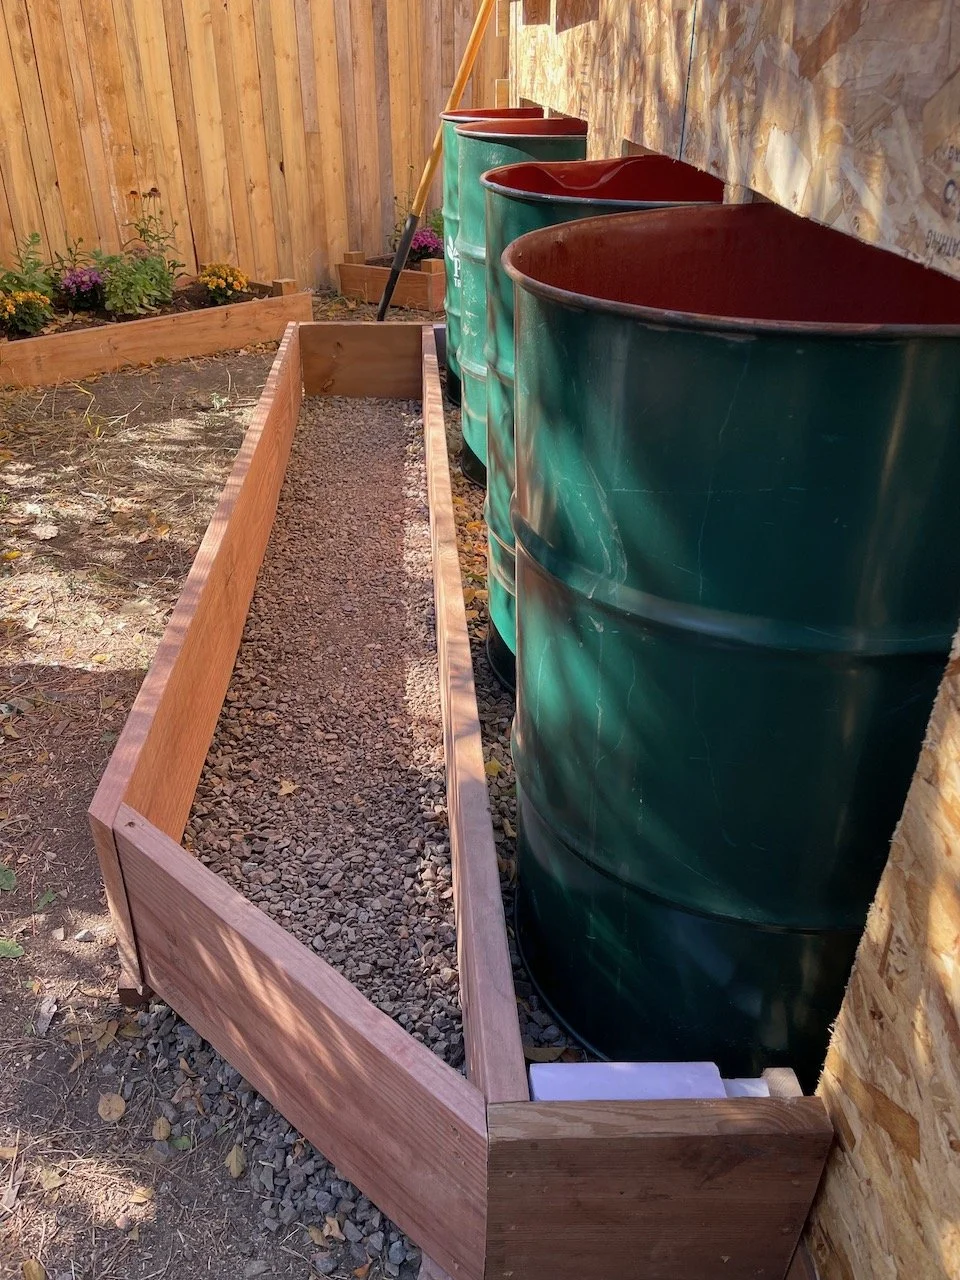
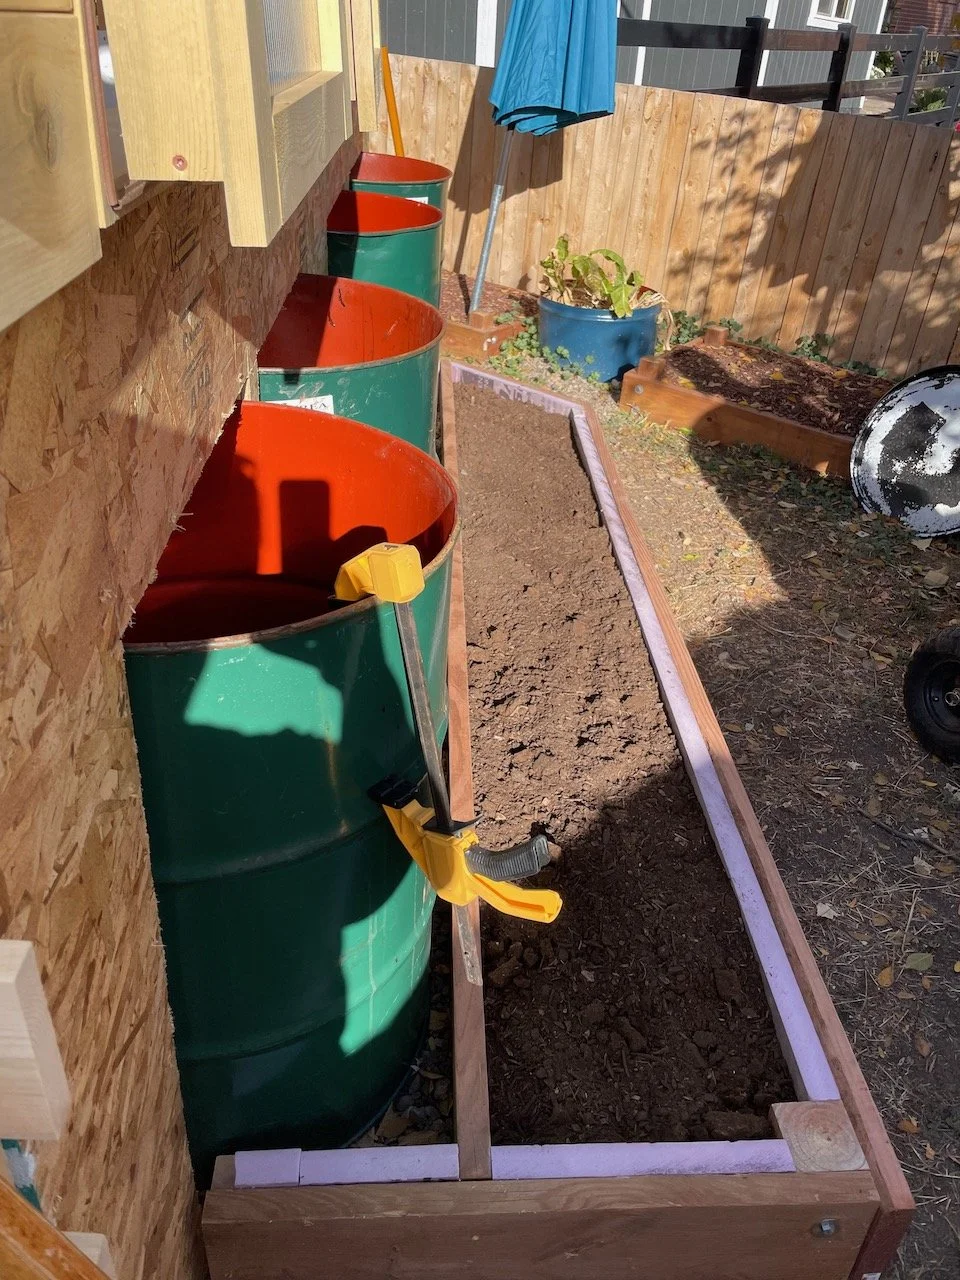
Install the water barrels.
Build the door and install.
Hopefully by next week things will be water-tight. I keep saying that, but maybe this week it is true? We will see!
The Greenhouse Design Considerations
Heat: a greenhouse that doesn’t require heating except perhaps on the coldest of nights as we won’t be running power to the Greenhouse -- at least initially
Hail: We get frequent hail storms here on the Front Range, so a glass roof is pretty-much out of the question. It must be plastic.
Space: I want to be able to overwinter some plants in the greenhouse as well as starting seedlings and plants from cuttings.
Sunlight: I hope to be able to retreat to this warm, sunny spot on cold days -- allowing me to be outside without being freezing. Perhaps even being able to work on a laptop while soaking in some Vitamin D.
Water: I’ll need to be able to water plants in the winter -- preferably without having to use the hose.
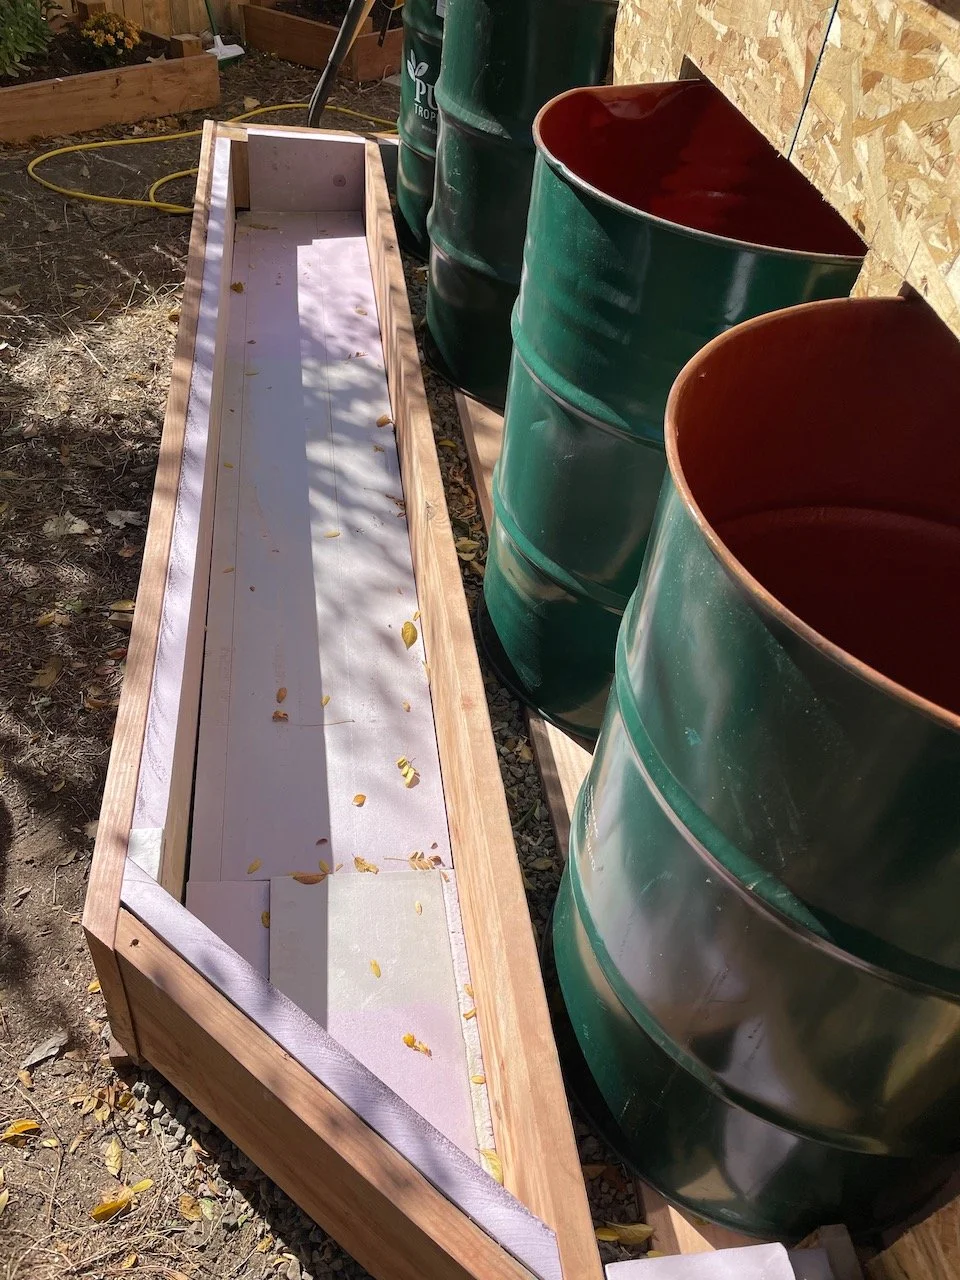
Given all of those constraints, we did a lot of research on keeping greenhouses warm -- and cool. We have worked to maximize the amount of sunlight all day and will be using several layers of plastic to create an insulating layer. We will also be creating a Trombe Wall of sorts to store heat during the day and then radiate that heat into the Greenhouse at night. Any space not needed for sun exposure will be heavily insulated to keep heat in during the winter and out during the summer. We have designed a water-collection system to fill two rain barrels inside the Greenhouse which can then be used to water plants as needed. And the interior has been space-planned for storage as well as work area and spaces for plants of all sizes. More details on all of this and how it works to come!
The DIY Greenhouse will be part science experiment, part engineering problem -- and there will be some fun design challenges, too. I am really looking forward to getting all of these pieces in place and letting them work their magic!
To Linda Weinstein, the creator of the One Room Challenge, I offer my most sincere thanks. Thank you for offering this kind of opportunity and for opening it up to anyone. And to Better Homes and Gardens, the ORC media sponsor: thank you for making this possible! And to all of the other ORC participants: I’ll be sure to stop by to admire your work! It is always fun to do this together!
Ok. Gotta get back to work! Be sure to follow along on Instagram for daily updates. And if you haven’t already, subscribe to my newsletter below so the weekly updates will pop right into your inbox.
Cheers!
Angela
The Fall 2021 ORC Schedule
Week One | Sept 30 | The Before
Week Two | Oct 7 | My Gardening Guru
Week Three | Oct 14 | Garden Beds
Week Four | Oct 21 | Materials & Methods
Week Five | Oct 28 | Construction & Gardening
Week Six | Nov 4 | Making it Beautiful
Week Seven | Nov 11 | Water-Wise Gardening
Week Eight | Nov 18 | Before & After
Thanks to my sponsors for this project! Interested in being a sponsor? Let me know!
Don’t miss a single update!
Sign up and each installment of the One Room Challenge will come directly to your email on Thursdays! And be sure to stop by the One Room Challenge Blog to check out the other creative renovations happening across the country. You can also follow #oneroomchallenge and #bhgorc on Instagram for more inspiration! Be sure to follow me as well!


